Ingredients and steps on one page. Print it, or choose “Save as PDF” in the print dialog.
Sekai Gohan
Peking Duck (Běijīng Kǎoyā): A Home-Oven Recipe with Dried, Glazed Skin
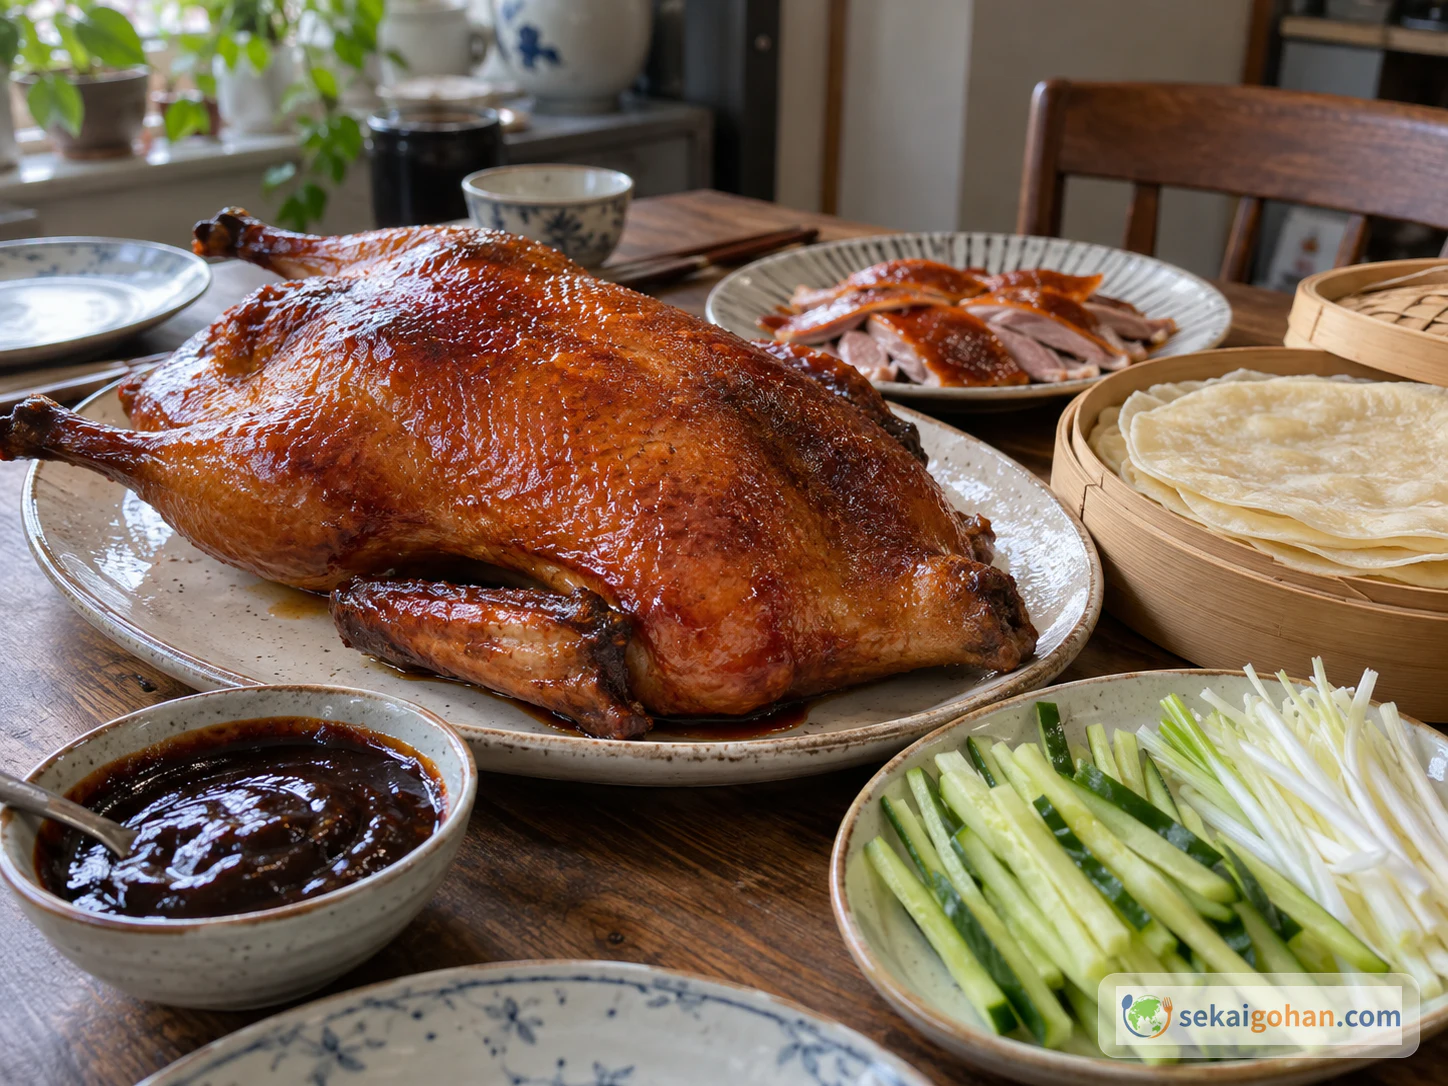
Ingredients
Duck and seasoning
| Ingredient | Amount | Role and notes |
|---|---|---|
| Whole duck | 1 (about 5.5 lb (2.5 kg)) | The main ingredient. If frozen, thaw completely in the refrigerator |
| Fine salt | 2 tbsp | Seasons the skin and cavity |
Glaze
| Ingredient | Amount | Role and notes |
|---|---|---|
| Maltose (麦芽糖) | 2 tbsp | The glaze that colors and flavors the skin |
| Hot water | ½ cup (120 ml) | For dissolving the maltose. Separate from the scalding water |
| Vinegar | 1 tsp | Adds a little acidity. Any type works |
Working water
| Ingredient | Amount | Role and notes |
|---|---|---|
| Boiling water | about 1.5 quarts (1.5 L) | Poured over the skin to tighten it |
| Water for steaming | as needed | For warming the pancakes |
Dipping sauce
| Ingredient | Amount | Role and notes |
|---|---|---|
| Sweet bean sauce (Tian Mian Jiang, 甜面酱) | 3 tbsp | The base of the sauce |
| Sugar | 1 tsp | Sweetness |
| Duck fat | 1/2 tbsp | Rendered fat collected during roasting. Leave out if you can't collect any |
For wrapping
| Ingredient | Amount | Role and notes |
|---|---|---|
| Peking duck pancakes (薄饼) | as needed | Thin wheat pancakes. The source gives no count |
| Cucumber | about 1 | Cut into thin strips. An editorial guide; the source gives no amount |
| Scallions | as needed | Cut into batons for wrapping |
Steps
1Thaw the duck and pat it dry
If the duck is frozen, thaw it completely in the refrigerator, following the package's thawing instructions and use-by date. Pat the skin and cavity dry with paper towels, and keep the drip away from other foods. Don't leave the raw duck out at room temperature; move straight on to the next step or put it back in the refrigerator.
2Salt the duck and chill for 1 hour
Rub 2 tbsp fine salt over all of the skin and inside the cavity. Set the duck on a wire rack over a tray and refrigerate it for 1 hour. The tray underneath keeps drips away from other foods.
3Pour boiling water over the skin
Working over a sink or deep container, slowly ladle about 1.5 quarts (1.5 L) of boiling water over the entire skin. Watch for splashes. The skin should tighten and change color slightly. Pat the duck dry again and return it to the refrigerator.
4Glaze, chill for 1 hour, and glaze again
Dissolve 2 tbsp maltose in ½ cup (120 ml) hot water and stir in 1 tsp vinegar. Brush a thin layer over the skin. Refrigerate for 1 hour, then brush on a second thin layer. Keep each coat thin; heavy layers make the skin harder to crisp.
5Dry uncovered in the refrigerator for 24 hours
Leave the duck uncovered on the rack over its tray in the refrigerator for 24 hours. Drying can run up to 48 hours, but this version uses 24. Keep the refrigerator at 39°F (4°C) or below, keep the duck away from other foods, and still respect the package's use-by date: this drying is part of the recipe, not a way to extend how long raw duck can be kept. Moisture left on the skin makes it harder to roast crisp.
6Preheat, then roast hot for 15 minutes
Preheat the oven to 400°F (200°C) with convection, or 425°F (220°C) for a conventional oven. Take the duck out of the refrigerator only for the short time while the oven preheats, not for an hour before roasting. Place the duck skin-side up on a rack with a tray on the lower level to catch the fat, with nothing in the cavity. Have foil ready for the wing and leg tips if they brown too quickly. Roast for 15 minutes; the fat will begin to drip.
7Lower the heat and roast until all three points reach 165°F (74°C)
Reduce to 180°C with convection, or 200°C conventional, and roast for about 60 minutes as a guide, since the time varies with the size of the duck and the oven. Check with a thermometer at the thickest part of the breast, the innermost thigh and the innermost wing, without touching bone. All three must read 74°C (165°F) or higher. If any point falls short, keep roasting and measure again. Don't judge doneness by time or color alone, and don't partly roast the duck and chill it to finish later. Save some of the rendered fat from the tray for the sauce.
8Rest for 15 minutes and carve
Let the duck rest for 15 minutes. The skin loses its crispness as time passes, so get the table ready before you carve; you can make the sauce in step 9 while the duck rests. Carve the skin and meat from the breast and thighs. If your slices aren't thin and even, the flavor is not affected.
9Make the sauce, warm the pancakes and wrap
Put 1/2 tbsp duck fat from the roasting tray, 3 tbsp sweet bean sauce and 1 tsp sugar in a small pan. Warm over low heat until small bubbles appear, then transfer to a dish.
If the pancakes are cold, steam them for 3 minutes.
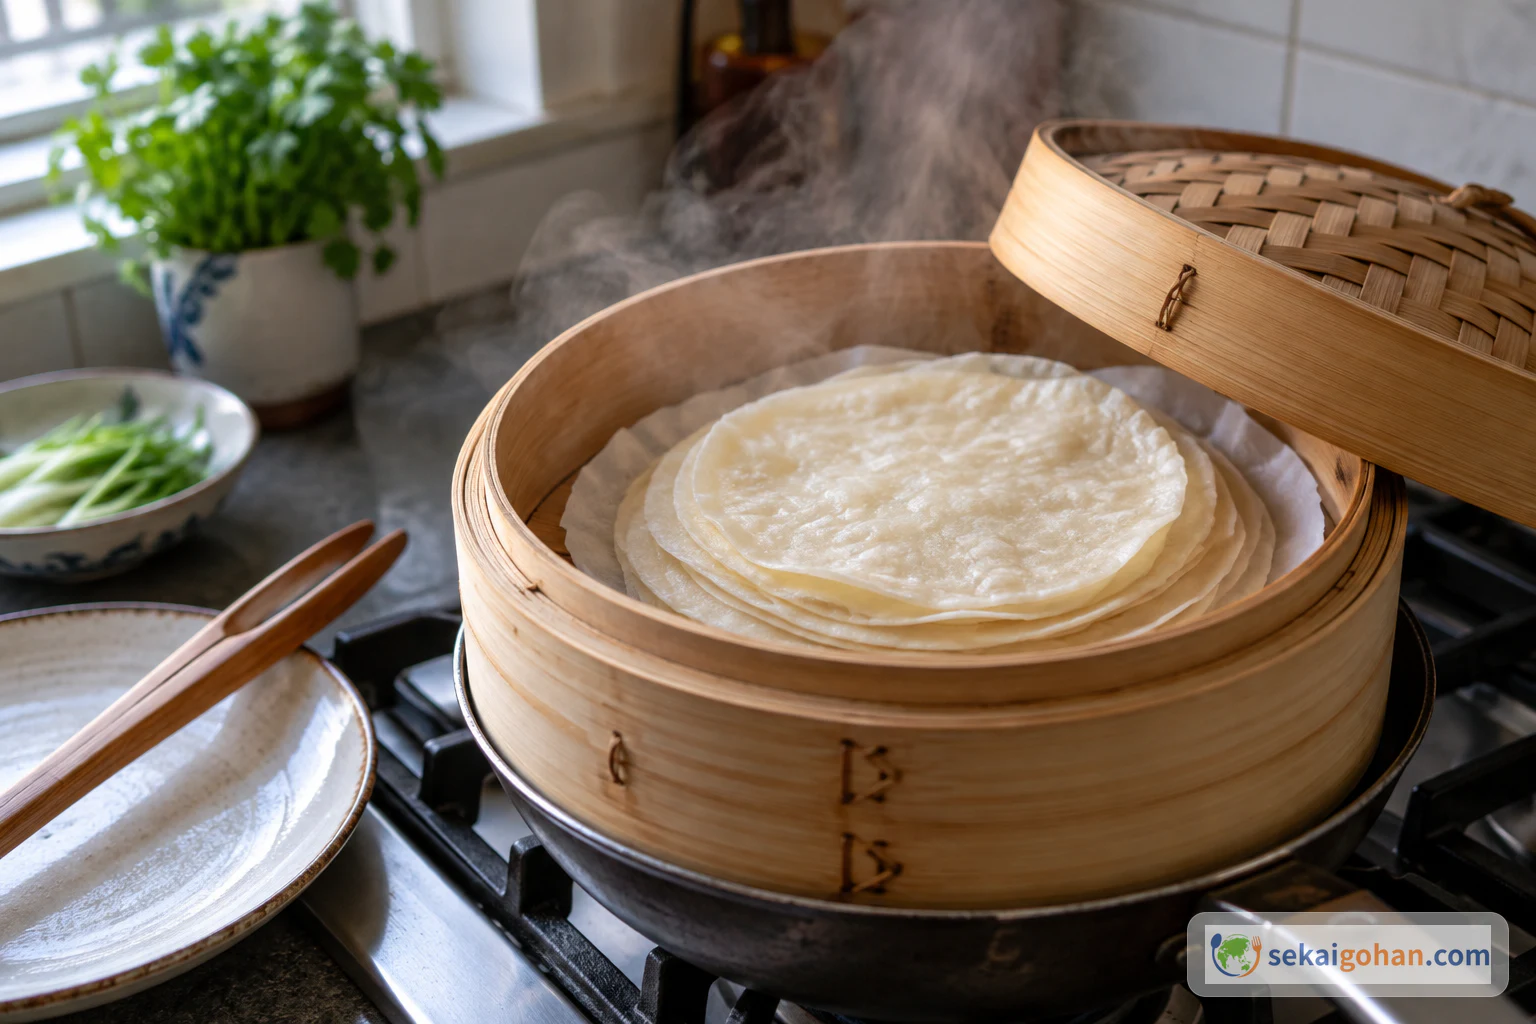
Steam the pancakes until warm and pliable Spread a little sauce on a pancake, add duck meat and skin, cucumber and scallion, and roll it into a tube. Try one bite of skin on its own to taste its roasted aroma, and another wrapped with all the garnishes.
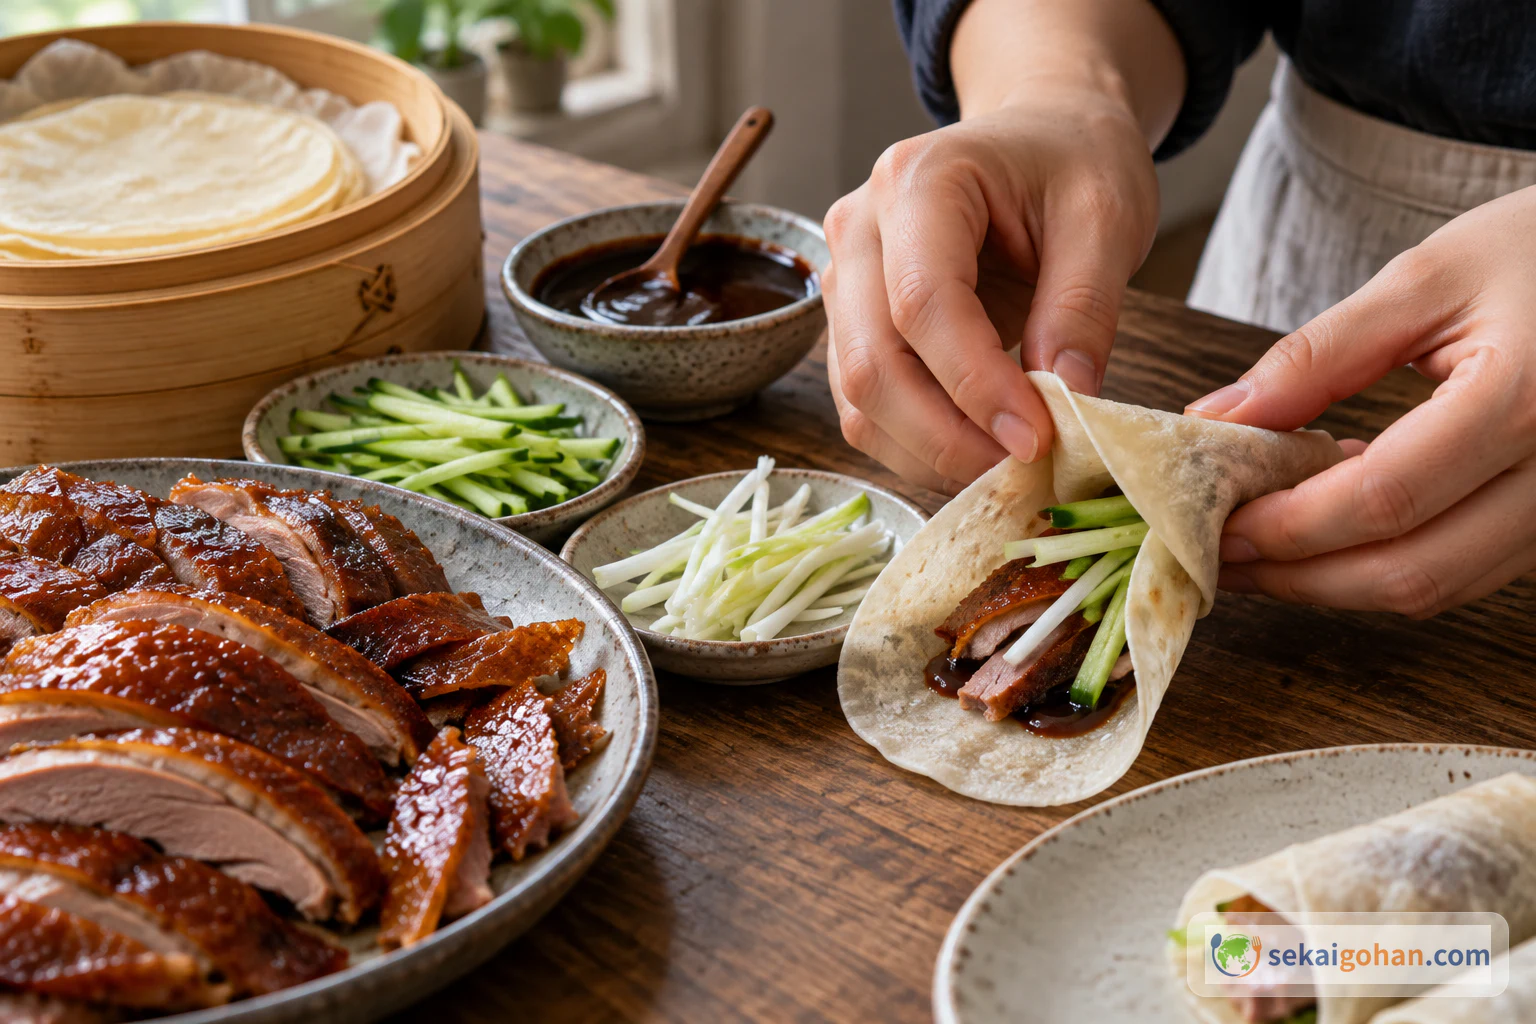
A little sauce, duck with its skin, cucumber and scallion, rolled into one bite