Ingredients and steps on one page. Print it, or choose “Save as PDF” in the print dialog.
Sekai Gohan
Ichigo Daifuku: Strawberry Mochi Wrapped in Koshi-an and Microwave Gyuhi (いちご大福)
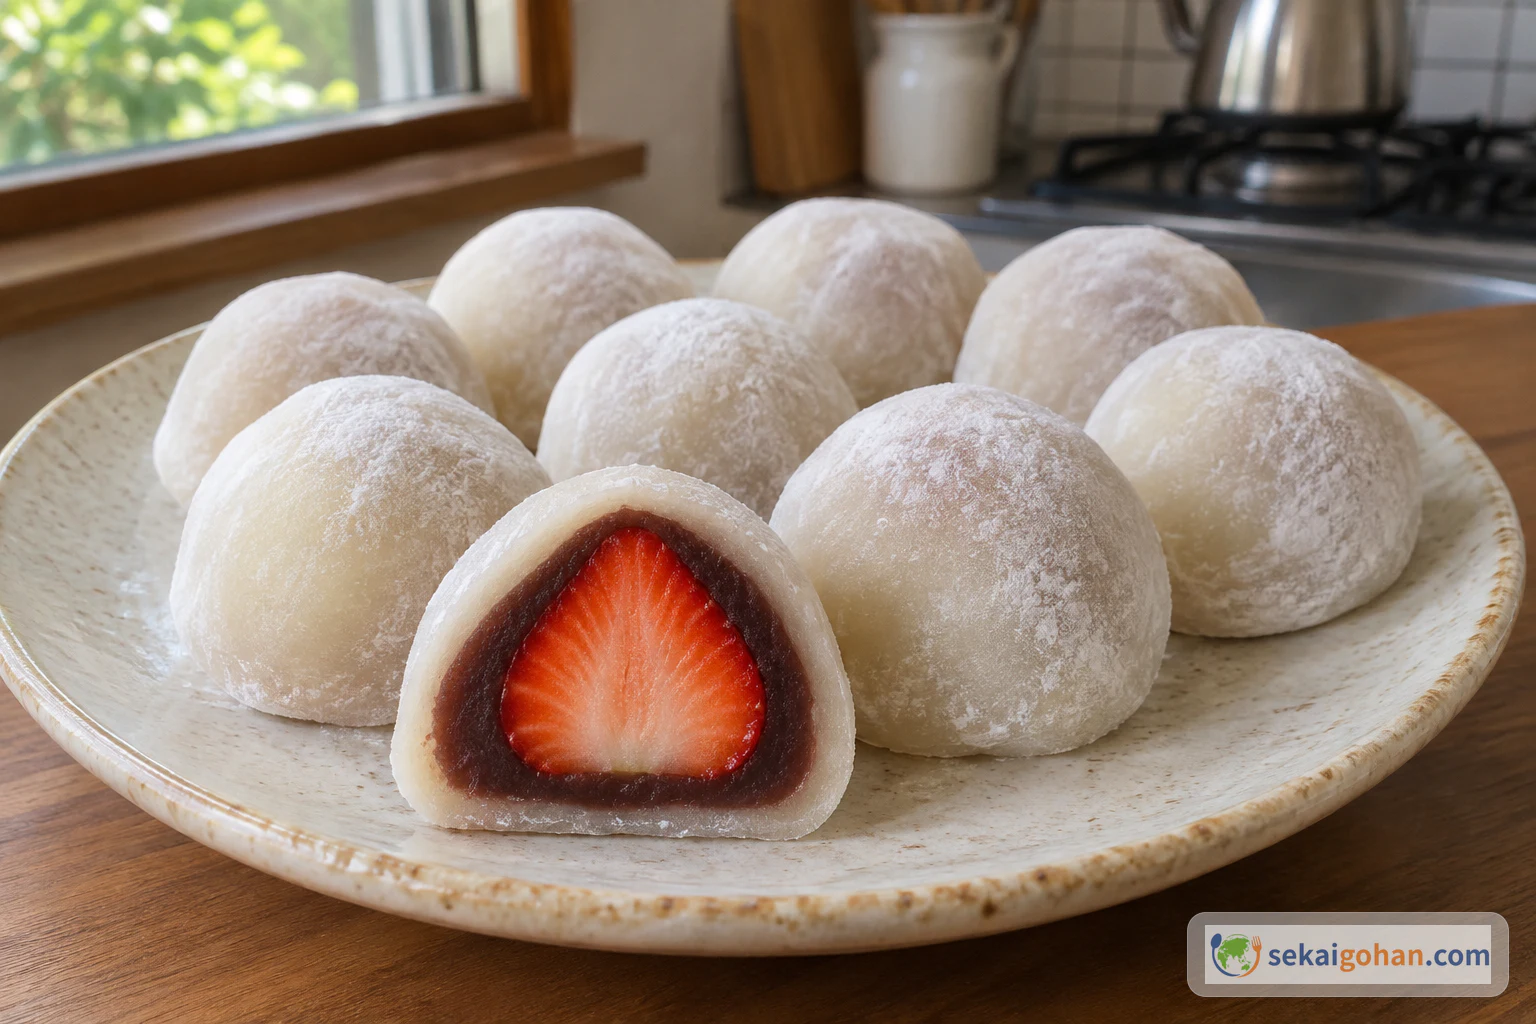
Ingredients
| Ingredient | Amount | Role |
|---|---|---|
| Shiratamako (白玉粉) | 3.5 oz (100g) | The base of the gyuhi wrapper |
| Japanese cane sugar (国産さとうきび糖) | 1.75 oz (50g) | Sweetness in the gyuhi |
| Water | ¾ cup (180 ml) | Moisture for the gyuhi |
| Potato starch (片栗粉, katakuriko) | As needed | Dusting for the tray, the dough surface and your hands. It does not go into the dough |
| Strawberries (いちご) | 10 | One whole hulled berry at the center of each piece. Small, round berries are easier to wrap |
| Koshi-an (こしあん, smooth red bean paste) | 7 oz (200g) | Divided into ten 20g portions, one to wrap each strawberry. A firmer, less moist paste is easier to wrap |
Steps
1Prepare the strawberries, the bean paste and the tray
Wash your hands. Rinse the strawberries under clean running water, with their green tops still on.
Cut off the green tops with a knife on a clean board.
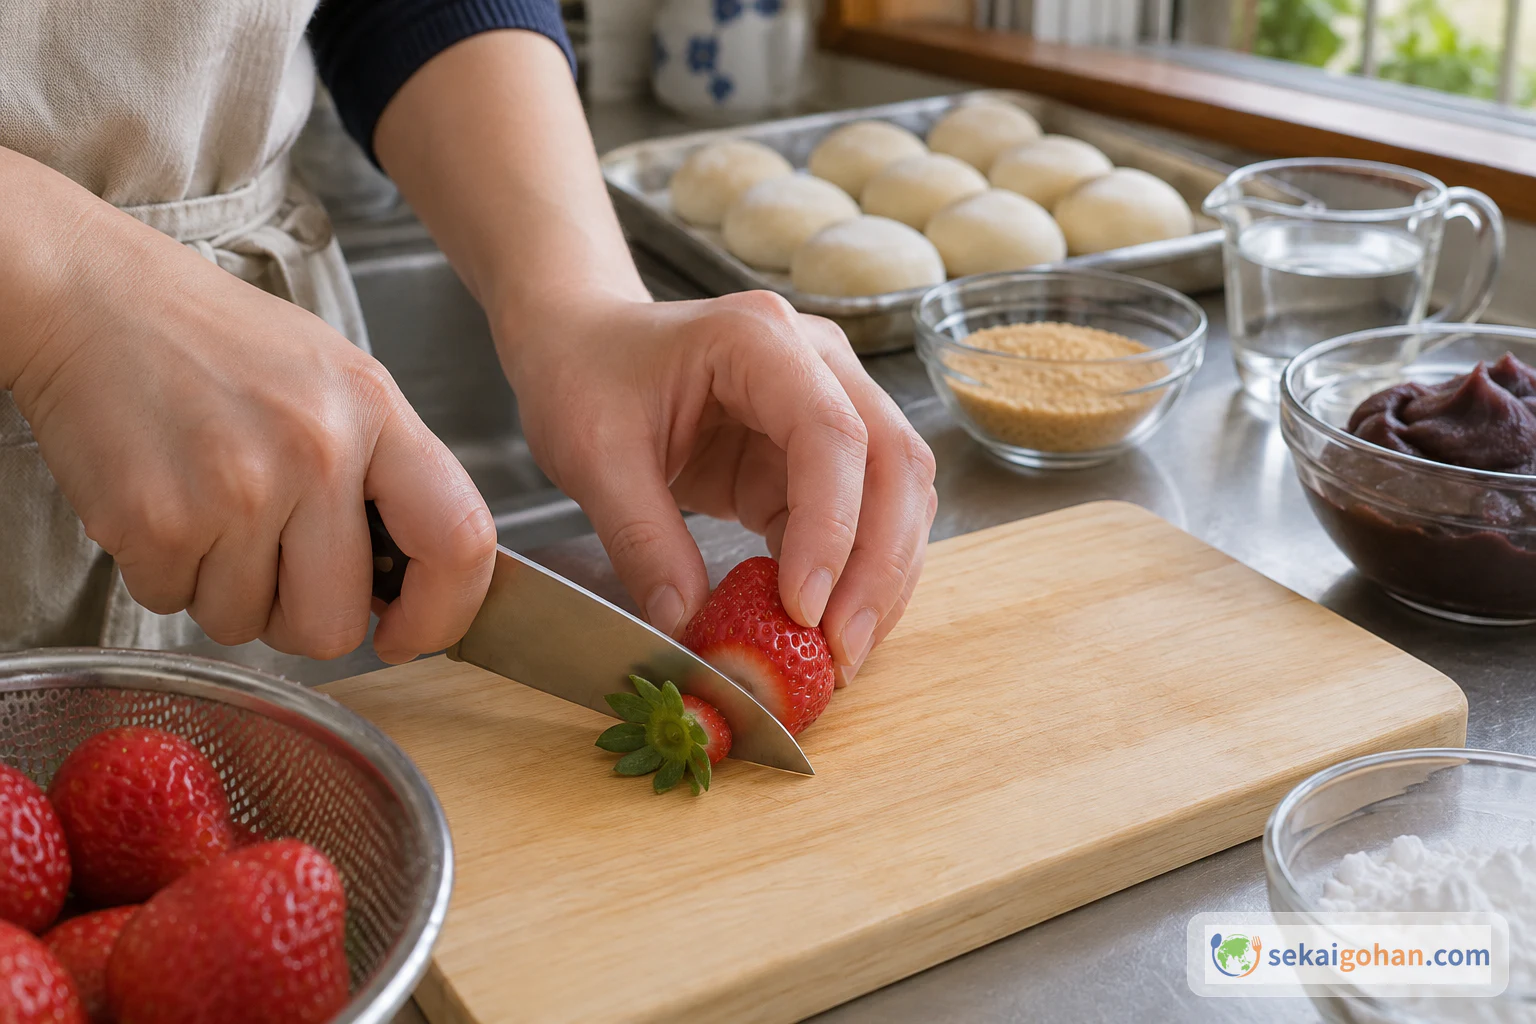
Hull each washed strawberry, keeping the fruit whole Pat each strawberry dry with a clean paper towel, blotting the whole surface well. Any water left on the fruit makes the bean paste harder to close around it.
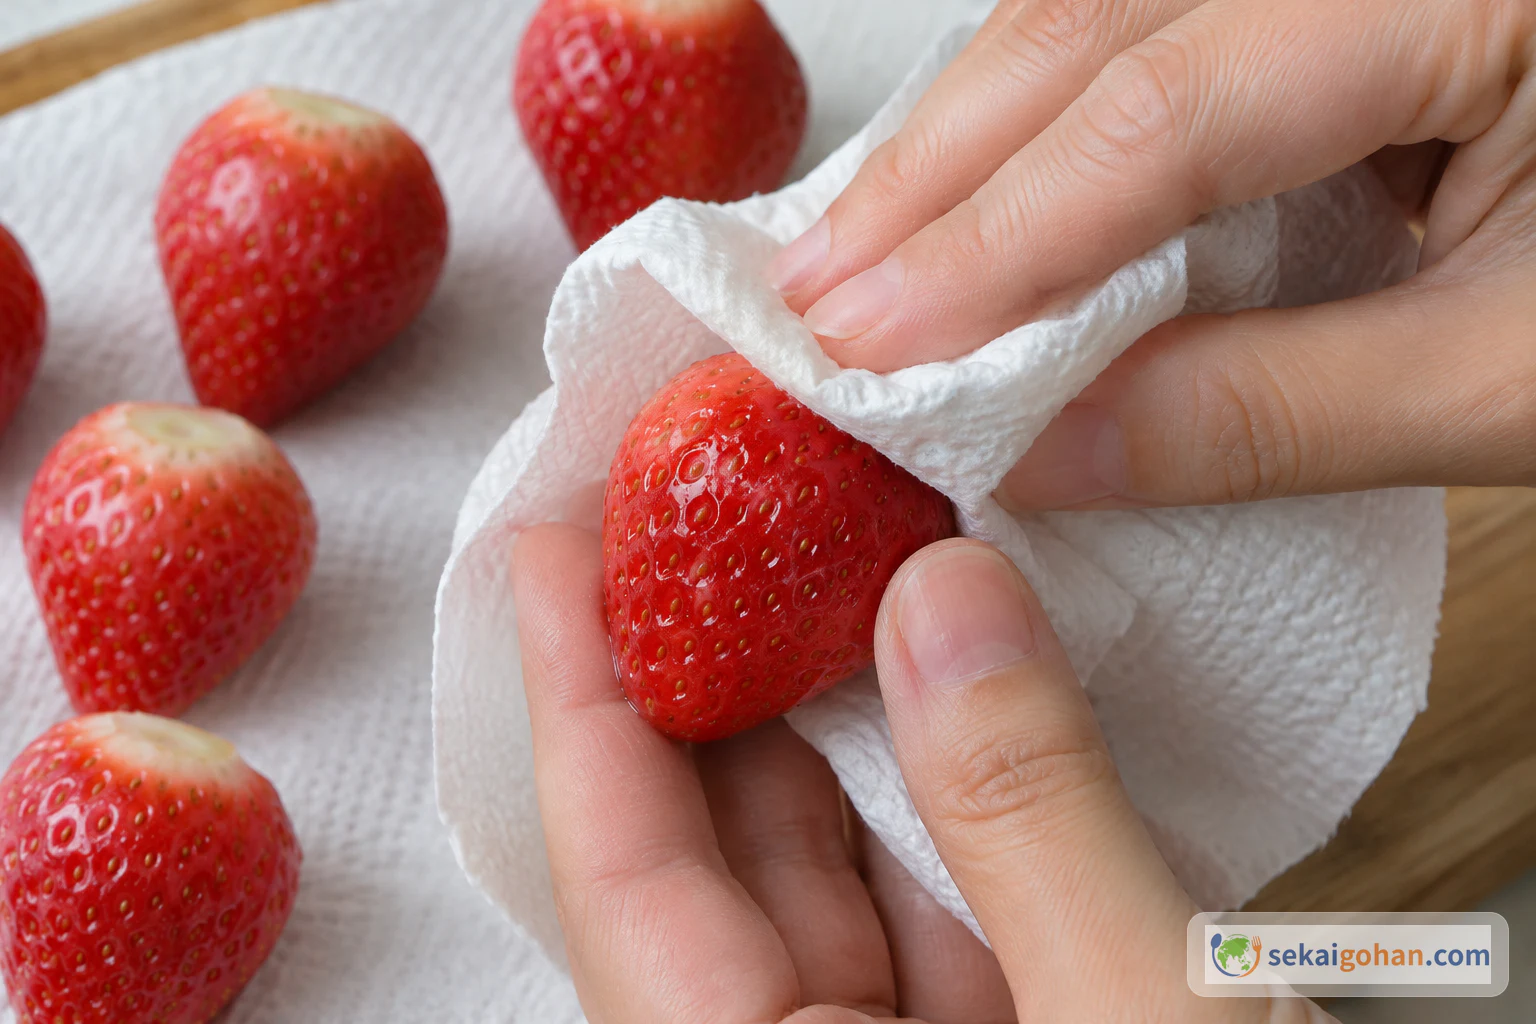
Blot each berry thoroughly so the surface is dry before wrapping Divide the 7 oz (200g) of koshi-an into ten 20g portions and roll each one into a ball.
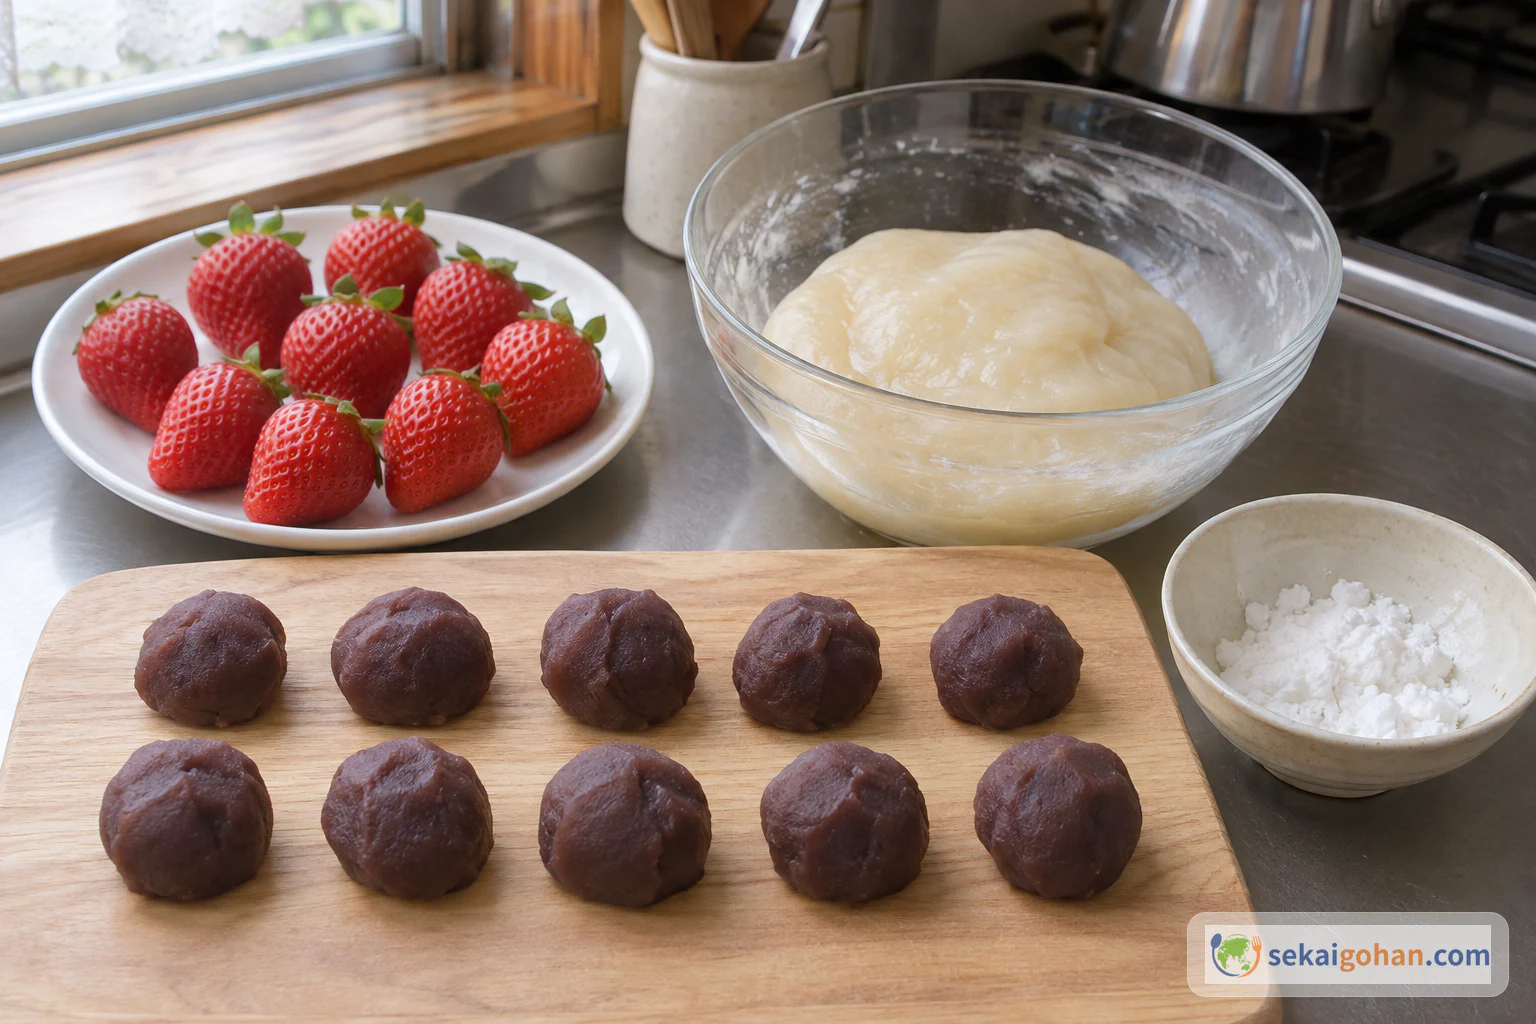
Divide the bean paste into ten even 20g balls before anything is wrapped Spread potato starch over the bottom of a shallow tray. This is where the hot gyuhi will go later.
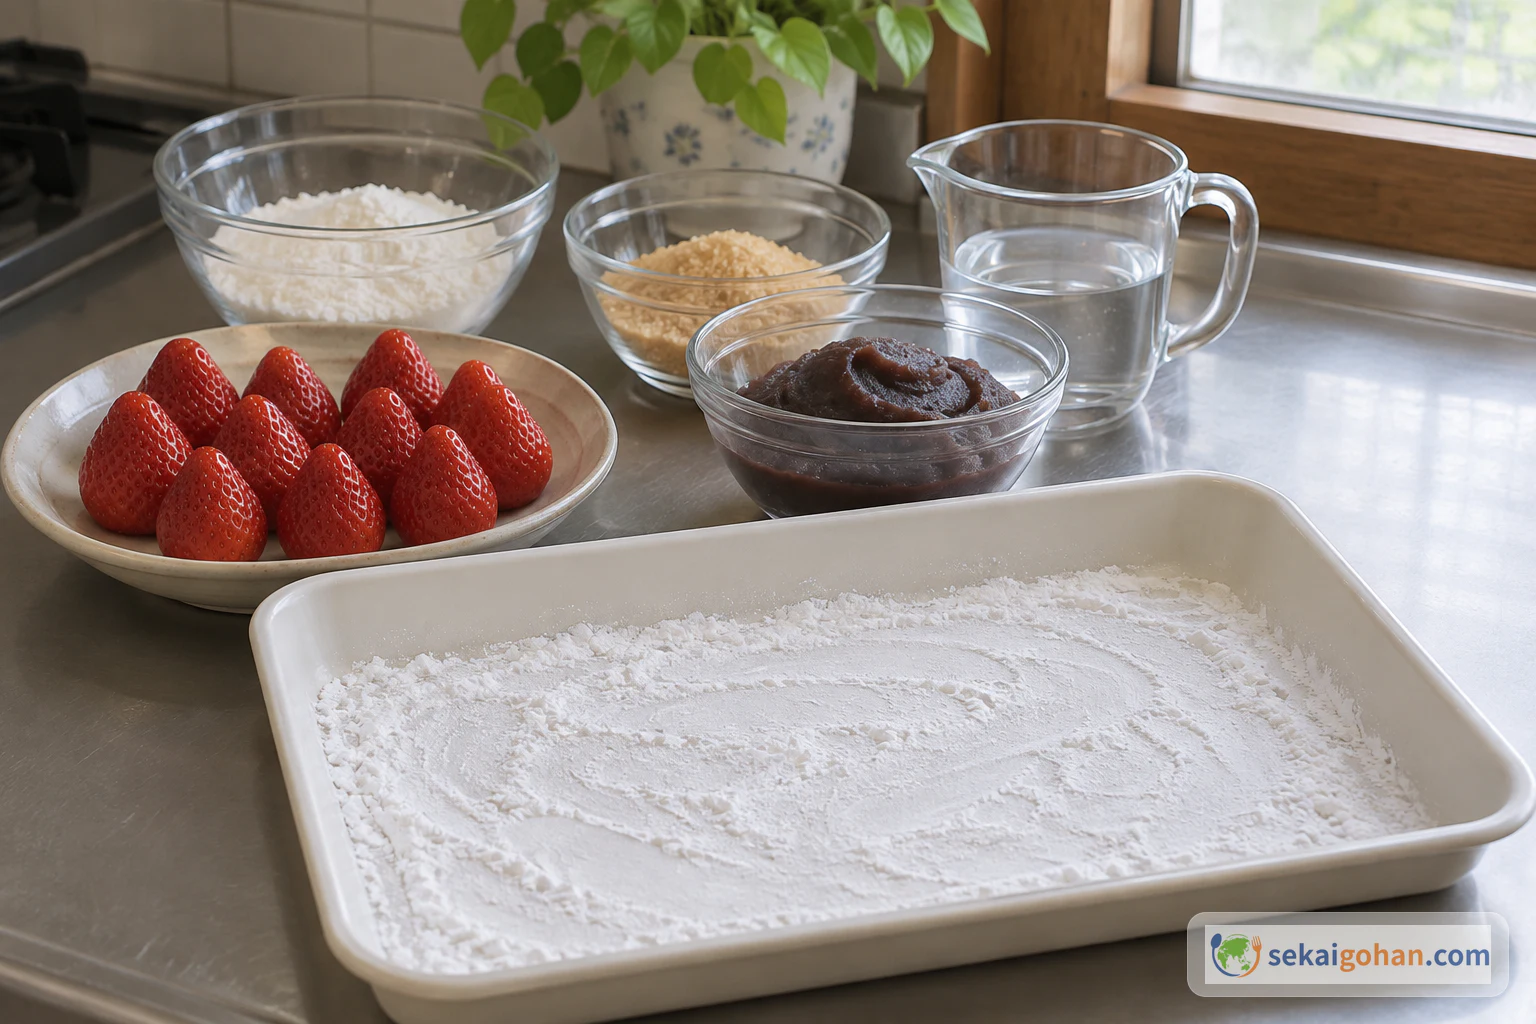
Dust the tray now so it is ready for the hot gyuhi 2Wrap each strawberry in bean paste
With clean, dry hands, flatten one ball of koshi-an into a thin, even round.
Set one strawberry on the paste and bring the paste up around it. Close it into a round ball with no fruit showing. Repeat with the rest, and set the finished balls apart from each other.
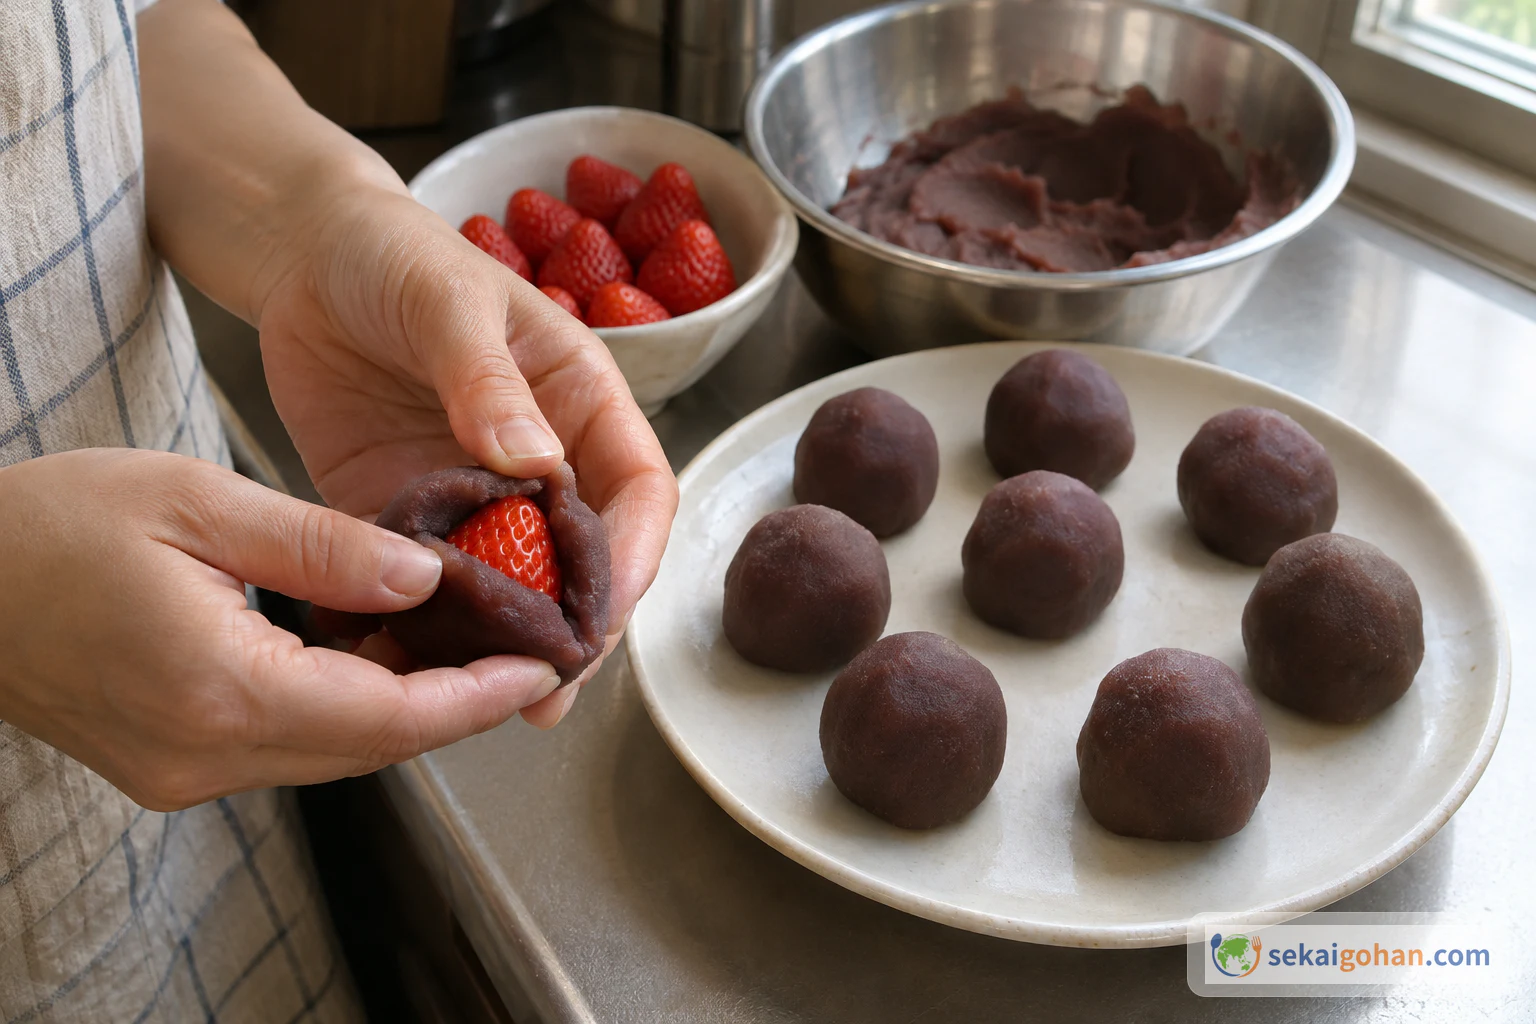
Close the paste fully around the berry and keep the finished centers apart 3Mix the gyuhi batter
Put 3.5 oz (100g) shiratamako, 1.75 oz (50g) cane sugar and ¾ cup (180 ml) water in a large microwave-safe bowl. Whisk thoroughly until the batter is smooth and even.
4Heat for about 2 minutes, then knead
Put the bowl in the microwave and heat at 600W for about 2 minutes.
Take the bowl out with oven mitts and set it on a heatproof surface. Knead quickly with a wooden spatula until the mixture is even. Keep your face away from the steam.
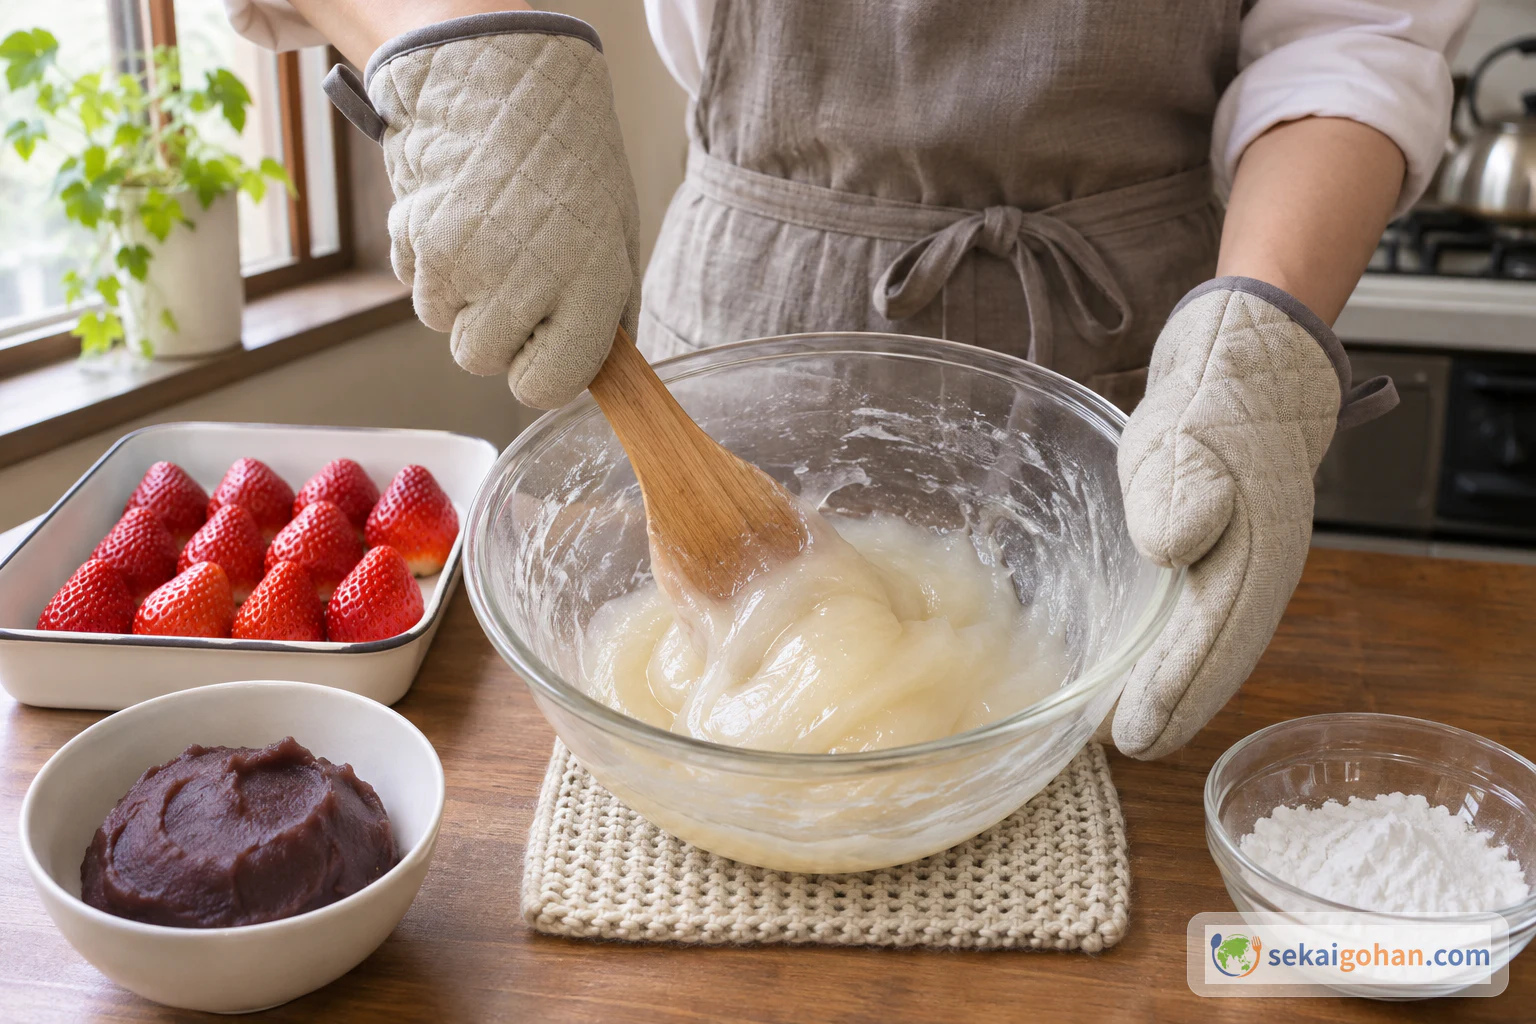
Knead quickly right after heating to even out the thickened parts 5Heat for about 1 minute more, then knead
Return the bowl to the microwave and heat for about 1 minute more.
Take it out with oven mitts and knead it again with the wooden spatula.
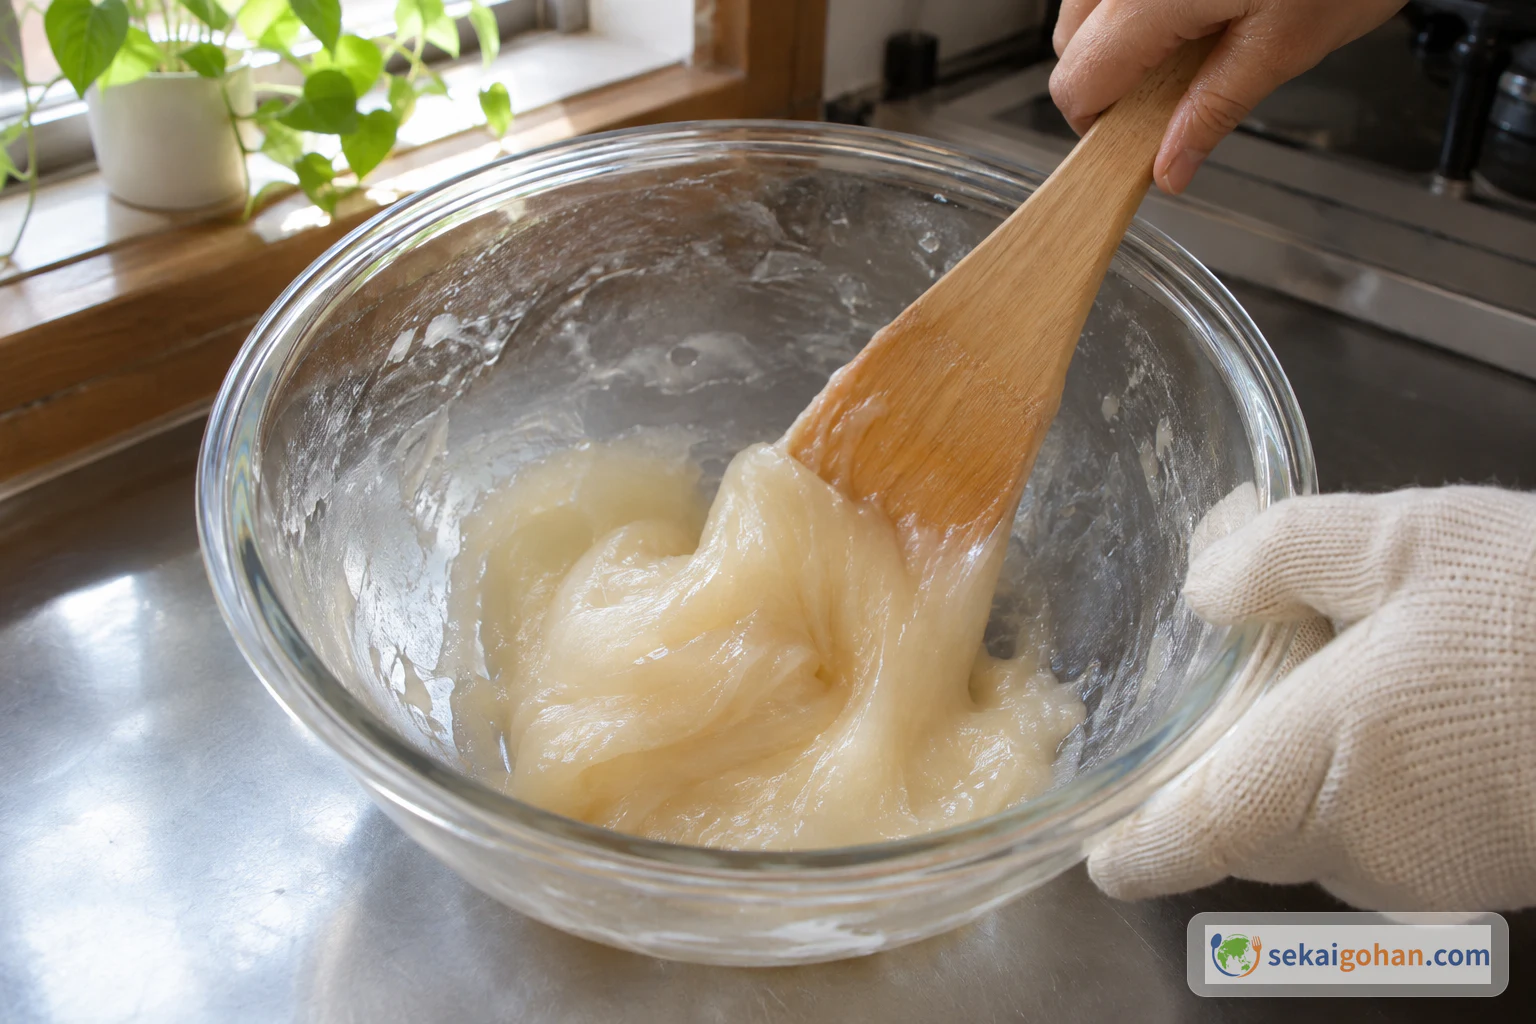
Knead again; the dough is now thicker and more elastic 6Heat for 30 seconds to 1 minute, knead, and stop when glossy
Heat for another 30 seconds to 1 minute.
Take the bowl out and knead the dough. Stop when it is glossy, soft and holds together like mochi. Microwaves vary, so go by how the dough looks and handles.
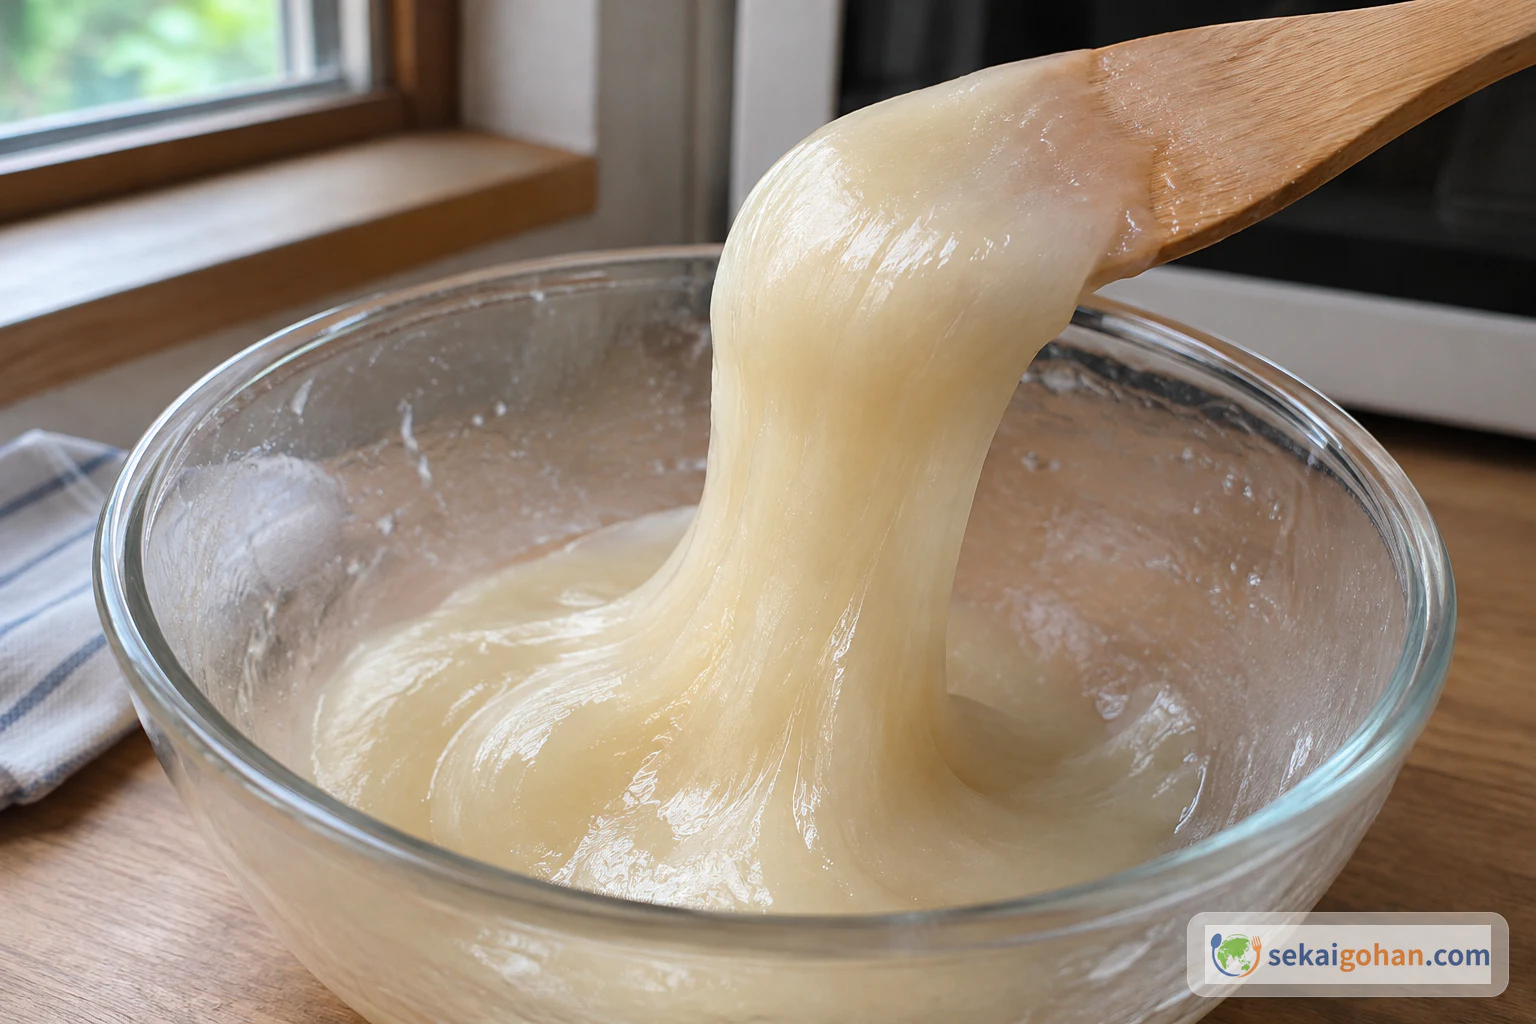
Stop when the dough is glossy, soft and stretches as one smooth mass 7Cool on the starch tray, dust and cut into ten
Scrape the hot gyuhi onto the starch-dusted tray with the wooden spatula, holding the bowl with an oven mitt.
Leave it alone until it has cooled enough to touch.
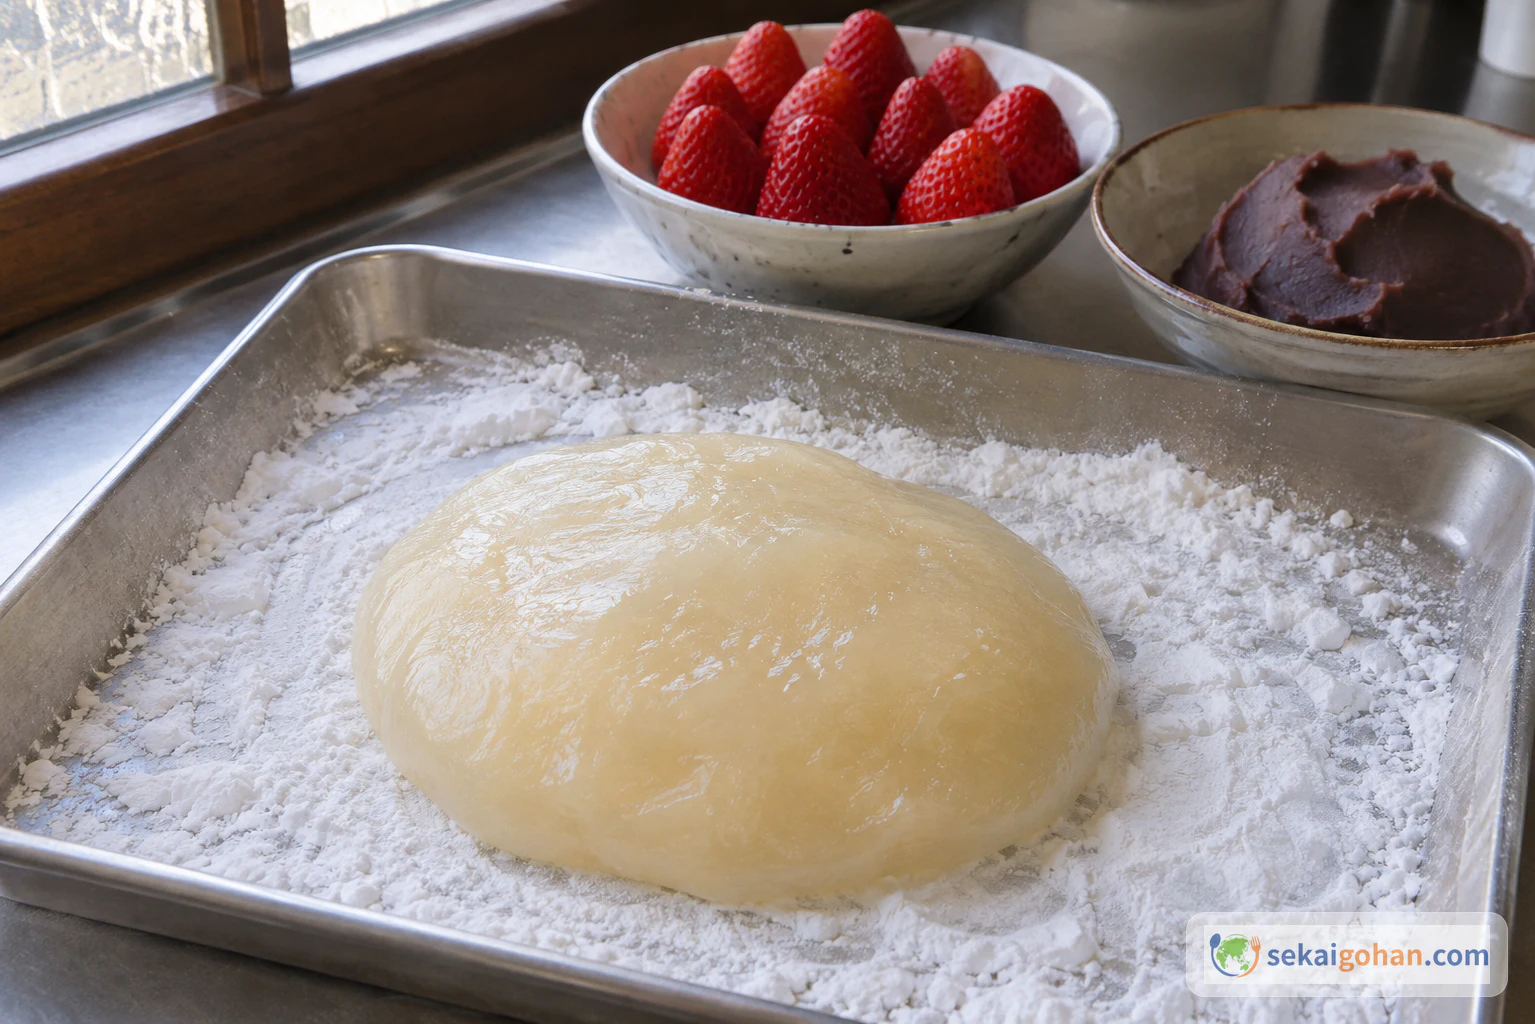
Let the dough rest until it is cool enough to handle Coat the outside of the dough generously with potato starch. The starch stays on the surface. Don't knead it in.
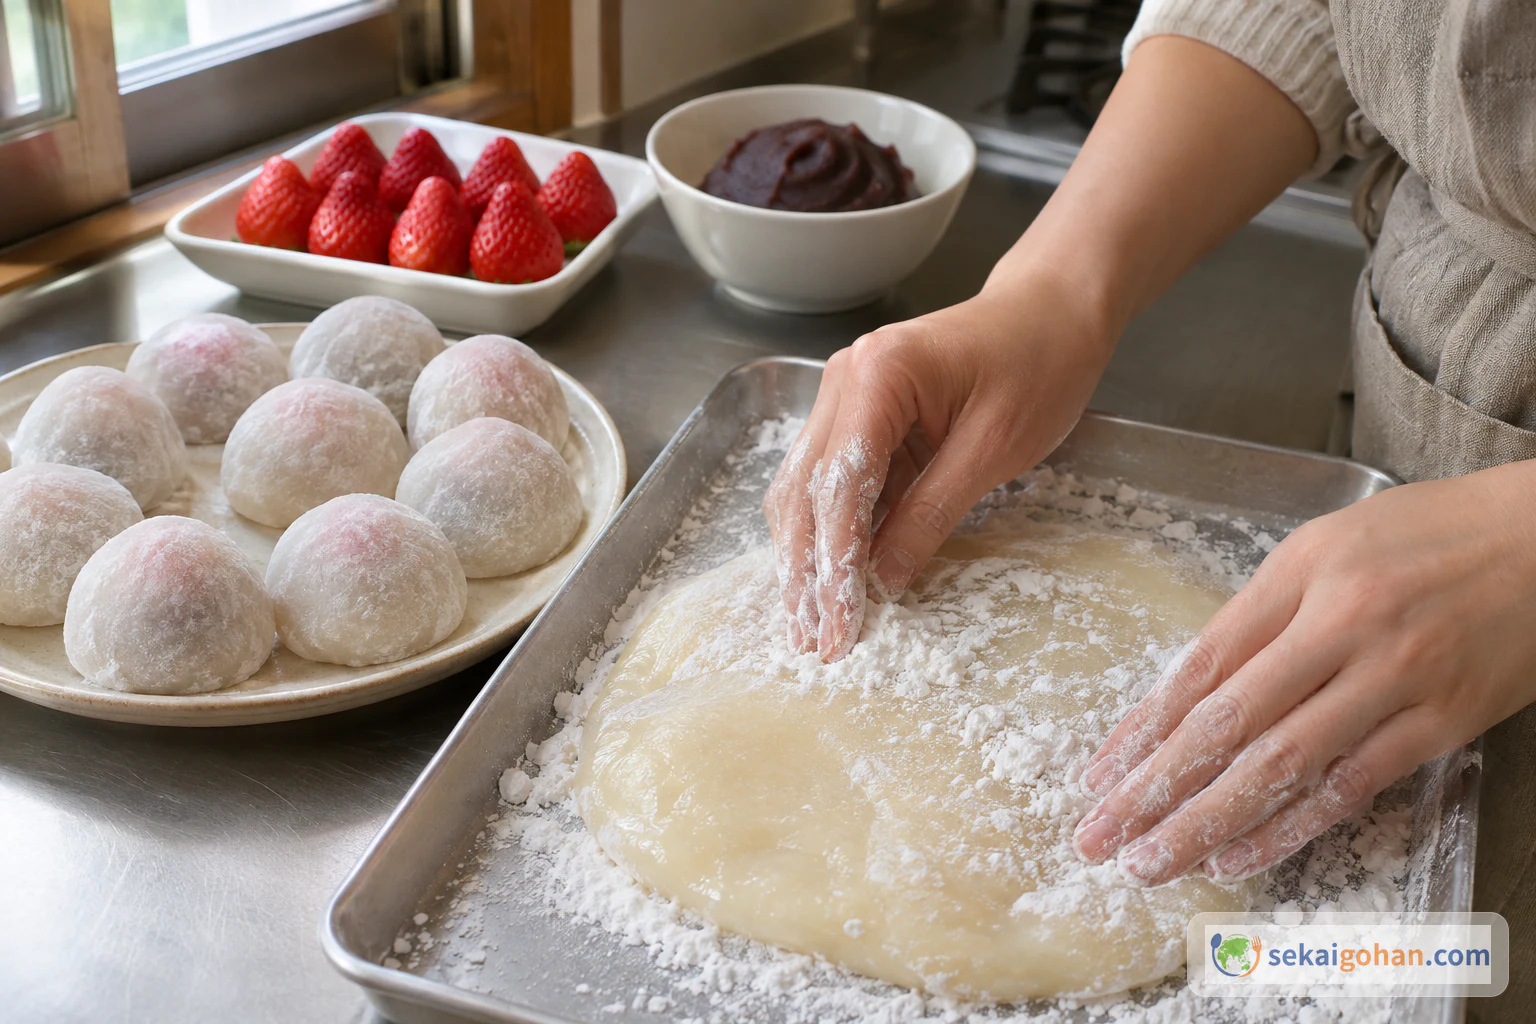
Dust the outside generously so the dough doesn't stick to your hands or scissors Cut the dough into 10 roughly equal pieces with kitchen scissors.
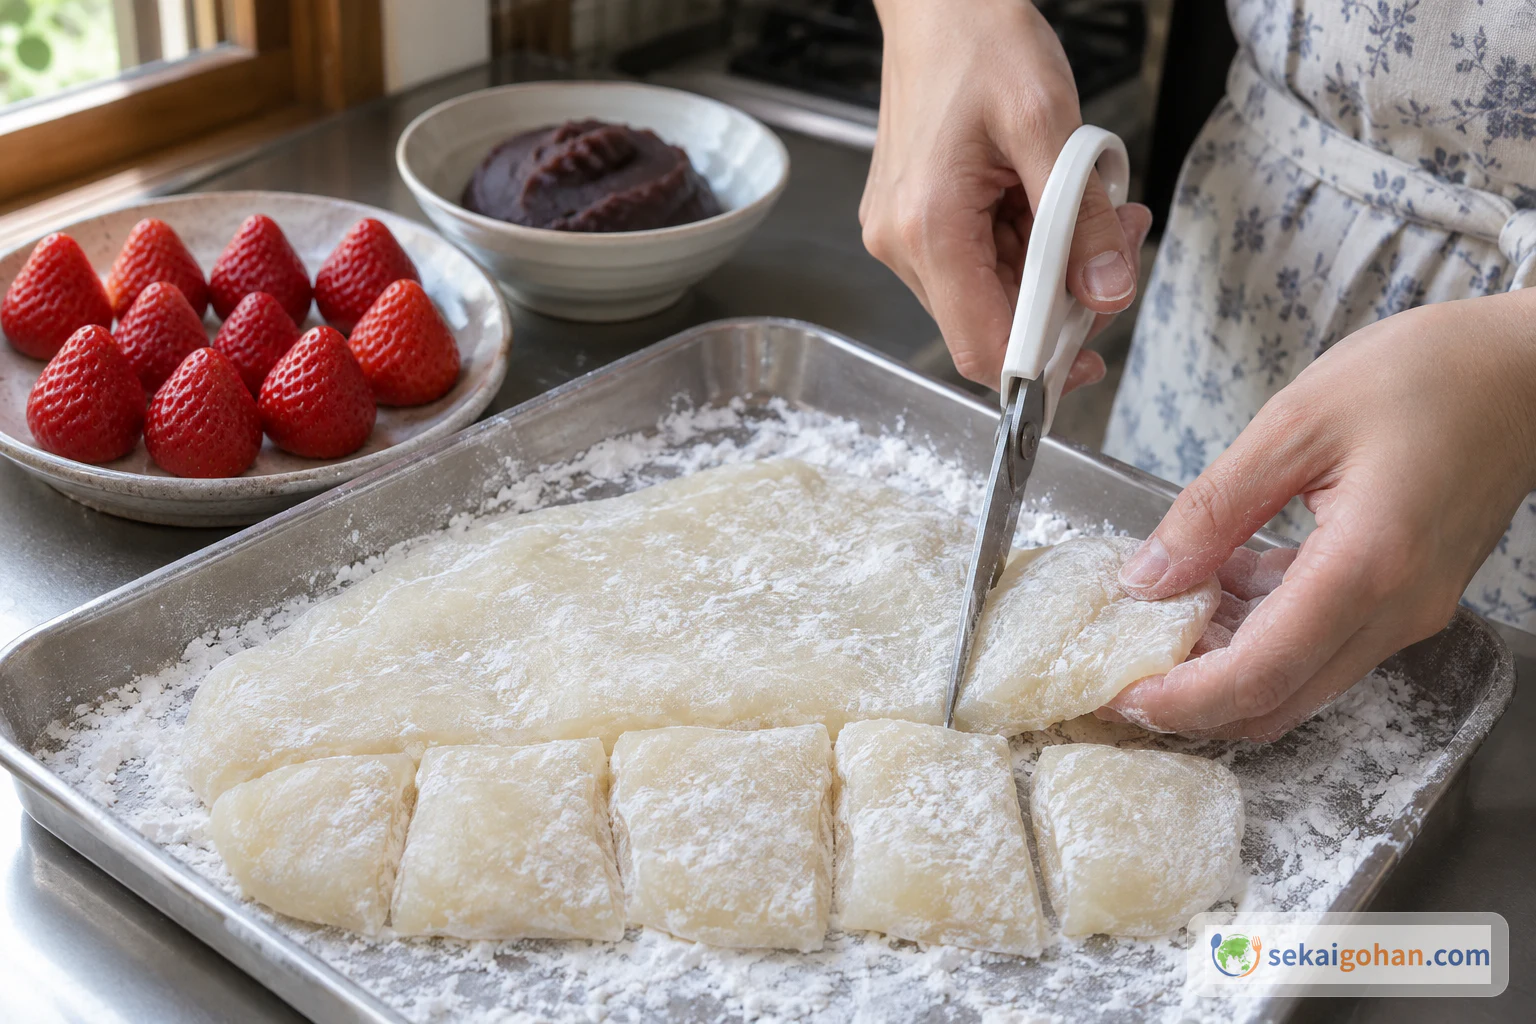
Cut into ten pieces, one for each filling 8Spread, cover and seal
With starch-dusted hands, spread one piece of gyuhi into a round wrapper. Don't stretch it too thin.
Lay the wrapper over a bean-paste-covered strawberry from above, supporting the filling from below.
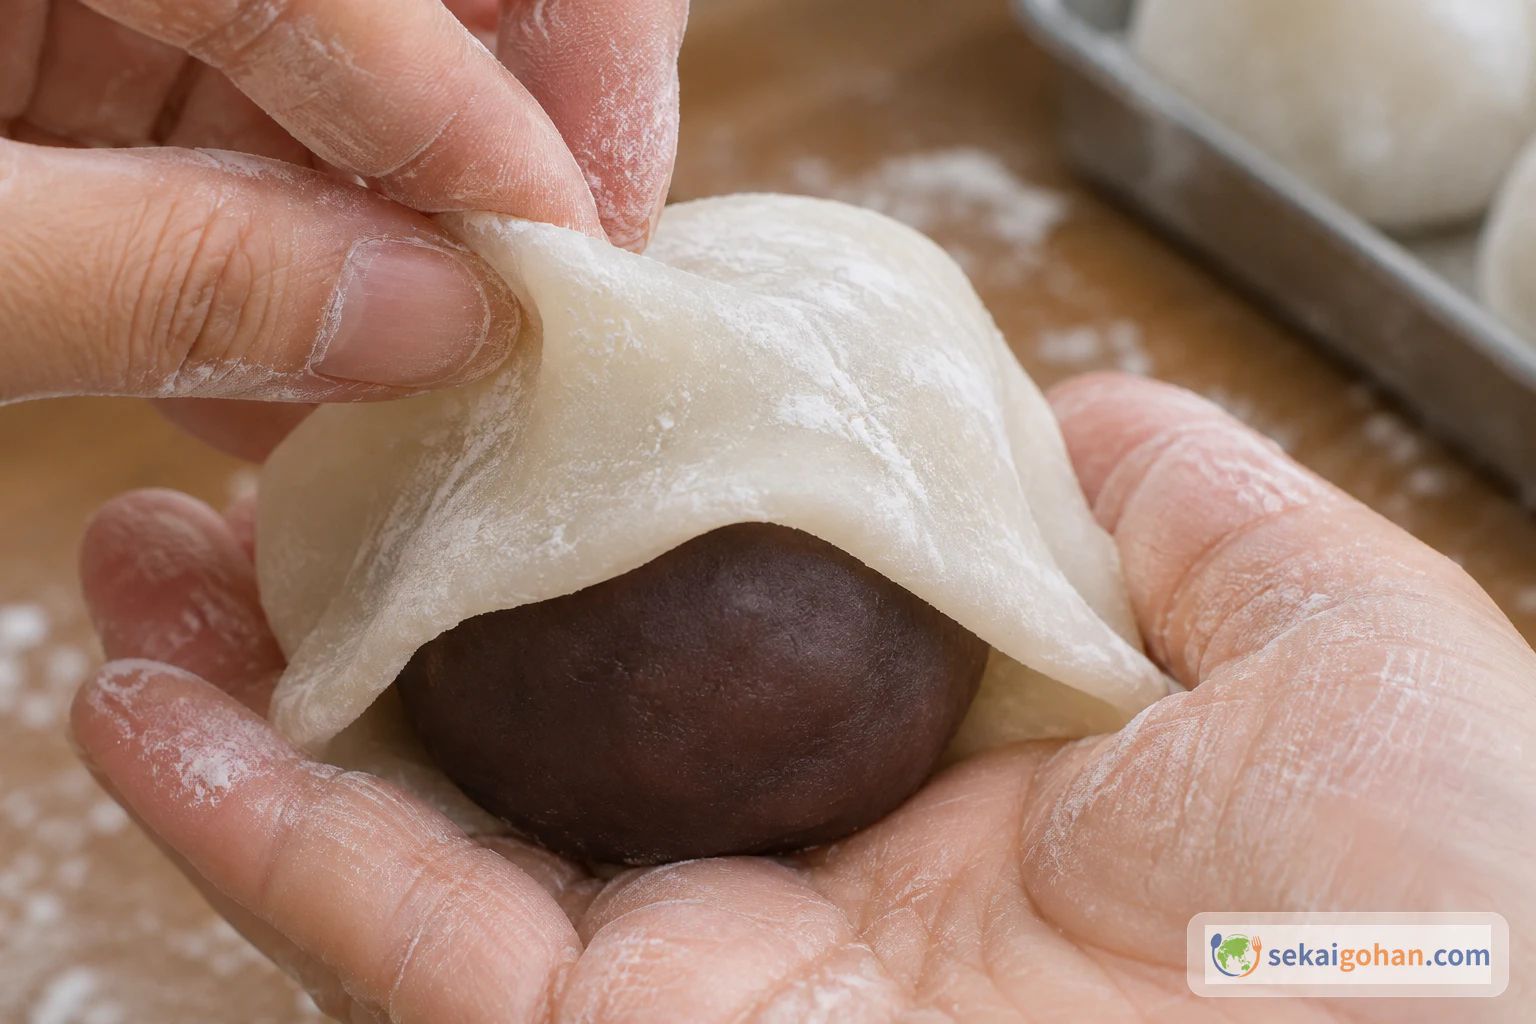
Drape the gyuhi over the bean-paste-covered berry Gather the edges underneath, pinch the seam closed and shape the piece into a round. Repeat with the other nine.
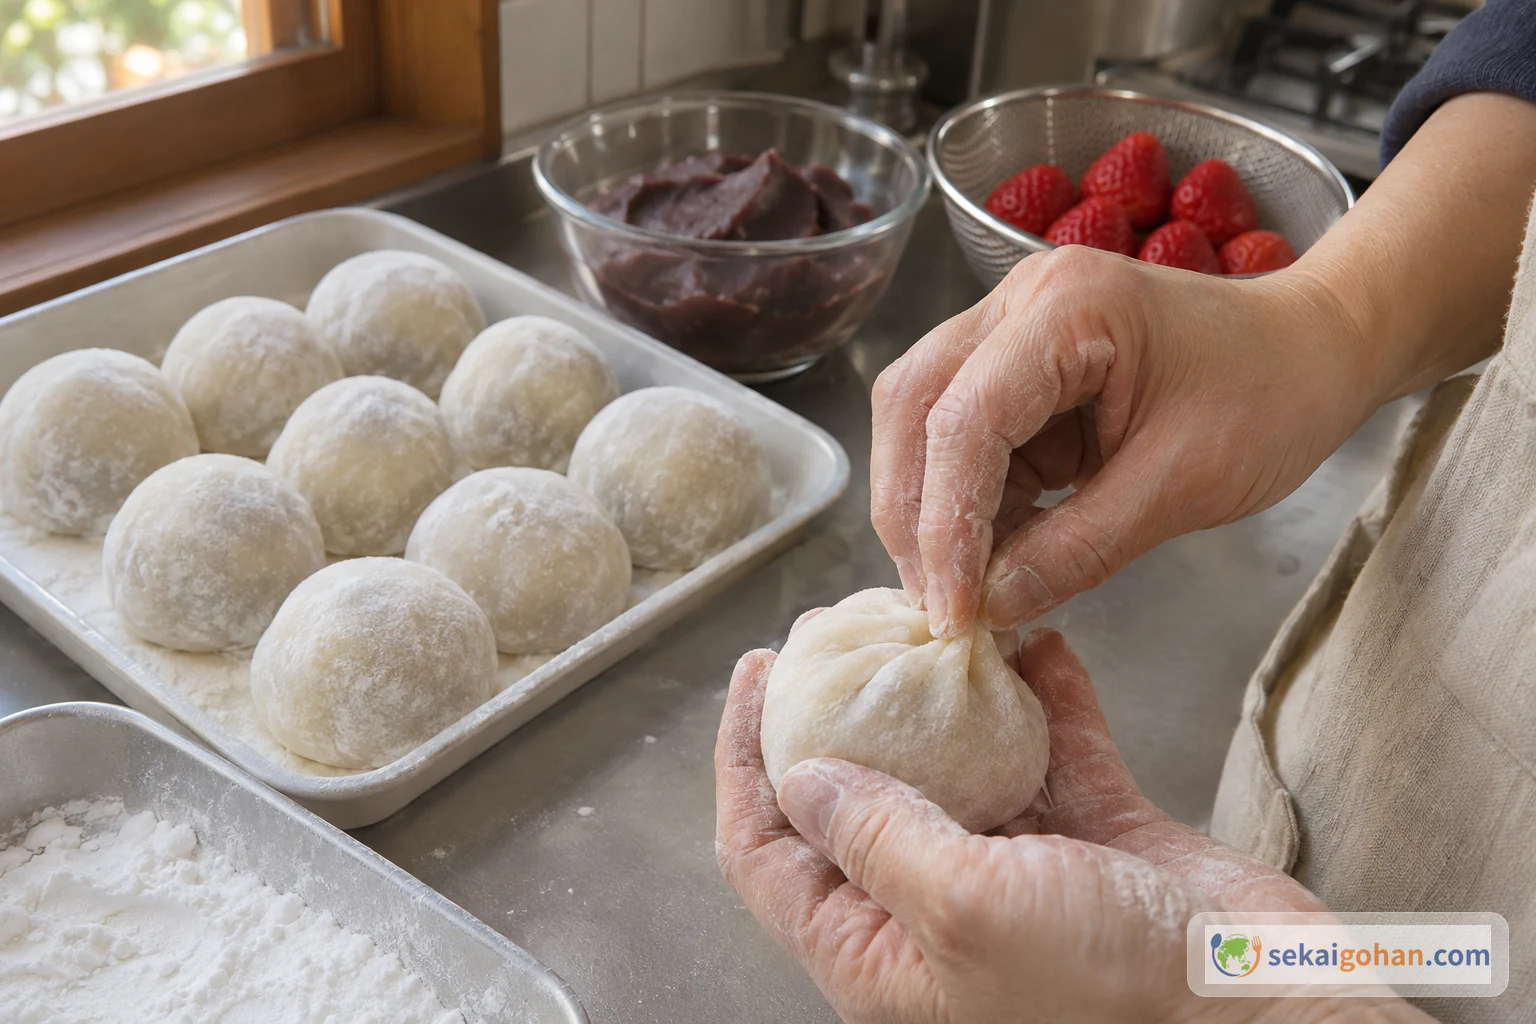
Pinch the seam shut underneath and round off the shape