Ingredients and steps on one page. Print it, or choose “Save as PDF” in the print dialog.
Sekai Gohan
Umeboshi Onigiri: How to Shape a Soft Triangular Japanese Rice Ball
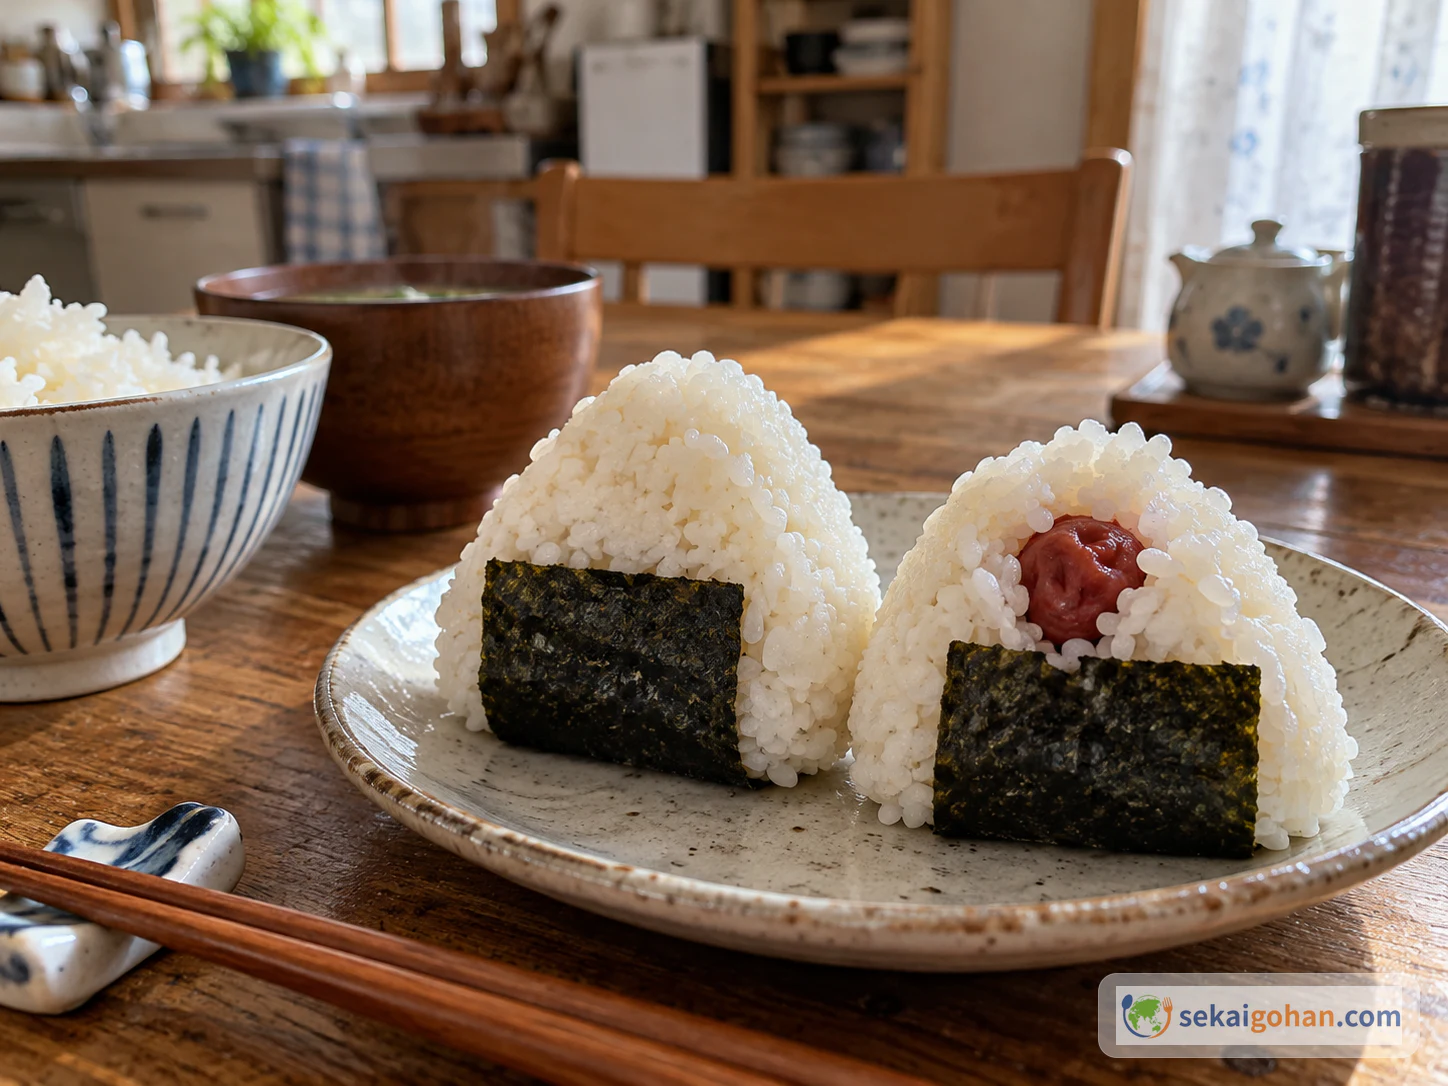
Ingredients
| Ingredient | Amount | Role and handling |
|---|---|---|
| Freshly cooked rice | 7 oz (200 g) | Divided into two equal portions, one per rice ball |
| Umeboshi (Japanese pickled plum) | 2 | Pits removed; one goes in the center of each rice ball |
| Toasted nori | as needed | Cut into strips that are easy to wrap and eat |
| Salt | as needed | For the optional gloved-hand method, spread thinly over the gloves; start with a small amount |
| Water | a little | For lightly wetting the gloves in the optional gloved-hand method |
Steps
1Prepare the umeboshi and nori
Wash your hands well with soap. Remove the pit from each of the 2 umeboshi, and cut the nori into strips that will be easy to eat. From here on, handle the rice and filling through food-safe cling film or food-safe disposable gloves rather than with bare hands.
2Portion the rice and enclose the umeboshi
Divide the 7 oz (200 g) of cooked rice into two equal portions of 3.5 oz (100 g). Put one portion in a rice bowl and make a hollow in the center.
Place one pitted umeboshi in the hollow.
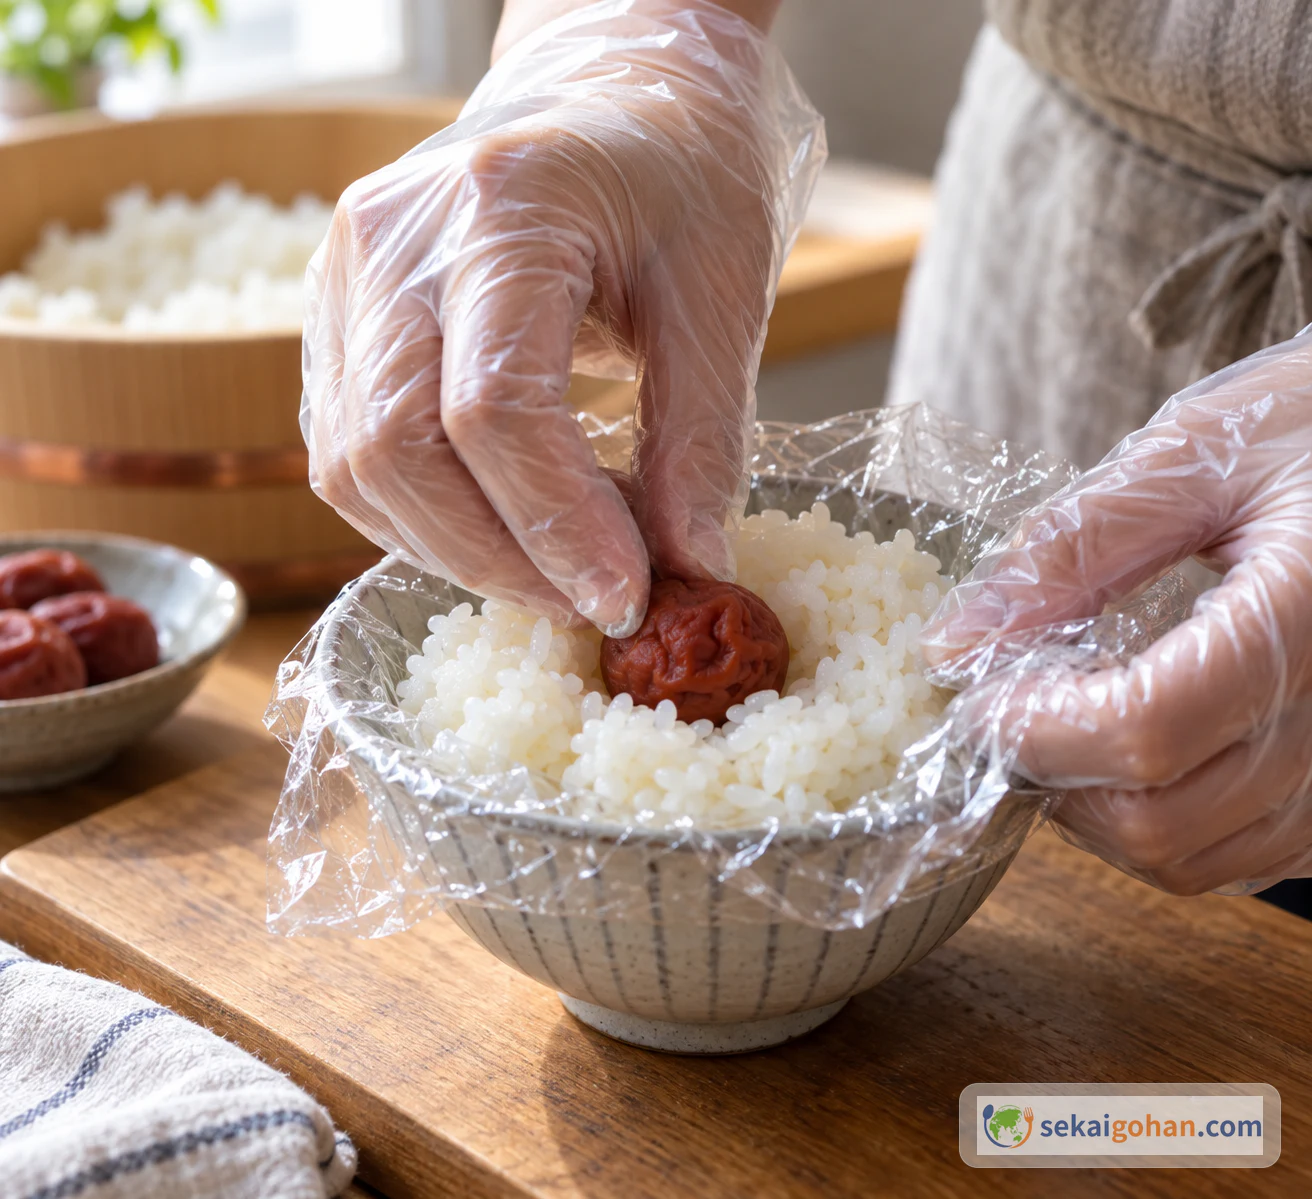
One umeboshi goes in the center of each portion Draw the surrounding rice over the plum until it is covered. A deep hollow that is closed over with rice keeps the filling from pushing out while you shape.
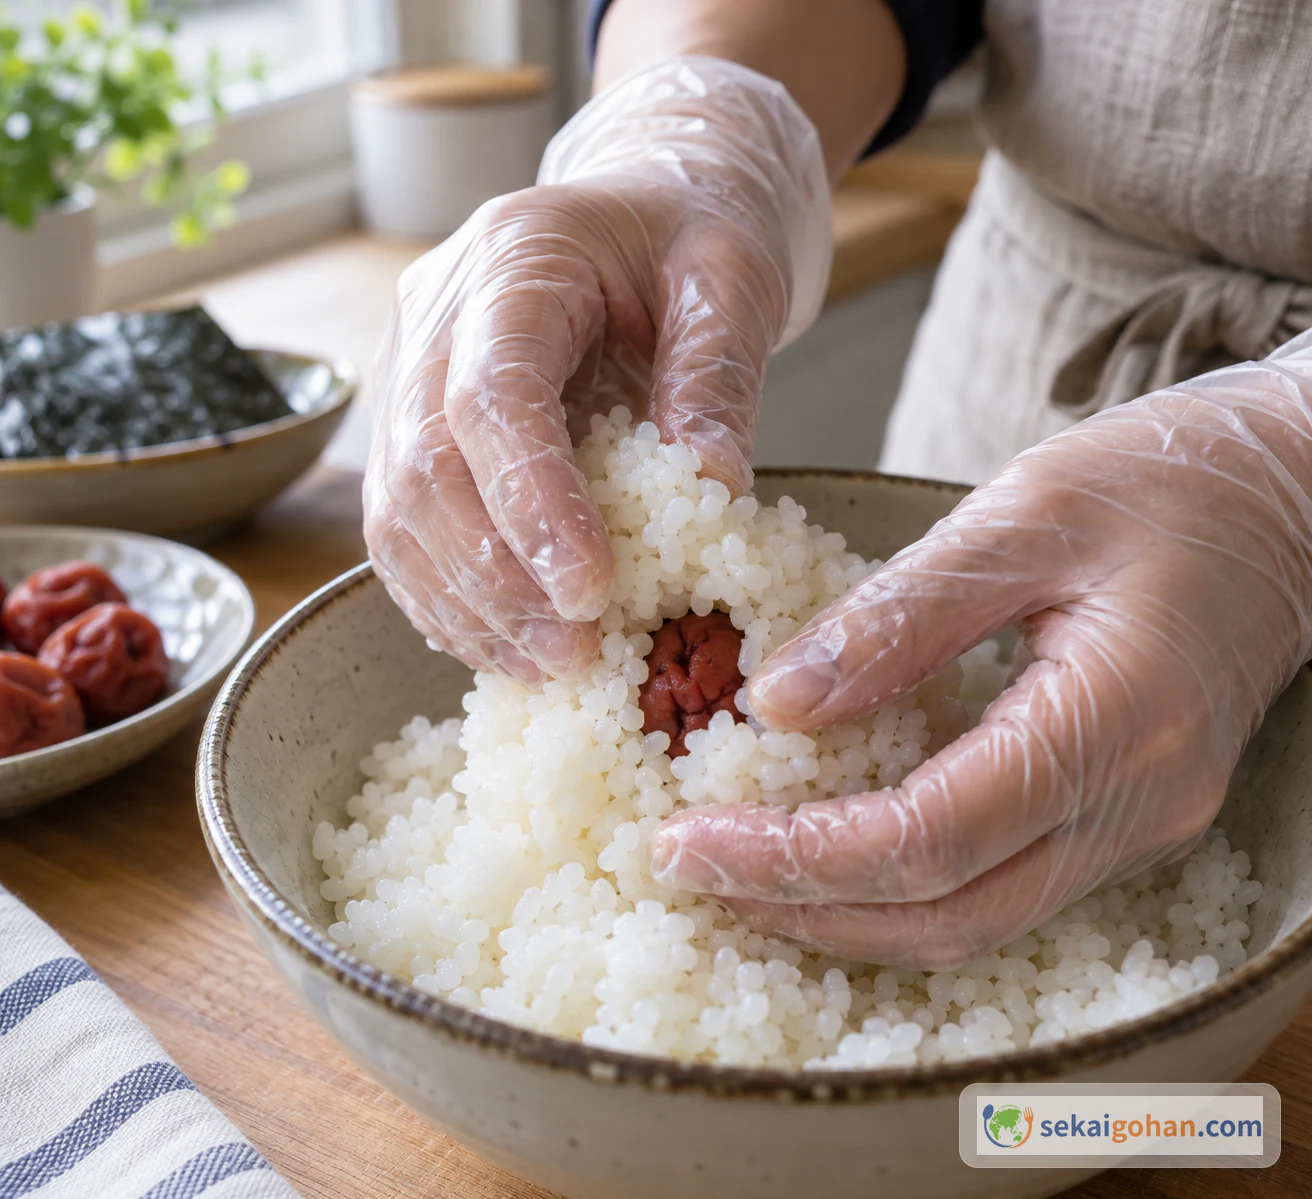
Close the rice over the plum before shaping the triangle 3For the optional gloved-hand method, wet the gloves and spread a little salt
For a light salt finish, do this with gloved hands: wet them with water, shake off the excess so the rice doesn't turn watery, then take a small amount of salt on your fingertips and spread it thinly over both palms. If your umeboshi is very salty, use even less.
4Shape gently into a triangle
For the main cling-film method, turn the rice out of the bowl onto food-safe cling film and gather the film around it. Shape through the film, turning the rice between your palms and pressing each side gently into a triangle. Alternatively, use the lightly wetted and salted food-safe gloves from step 3, as illustrated below. In either method, press only as much as the rice needs to hold together. Don't squeeze it hard; it is ready when it doesn't fall apart as you lift it lightly. If the rice is too hot to handle comfortably, spread it out in a dish, let the steam escape and wait until it is a temperature you can work with.
5Make the second rice ball and wrap with nori
Make the second onigiri the same way. Wrap each one with nori and serve. If you want the nori to stay crisp, wrap it just before eating.