Ingredients and steps on one page. Print it, or choose “Save as PDF” in the print dialog.
Sekai Gohan
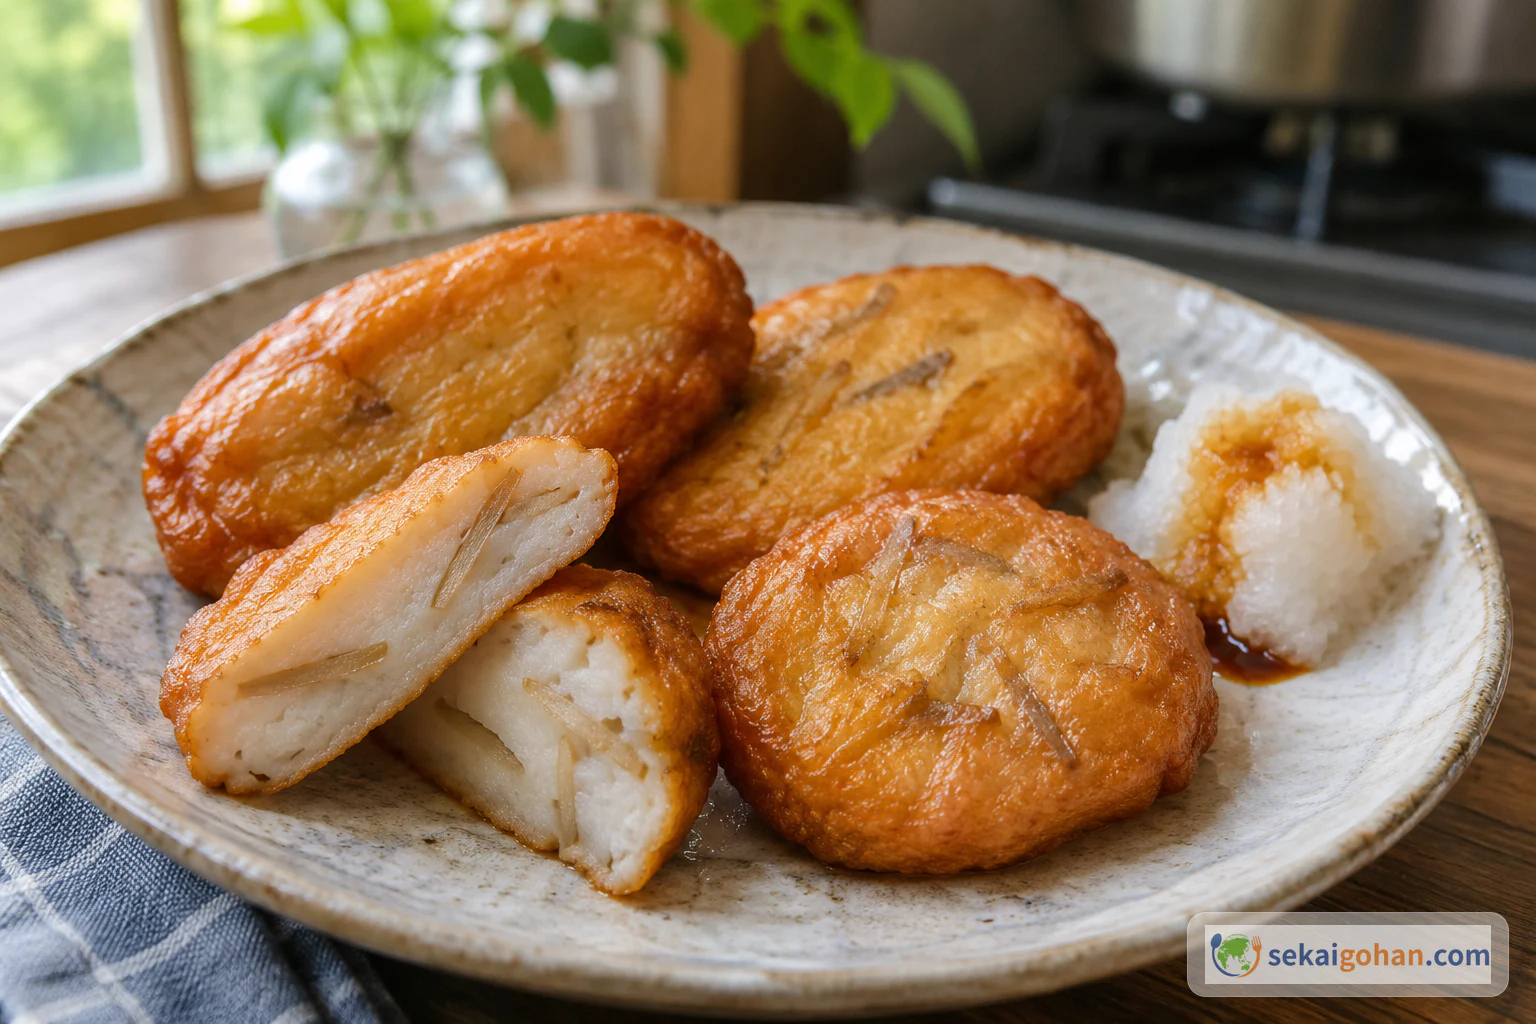
Satsuma-age: Kagoshima Sweet Fried White Fish Cakes
Ingredients
| Ingredient | Amount | Role |
|---|---|---|
| White fish fillet, skinless and boneless (sea bream, cod, sea bass) | 7 oz (200 g), weighed after soaking and draining | Body and spring of the cake |
| Salt | 0.1 oz (3 g) | Draws out the fish proteins so the paste turns sticky and springy |
| Sugar | 0.2 oz (5 g) | Kagoshima sweetness and golden color |
| Potato starch (katakuri-ko) | 0.7 oz (20 g) | Binds the paste and sets the texture |
| Water | ¼ cup (60 ml) | Loosens the paste |
| Burdock (gobō), julienned, optional | 1 oz (30 g) | Bite and earthy aroma |
| Carrot, julienned, optional | 0.7 oz (20 g) | Color |
| Ice water | as needed | Rinsing the fish |
| Frying oil | as needed | Frying, deep enough to cover the patties |
Steps
1Chop the fish and soak it in ice water
Check the fillet with your fingertips and pull out any bones, then trim off any skin. Cut the fish into rough small pieces and drop them into a bowl of ice water. The soak rinses away fat and water-soluble proteins, which gives a springier cake; skip it at home if you prefer more fish flavor, since it washes some of that out too. The pieces are ready when they feel cold and firm all the way through.
2Drain, dry and weigh
Tip the fish into a fine sieve and let the water run off. Press the pieces between paper towels until they stop leaving wet marks. Weigh out 7 oz (200 g) of fish, and if your amount differs, scale the salt, sugar, starch and water to match. The fish is dry enough when the surface looks matte and no water pools under it on the scale.
3Grind cold, then add the salt
Put the fish in the suribachi and grind it with the pestle in a cool spot, pressing and dragging the flesh against the ridges. Keep going until no grains of fish remain. Add the salt and keep grinding until the paste tightens and turns sticky. The grinding takes about 30 minutes in all, and the paste is ready when it looks glossy and clings to the pestle in a stretchy sheet.
Salt first, everything else afterAdd the salt before anything else and grind until the paste turns sticky. Salt dissolves the proteins that give the cake its bounce. Add sugar, starch or water too early and they get in the way, and the cake sets soft.
4Add sugar, starch and water, then the vegetables
Scatter the sugar and potato starch over the paste and add the water a little at a time, grinding after each addition. Work until the paste is smooth again with no dry streaks of starch. If you are using burdock and carrot, fold them in now with a spatula so the threads spread evenly. The paste is done when a spoonful holds its shape instead of slumping.
5Shape flat patties with oiled hands
Rub a little oil over your palms so the paste does not stick. Divide it into about five portions and press each into an oval or round as flat as you can make it, with an even thickness from edge to center. Flat cakes cook through evenly in low oil. Lay them on a parchment-lined tray, and they are ready when the surfaces look smooth and the edges have no cracks.
6Fry slowly at about 320°F (160°C)
Heat the oil in a deep, heavy pan to about 320°F (160°C) with the thermometer clipped to the side. Slide the patties in a few at a time so the oil temperature holds. Fry about 5 minutes per side, turning once with chopsticks. They are done when they have puffed and floated, the surface is evenly golden, and a cut patty is white and springy right through the center.
Hot oilLower each patty into the oil close to the surface, letting it slide away from you so no oil splashes back. Keep the pan handle turned inward and stay at the stove the whole time. Let the oil cool completely before you move or strain it.
7Drain on a rack
Lift the cakes out with chopsticks and set them on a wire rack over a tray. Let the oil run off and give them a few minutes to cool slightly so the inside settles. Cook every batch until the center is fully done; if a cut cake shows any translucent paste, return the rest of the batch to the oil. They are ready to eat when the oil stops dripping and the surface feels firm under a fingertip.