Ingredients and steps on one page. Print it, or choose “Save as PDF” in the print dialog.
Sekai Gohan
Macao Almond Cookies: Pressed Mung Bean and Almond Cookies from Macao
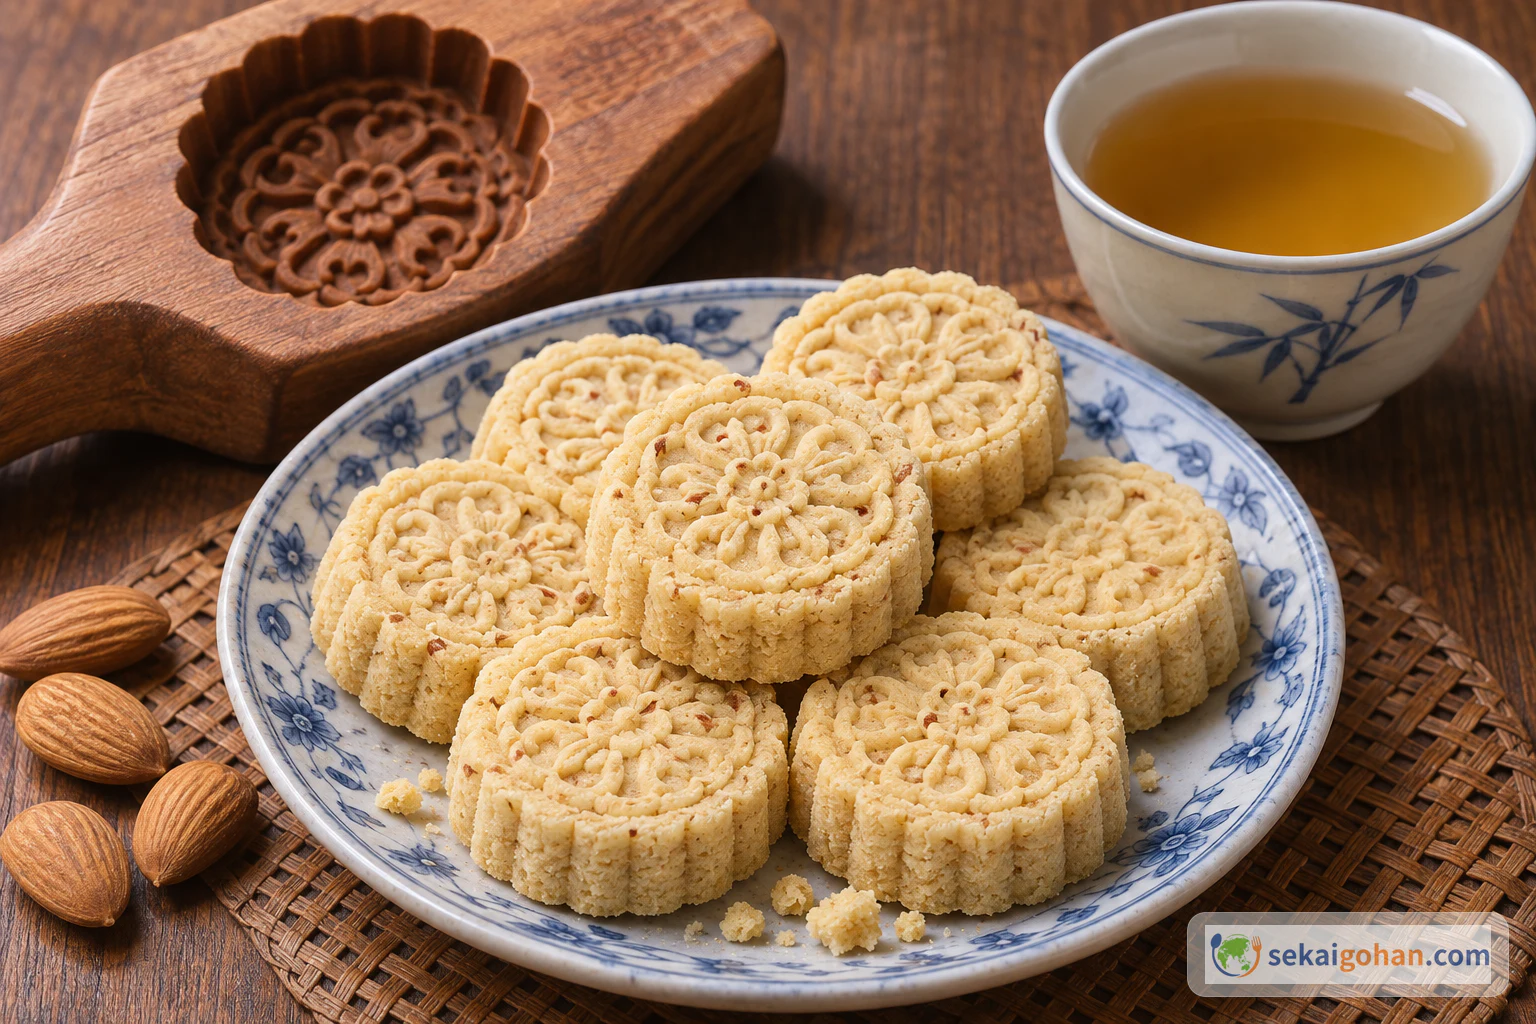
Ingredients
| Ingredient | Amount | Role |
|---|---|---|
| Whole almonds, unsalted, edible sweet almonds | 3.4 oz (96 g) | Body and flavor; ground with the sugar |
| Icing sugar (powdered sugar) | 3.4 oz (94 g) | Sweetness; ground with the almonds into a fine flour |
| Mung bean flour (綠豆粉) | 3.5 oz (100 g) | Binds the cookie and gives the sandy texture |
| Lard (豬油) | 2.5 oz (70 g) | Fat that holds the crumbs together in the mold |
| Almond extract | 1 tsp | Aroma; goes in before the water |
| Water | 1 tbsp, more or less as needed | Just enough for a pinch to hold its shape |
| Icing sugar for the mold | as needed | A thin coat inside the mold so the cookie releases |
Steps
1Heat the oven and line the tray
Set the oven to 300°F (150°C) so it heats while you make the mixture. Lay a sheet of baking parchment on a clean baking tray and press it flat into the corners. Keep the tray to hand near your molding space. The tray is ready when the paper lies flat with no curled edges.
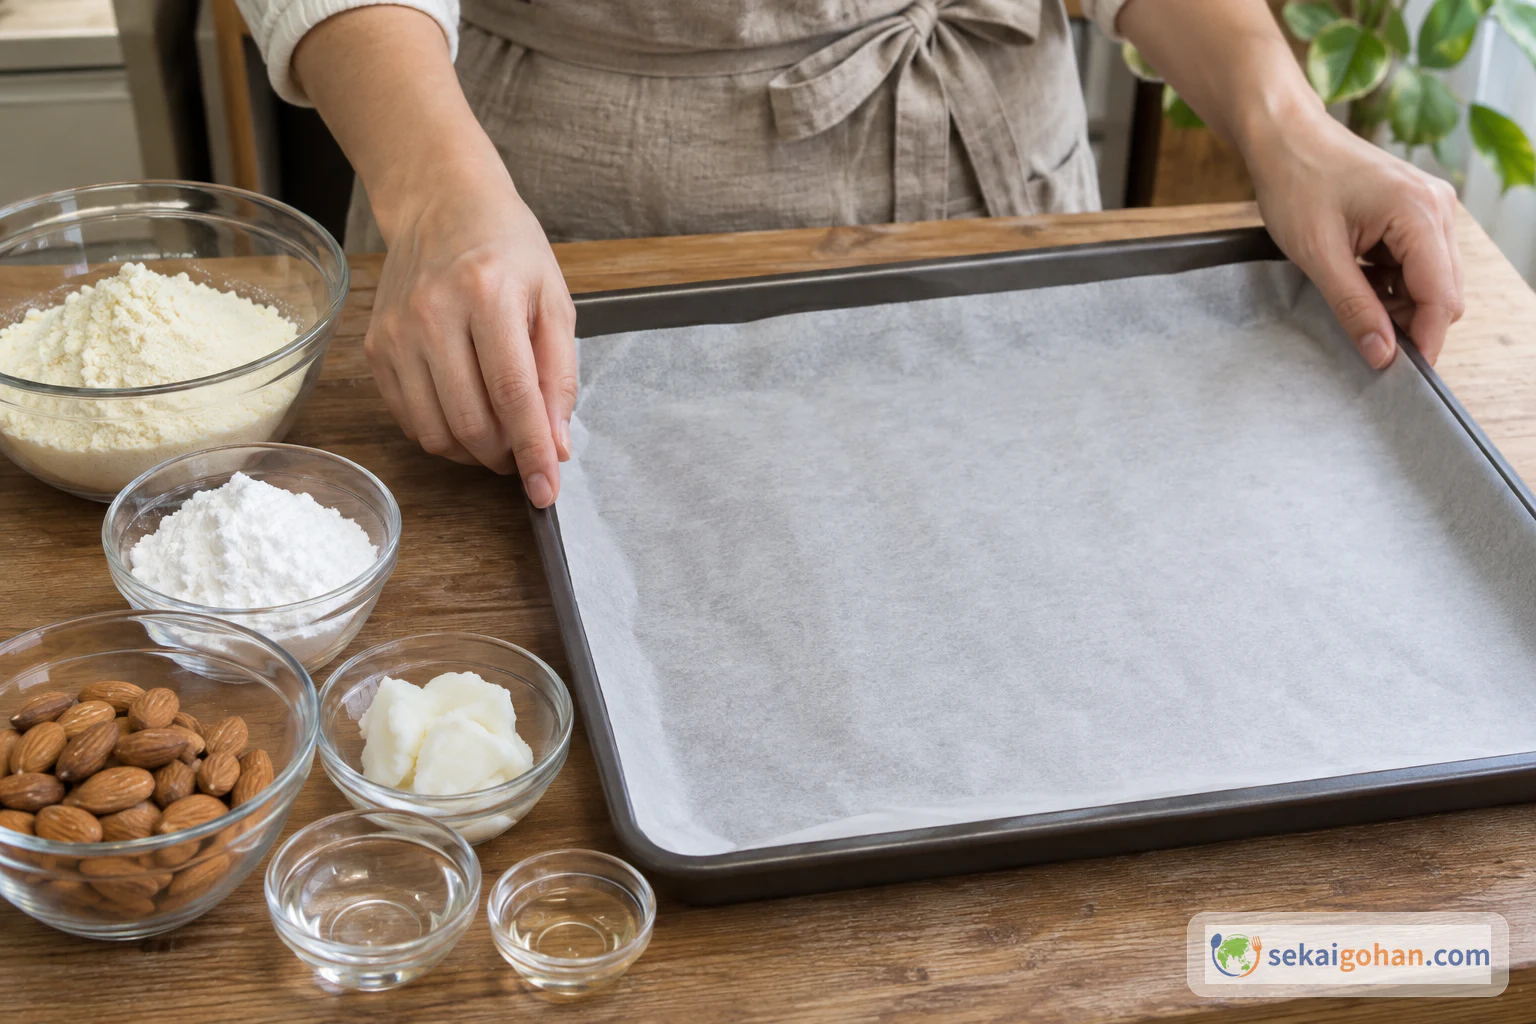
Flat paper gives each molded cookie a level base to sit on 2Grind the almonds with the sugar
Put the whole almonds and the icing sugar into the food processor together. Close the lid and pulse until the almonds break down. Keep going until the mixture is a fine, smooth powder. Stop when you see no visible chunks of almond and the powder looks like pale, even flour through the bowl.
3Blend in the mung bean flour
Tip the almond-sugar powder into a mixing bowl and add the mung bean flour. Whisk the two dry powders together thoroughly, reaching the bottom of the bowl. They are easy to blend because both are pale and fine. Stop when the color is completely even and no streaks of white flour remain.
4Cut the lard and add it to the flour
On a board, cut the lard into small cubes. Small pieces rub in quickly and evenly. Scatter the cubes over the flour mixture in the bowl. Leave them sitting on the surface for now. The lard is ready when the pieces are spread across the bowl rather than clumped together.
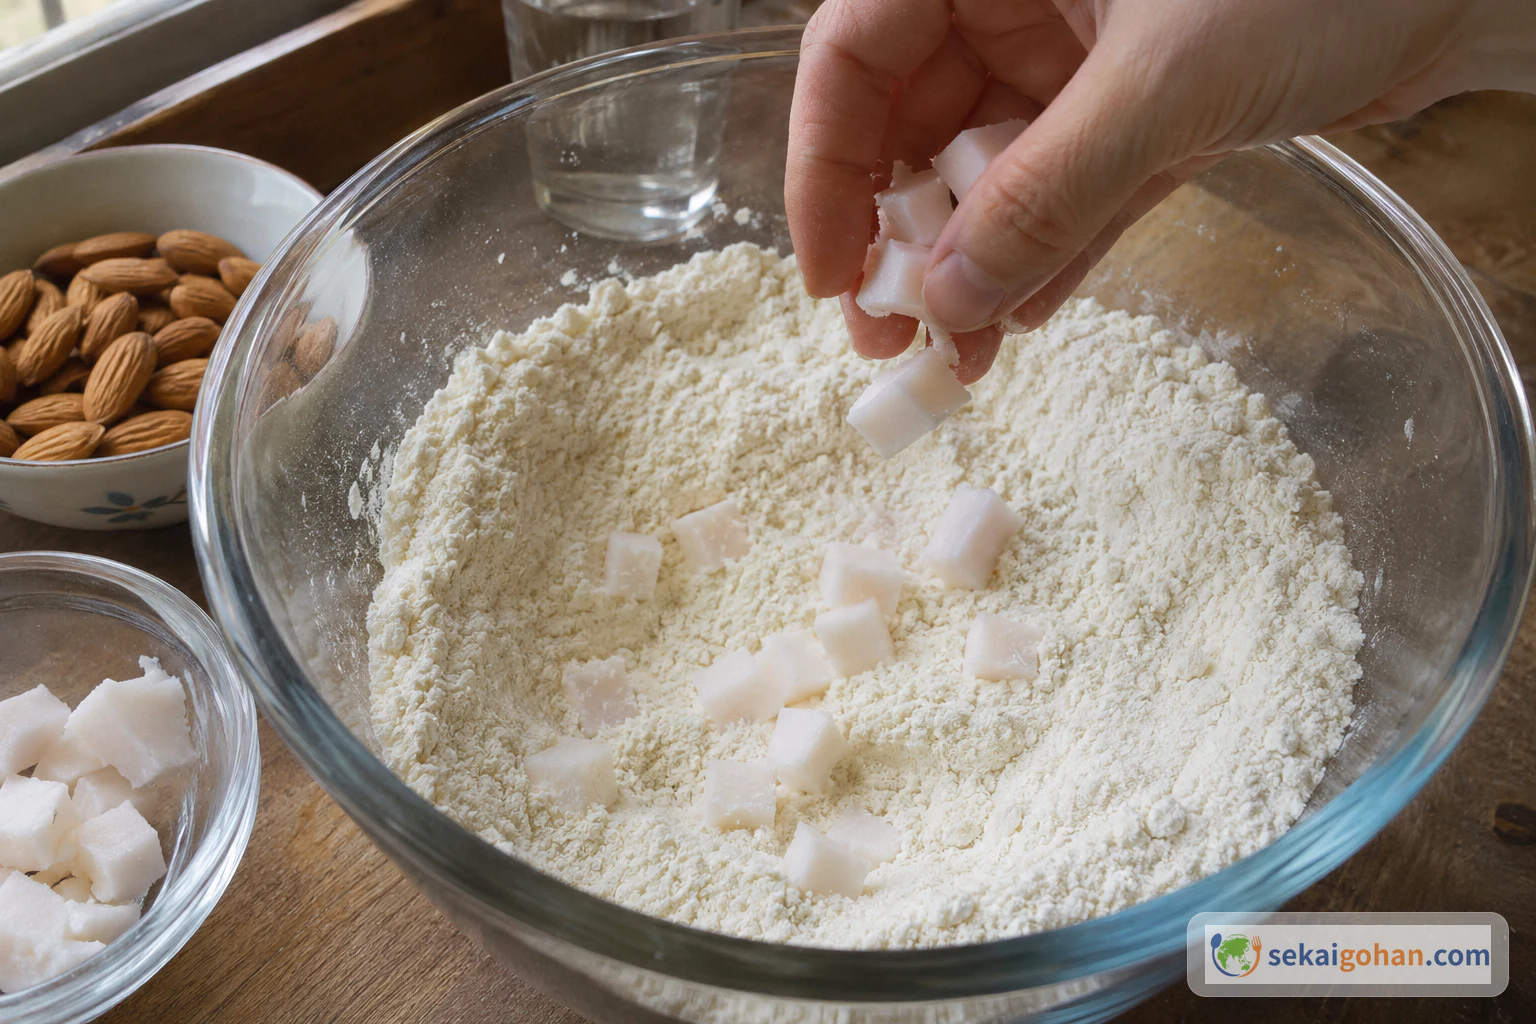
Spread the cubes out so no corner of the bowl gets all the fat 5Rub the lard into the flour
With your fingertips, pick up the lard and flour together and rub them between your fingers. Work around the bowl, lifting from the bottom, until no lumps of lard remain. The mixture is ready when it looks like fine breadcrumbs and still feels dry and loose.
6Add the extract, then the water bit by bit
Pour all of the almond extract over the crumbs and mix it in. Then add the water a little at a time, tossing the crumbs with your fingers after each addition. Use about 1 tbsp, more or less, as the mixture asks. The crumbs are moving the right way when they look slightly damp and begin to clump in places.
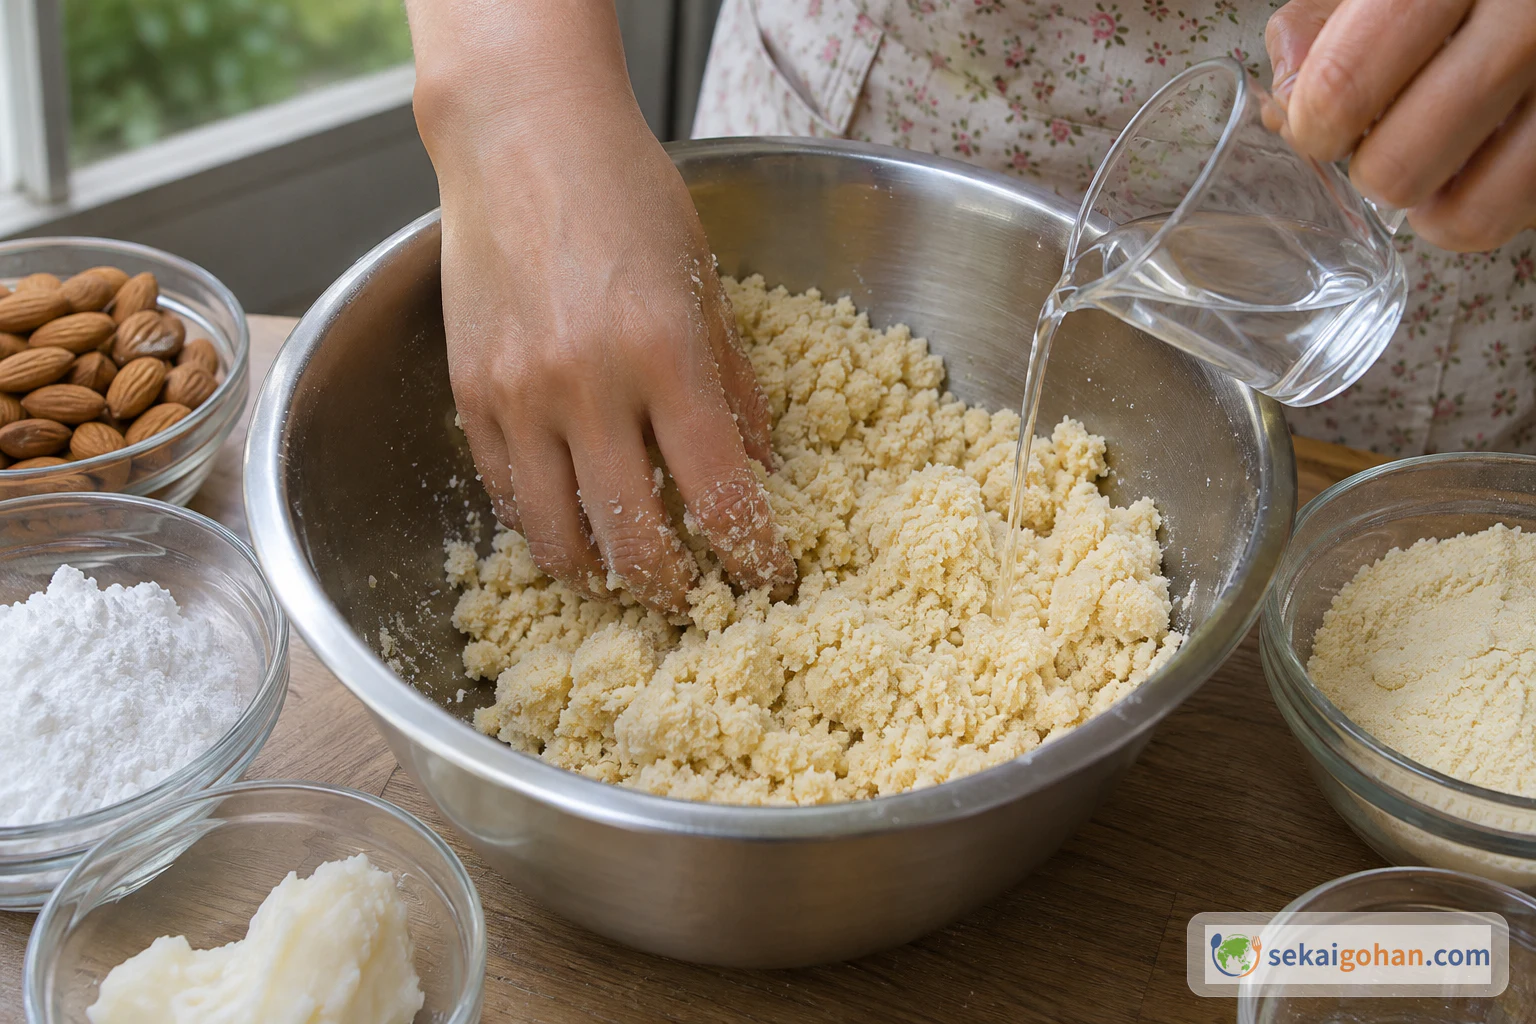
Small splashes, mixed between each one, keep the crumbs from turning pasty 7Press a pinch to test it
Take a small amount of the mixture and squeeze it firmly between your fingers. If it falls apart into loose crumbs, add another small splash of water and test again. If it holds its shape when pressed, stop adding water. The mixture is right when it still looks crumbly in the bowl but sticks together firmly in your hand.
8Dust the mold with icing sugar
Dip the clean food brush in the separate icing sugar for the mold. Brush a thin coat over the inside of the mold, working into every carved line and corner. Tap out any loose excess. The mold is ready when the pattern looks lightly frosted all over, with no bare wood showing in the deep cuts.
9Fill the mold to the corners
Spoon or scatter the crumbly mixture loosely into the dusted mold. Push it with your fingertips into the carved corners and the edges of the pattern. Add more mixture until the mold is heaped slightly above the rim. It is ready to press when every part of the carving is covered.
10Press firmly and level the bottom
Press down hard on the mixture with your fingers or the heel of your hand. Pack it tight into the mold. Then rub across the exposed surface to smooth it flat, because this becomes the bottom of the cookie. Brush the excess off the rim. The cookie is packed when the surface is flat and firm under your finger, with clean mold edges around it.
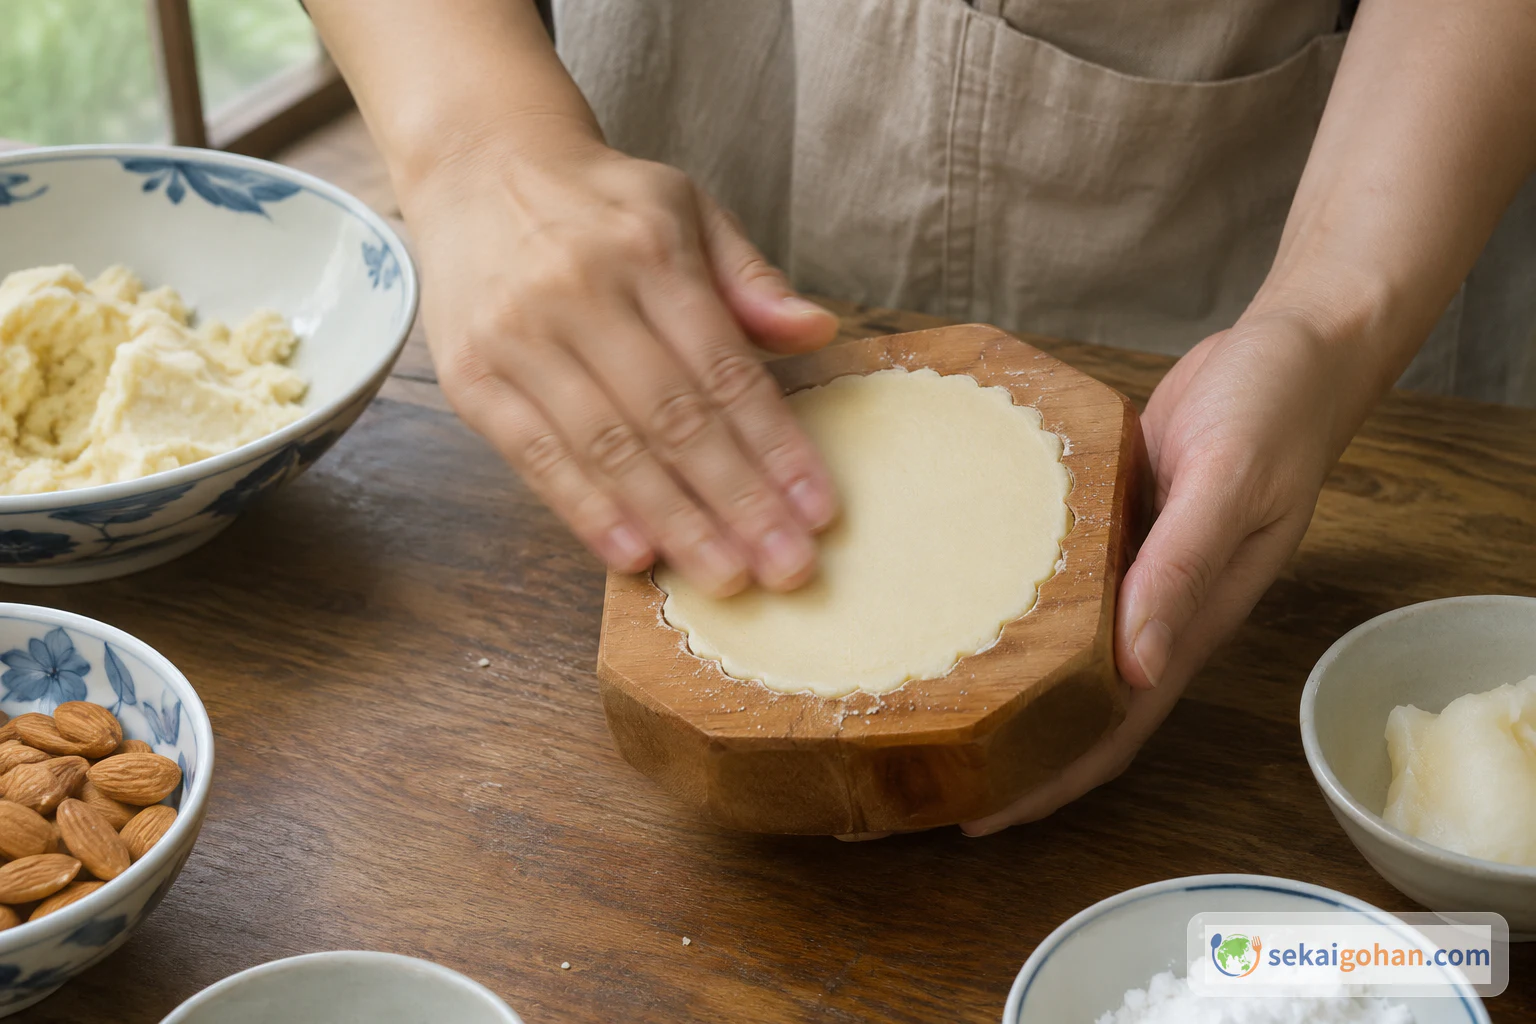
A level bottom lets the cookie sit flat on the tray 11Tap the mold flat and lift to check
Turn the mold cookie-side down and bring it flat against a sturdy, clean tabletop with one firm tap. Lift the mold carefully, keeping it level. Look at the cookie. If it has released, it is sitting on the table, and if it has started to drop, you will see it moving down out of the carving.
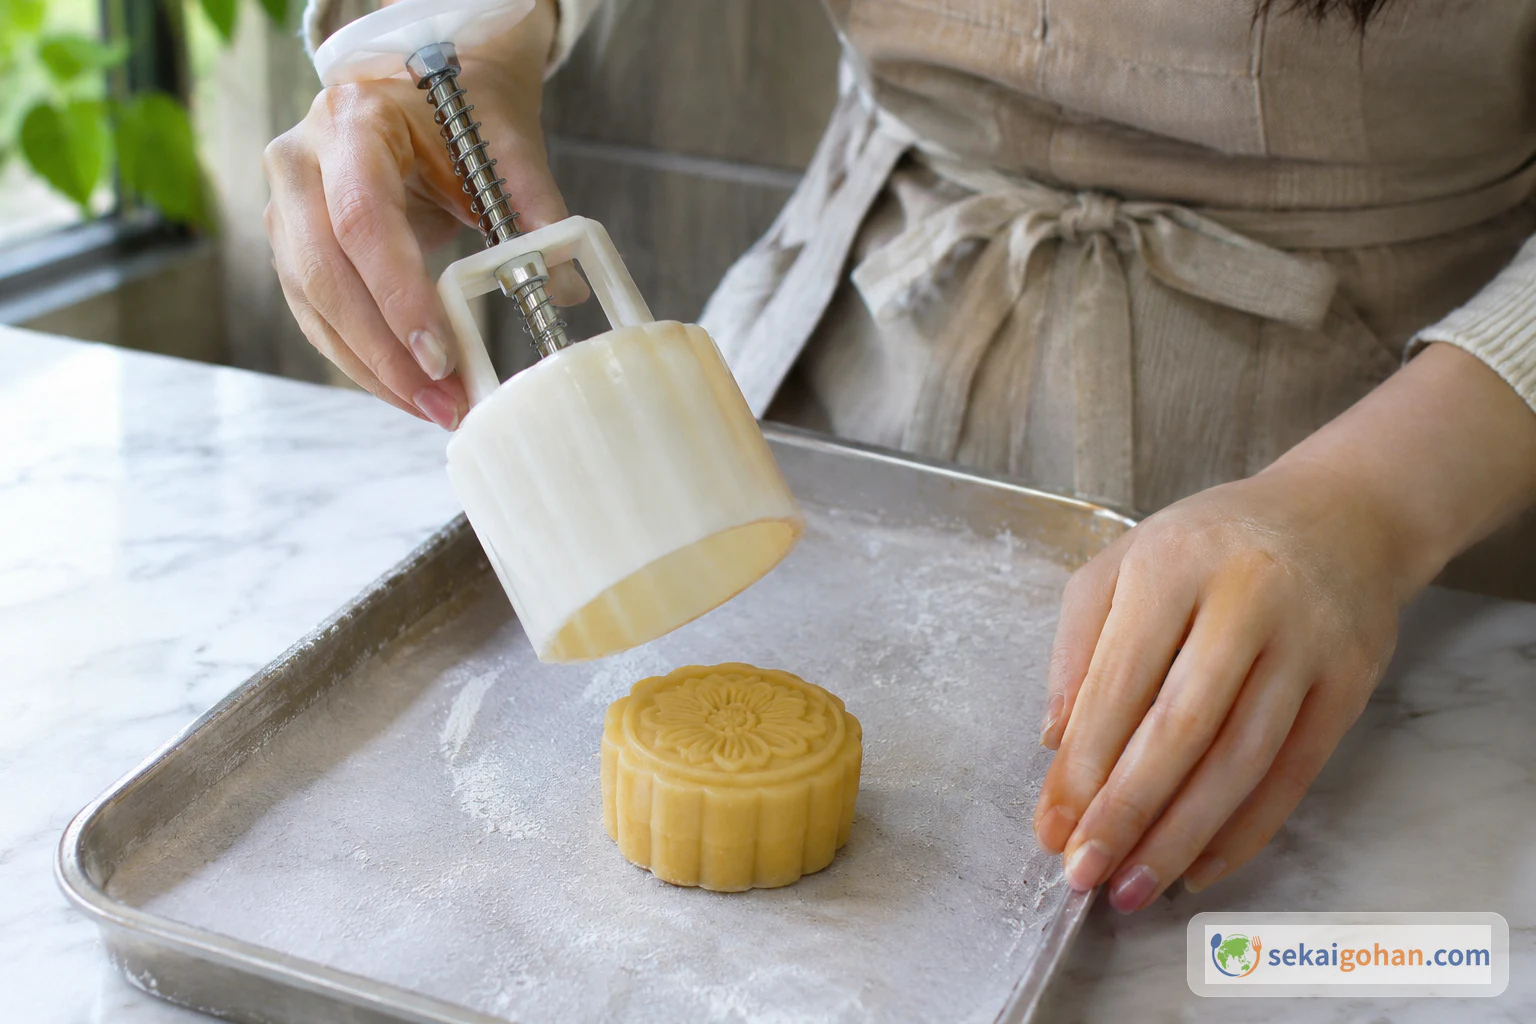
Lift straight up and look; a cookie already on the table needs nothing more 12Wait, or tap the end
If the cookie has started to move, hold the mold still just above the table and let it drop out by itself. If it has not moved after about 10 seconds, tilt the mold so only one end touches the table and tap that end once, quickly. Use each move only when the cookie needs it. The cookie is free when it lies on the table with the pattern sharp.
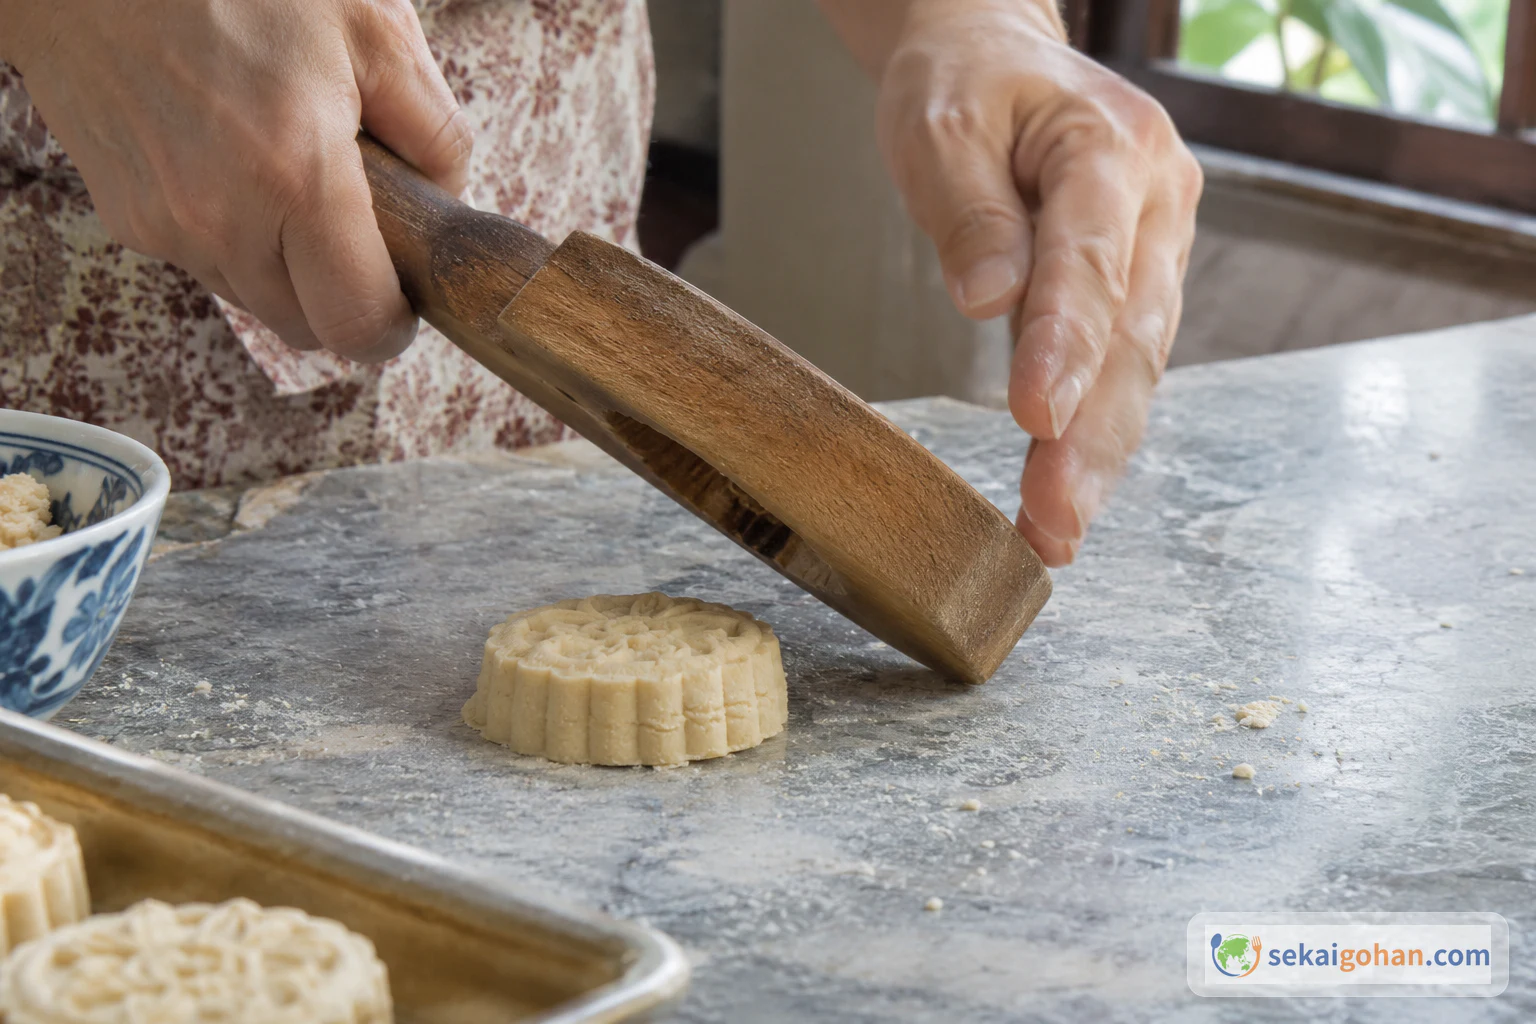
A single quick knock on one end, not a hard slam 13Unmold and set the cookies on the tray
Ease the cookie out of the mold if it is still resting there. Move it gently onto the lined tray. If a cookie cracks or the pattern smears, break it back into crumbs, pack it into the mold again and remold it. Repeat the dusting, filling, pressing and release with the rest of the mixture. The tray is ready when it is filled with pale, sharply stamped rounds sitting flat on the paper.
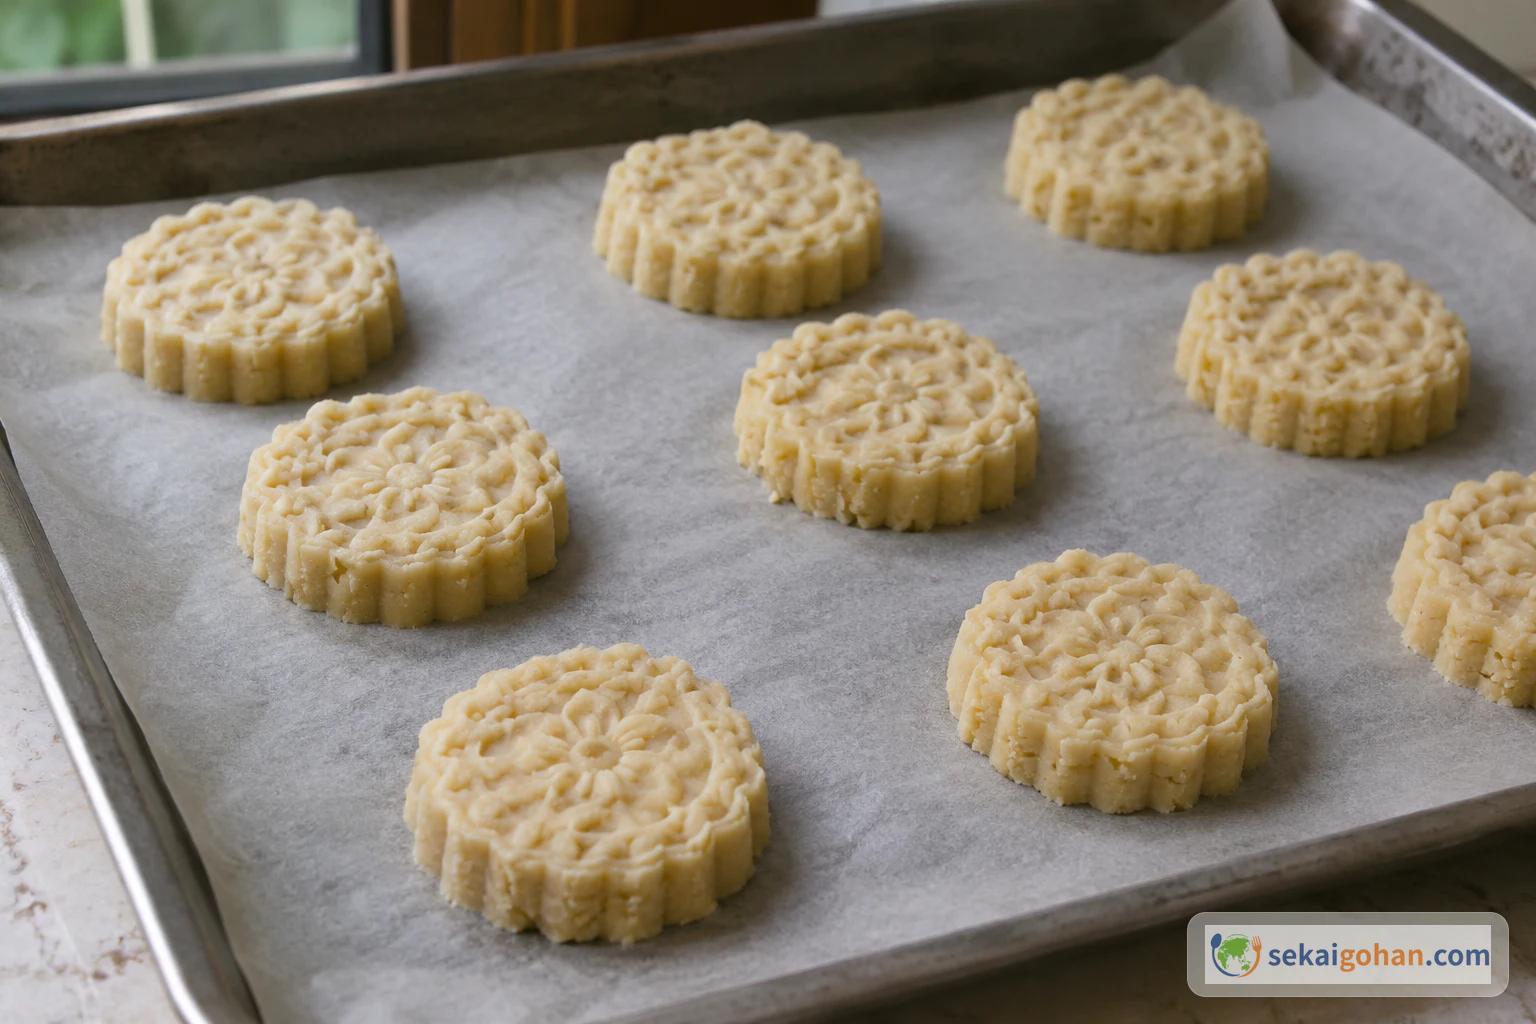
Lay them in rows with a little space between each 14Bake with the door slightly open
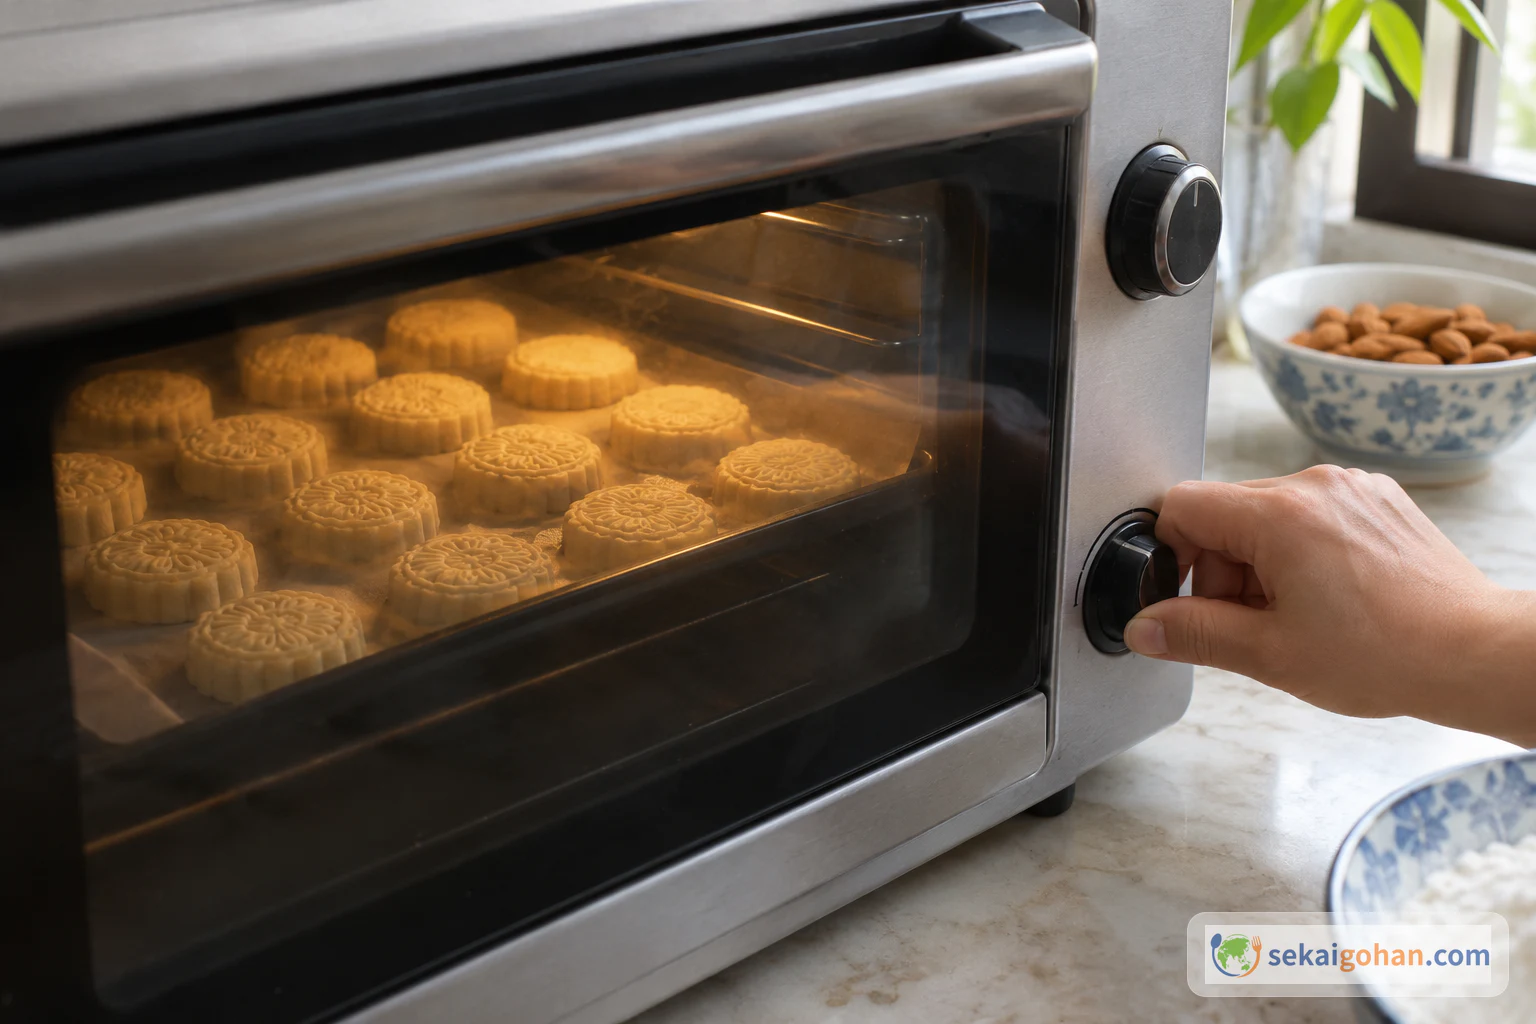
Slide the tray into the oven at 300°F (150°C) and leave the door open just a little. Bake for 25 minutes, or until just golden brown. Watch the edges and the raised parts of the pattern for the first color. Stay with the oven while the door is open. The cookies are done when they have only a faint golden tint.
15Close the door, switch off and rest inside
Close the oven door fully. Switch off the heat and leave the tray where it is. Let the cookies sit in the closed oven for 5 more minutes. They finish setting in the remaining heat and are ready to come out when the 5 minutes are up.
Heat off, door shut, tray left inside 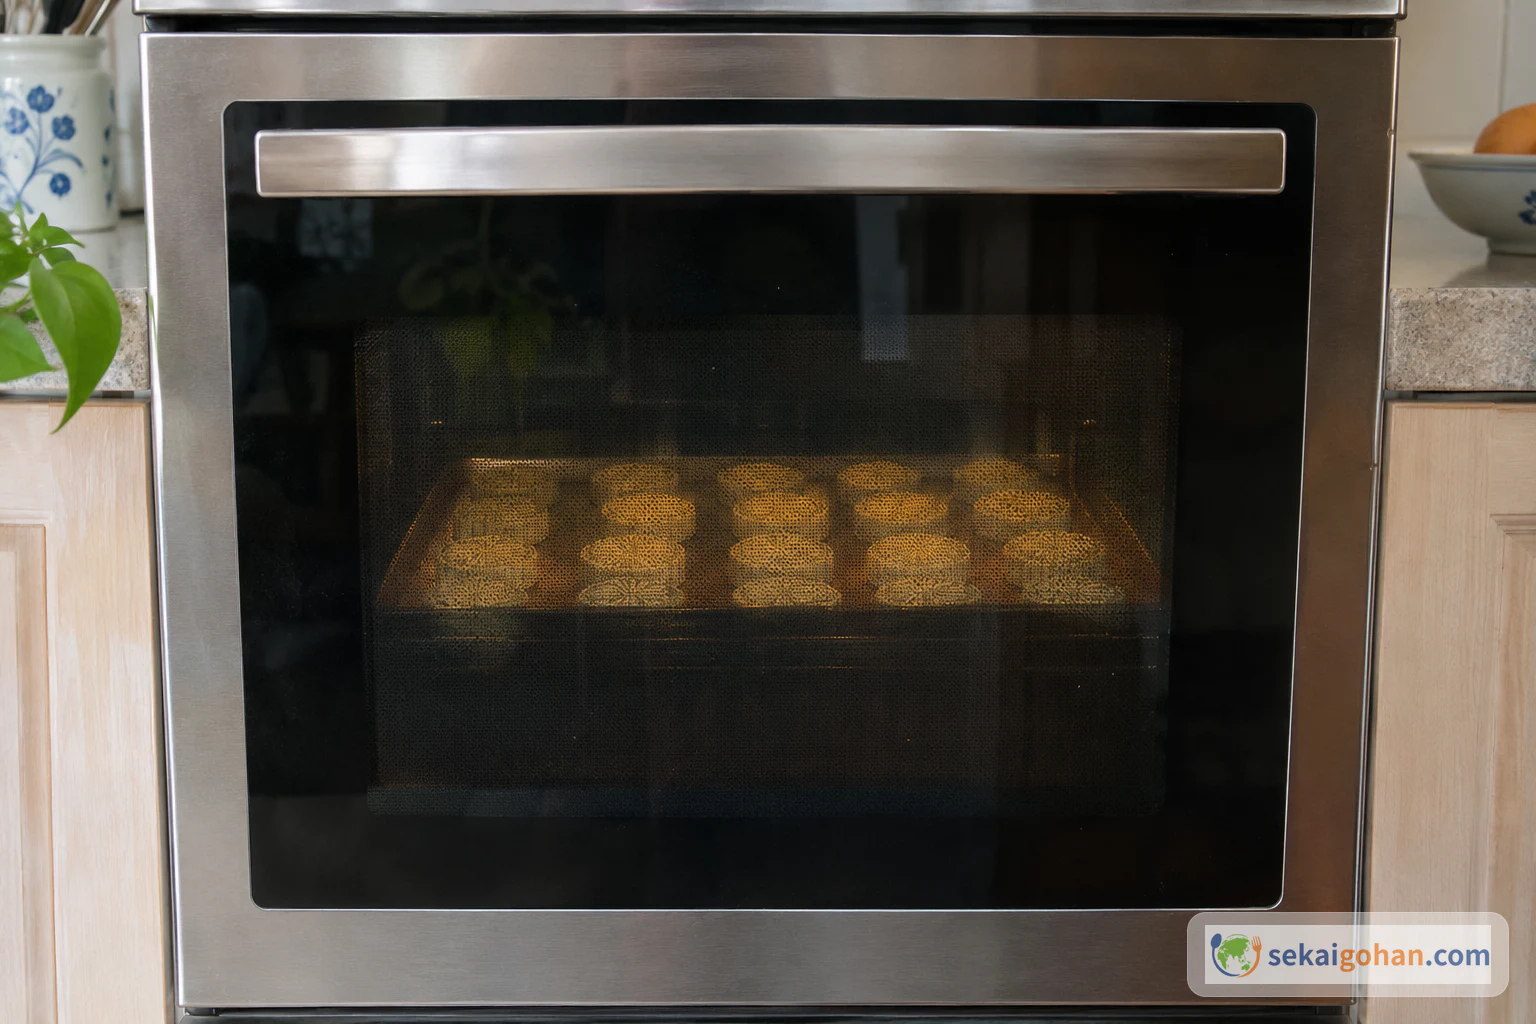
Leave the door closed for the full rest 16Move to the rack and cool completely
Take the tray out. Lift the cookies one at a time onto a wire rack with a thin spatula or your fingers. Let them cool on the rack untouched. They are ready when they are cool all the way through and feel firm and dry.
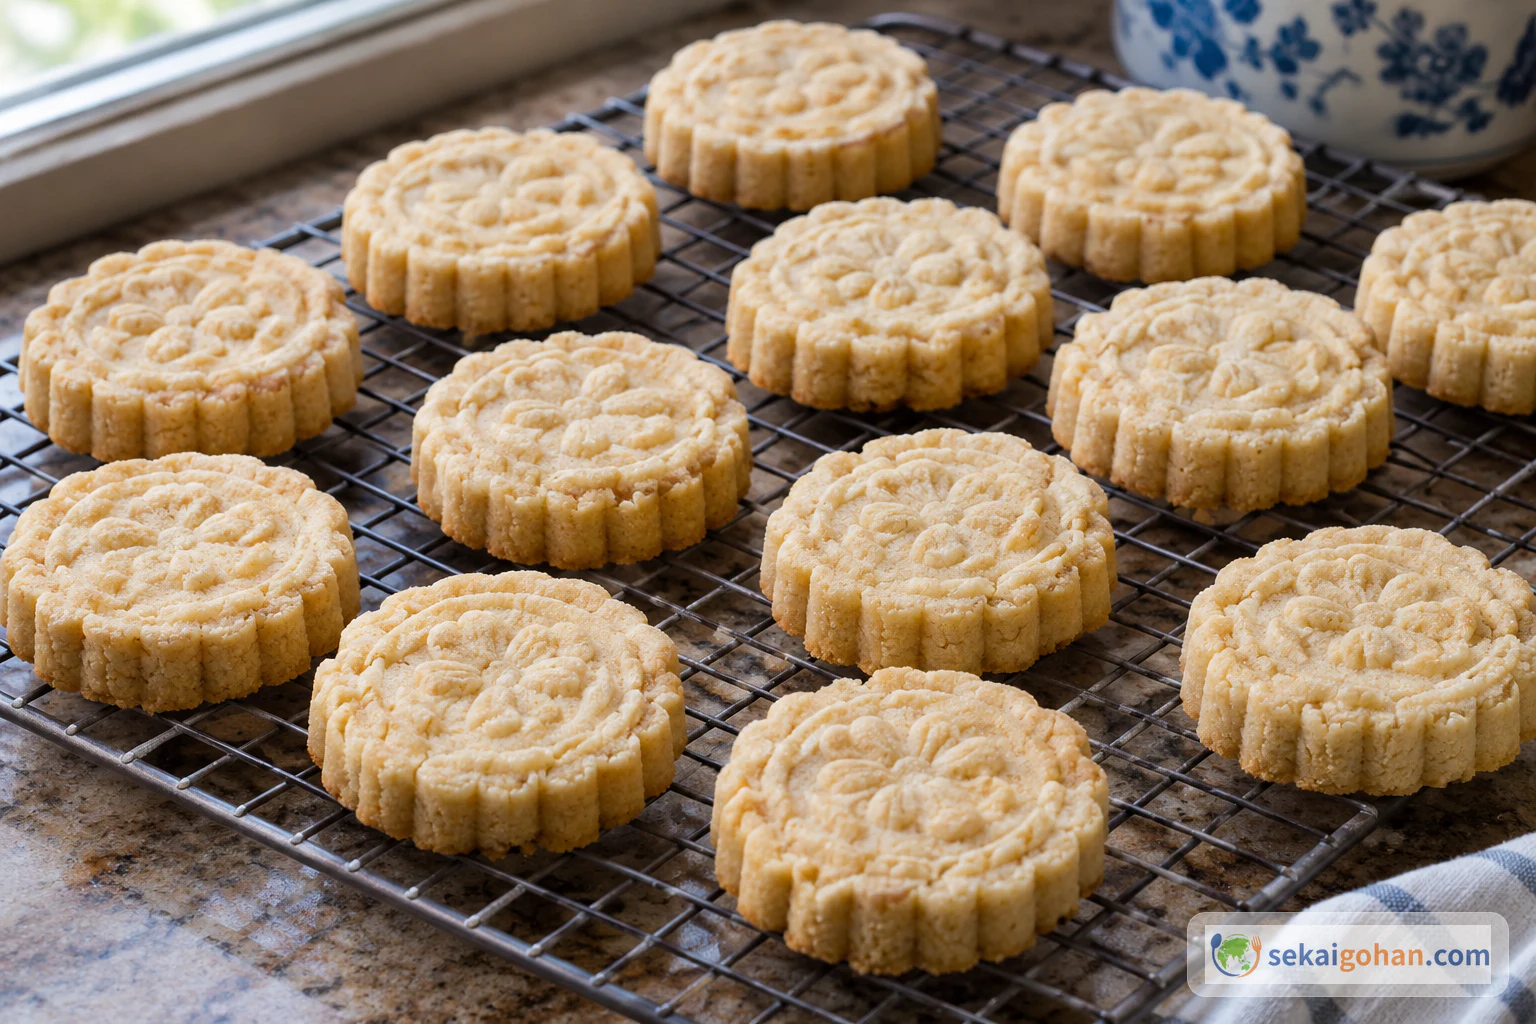
Cool cookies feel dry all over and no longer warm at the center 17Serve with a drink
Arrange the cooled cookies on a small plate. Put a cup of unsweetened tea or another drink beside them. Take a bite and follow it with a sip, so the cookie softens into sweet almond crumbs. The cookies are at their best once they are fully cool and crumble cleanly when broken.