Ingredients and steps on one page. Print it, or choose “Save as PDF” in the print dialog.
Sekai Gohan
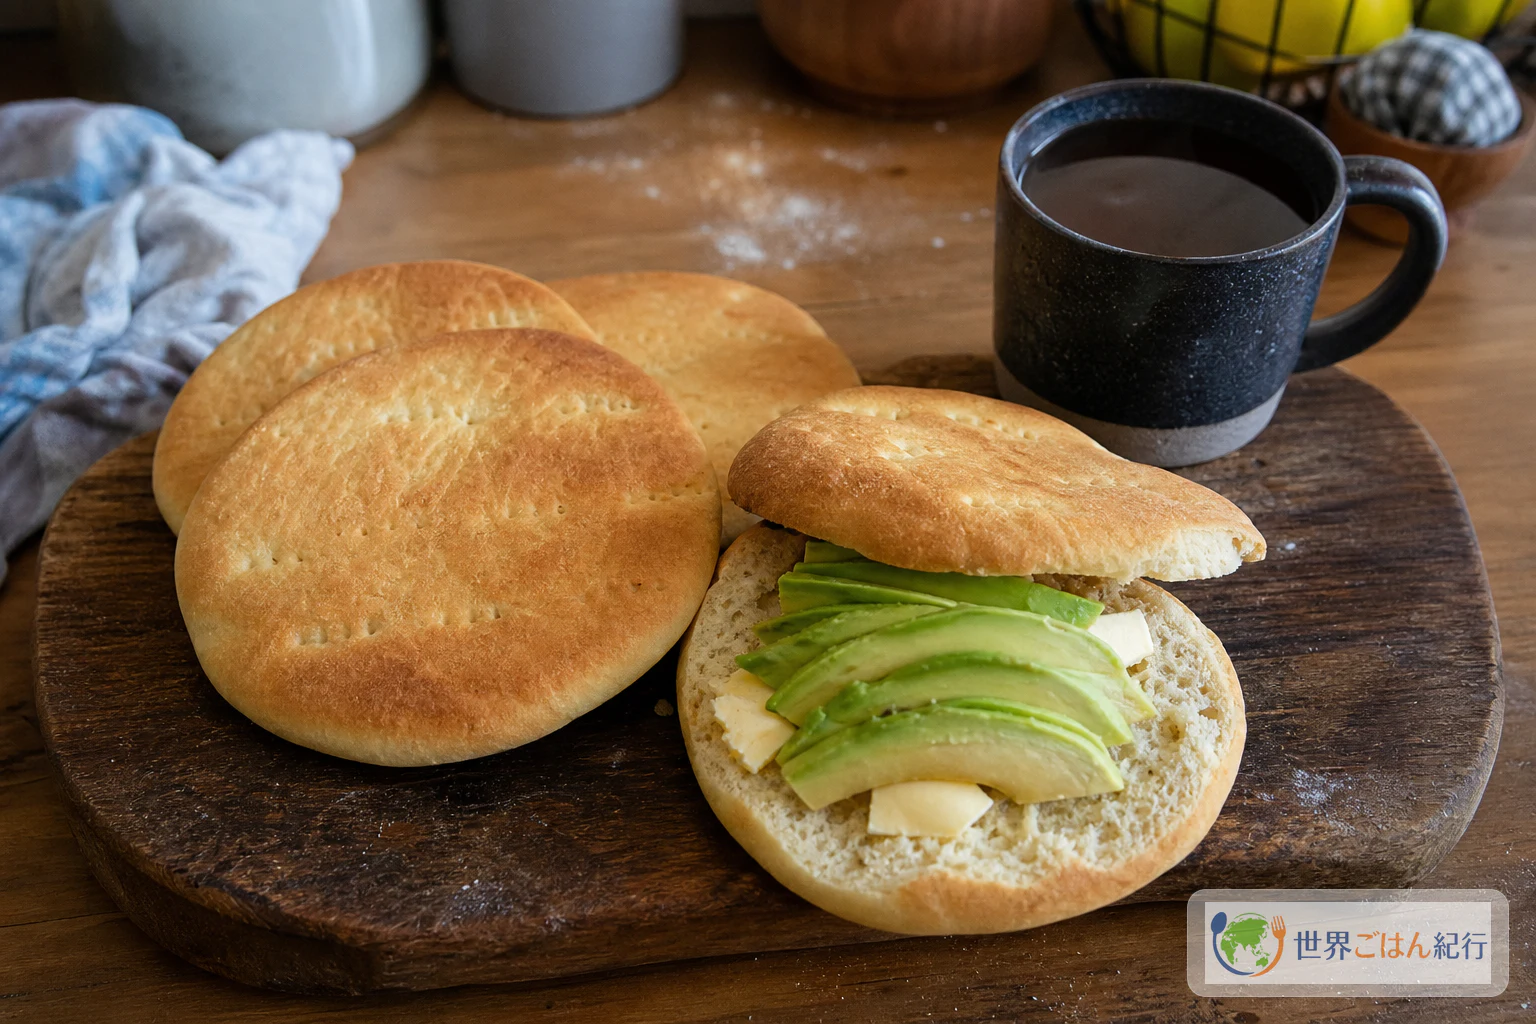
Hallulla: Chilean Flat Bread for Once and Breakfast
Ingredients
Dough
| Ingredient | Amount | Notes |
|---|---|---|
| Bread flour | 12.5 oz (350 g) | The backbone of the rise. Any strong bread flour works |
| All-purpose flour | 5.5 oz (150 g) | Makes the bread easier to bite through. All bread flour makes it too chewy |
| Instant dry yeast | 6 g | Old yeast rises weakly; refrigerate it once opened |
| Sugar | 12 g | Helps the yeast start and gives a pale color |
| Salt | 9 g | Seasons the whole dough |
| Warm water | 1¼ cups (285 ml) | 100°F (35–38°C). Slightly warmer in winter, cooler in summer |
| Lard or unsalted butter | 2.5 oz (70 g) | Soften at room temperature. Lard is closer to the local taste; butter is easier at home |
| Milk | 1.5 tbsp (20 ml) | Brushed thinly on top. Use water if you avoid dairy |
| Dusting flour | about 20 g | A thin layer on the counter and rolling pin |
Steps
1Mix the flour and warm water
8 min
No heat is needed. Put the bread flour, all-purpose flour, yeast, sugar, and salt in a bowl and mix. Add only 1 cups (250 ml) of the 100°F (35–38°C) water at first and gather the flour with your fingertips. If dry patches remain, add the rest of the water 2 tsp (10 ml) at a time and stop when everything forms a shaggy mass. If you pour in too much water at once, the dough gets sticky when you work in the fat later.
2Fold in the fat and knead
12 min
No heat is needed. Turn the dough out and knead for 5 minutes, pushing forward with the heel of your hand and folding back. Add the softened lard or butter in three portions, folding the dough over each one before kneading. The surface tears at first, but after 8–10 minutes the fat blends in and the dough turns slightly glossy. It is ready when it stretches thin without tearing right away and sticks a little to your fingers.
3First rise, only slightly
45 min
No heat is needed. Shape the dough into a ball, put it in a lightly oiled bowl, and cover it with a cloth or plastic wrap. Leave it for 45 minutes at a room temperature of 82°F (26–28°C); about 1.5 times the volume is enough. If the kitchen is cold in midwinter, use your oven's proofing setting at 86°F (30°C) for 25–35 minutes. Move on when the surface is plump and smooth and a finger dent springs back slowly. If you wait until it doubles, it will tend to rise high like a round roll.
4Roll the dough thick
10 min
No heat is needed. Turn the dough out and press it gently with your hands, only to push out the big air bubbles. Dust lightly with flour and roll to 0.625 inch (12–15 mm) with the rolling pin. If the center is thicker, roll in short strokes from the center outward. If you roll it too thin it dries out and cracks in the oven, so aim for thicker than pizza dough and slightly thinner than an English muffin.
5Cut rounds and prick holes
10 min
No heat is needed. Cut the dough with a 4 inches (9–10 cm) round cutter, a rice bowl, or a ring mold. Arrange the rounds on parchment paper and prick each surface 8–10 times with a fork. The holes are not decoration; they keep only the top from puffing up during baking. Reshape the scraps into a ball, rest for 5 minutes, then roll and cut again.
6Proof again and preheat the oven
25 min
Preheat the oven to 400°F (200°C). If you are using a griddle or thick iron plate, leave it on the lower rack and heat it for at least 20 minutes. Let the dough stand at room temperature for about 20 minutes, until a finger dent springs back slowly. Just before baking, brush a thin layer of milk over the top. Too much milk pools in the holes and gives a patchy color, so wipe the brush once on the rim of the bowl before you brush.
7Bake at 400°F (200°C)
18 min
Bake in the 400°F (200°C) oven for 14–18 minutes. If you are using a preheated plate, slide the parchment with the dough onto the hot plate, or stack two baking sheets and bake on the lower rack. The bread is done when the top is a pale gold, the bottom has a light color, and the center reaches 199°F (93°C) or higher. Overbaking makes it hard the next day, so do not aim for dark brown. Move it to a rack and rest it for 10 minutes.