Ingredients and steps on one page. Print it, or choose “Save as PDF” in the print dialog.
Sekai Gohan
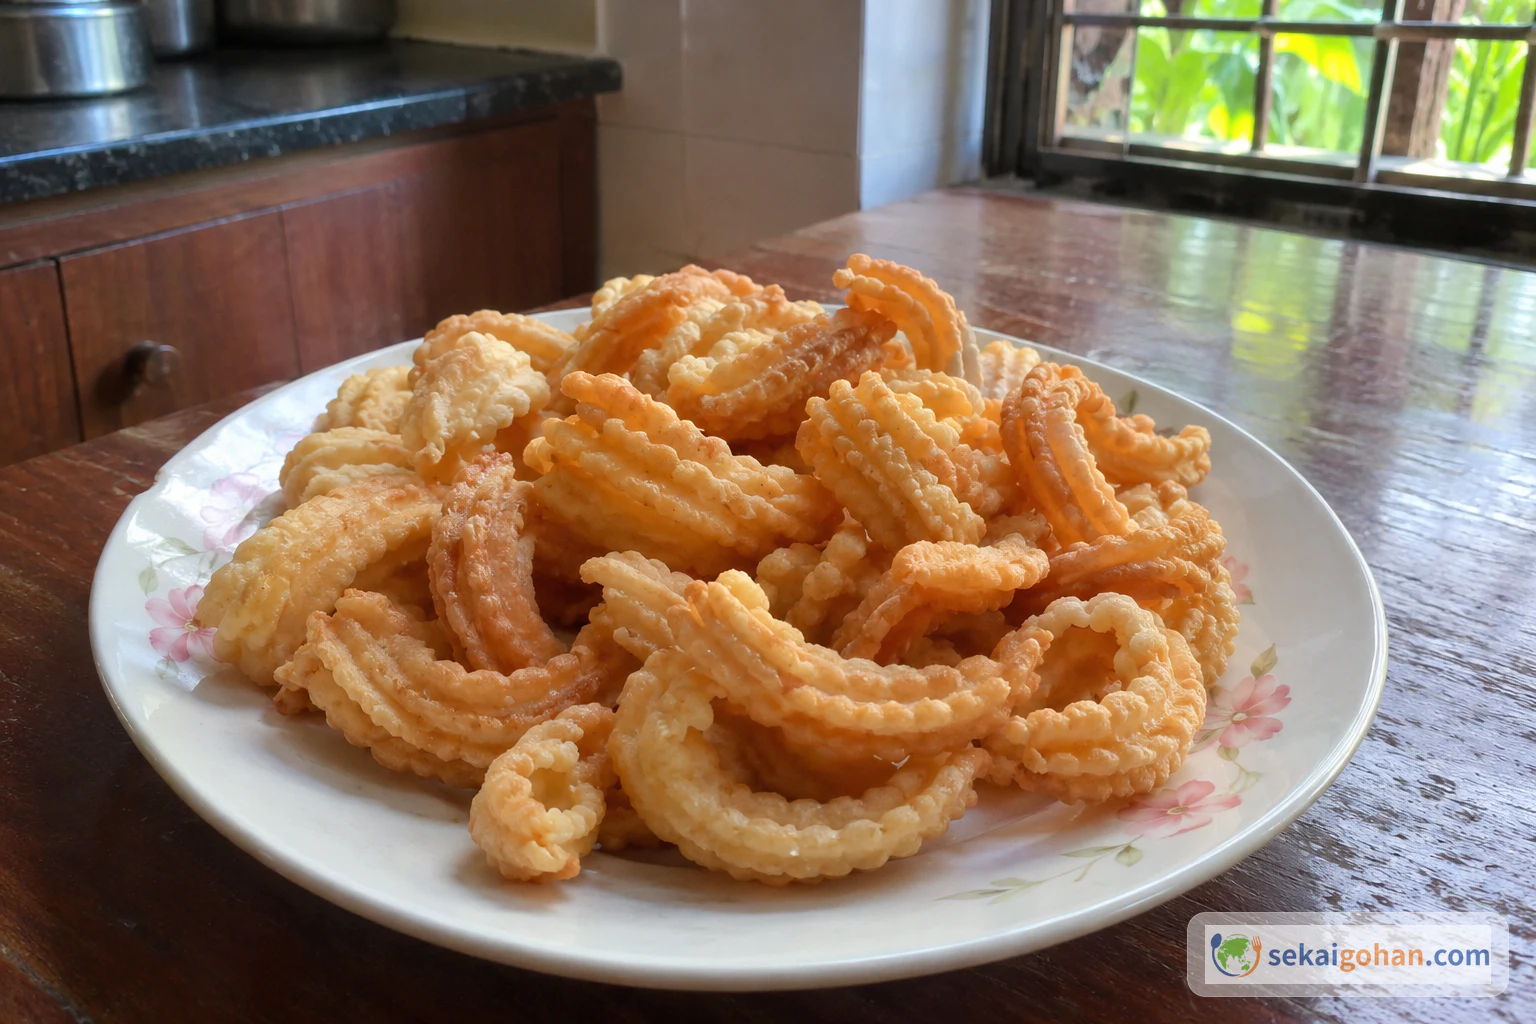
Kidyo: Plain Mangalorean Fork-Rolled Dough Curls (Kidiyo, Kulkuls)
Ingredients
| Ingredient | Amount | Role |
|---|---|---|
| All-purpose flour (maida) | 250 g | The body of the dough |
| Sugar | 2 tablespoons | Light sweetness in the plain, unglazed dough |
| Salt | to taste | Seasoning |
| Lukewarm water | about 1/4 cup, as needed | Brings the dough together; add in parts |
| Warm oil | 1 tablespoon | Worked in while kneading |
| Oil for greasing the fork and plate | a little | A few drops on the fork tines; a thin film on the plate |
| Oil for deep frying | as needed | Enough to fry the curls in the pan you use |
No egg is used.
Season with salt by the amount you add. Don't taste the raw flour or dough.
The water is a guide. Use only as much as it takes to get a smooth, pliable dough.
Steps
1Mix the dry ingredients
Put 9 oz (250 g) all-purpose flour into a clean, dry mixing bowl. Add salt to taste, judging it by the amount you sprinkle in rather than tasting the raw flour, then add 2 tablespoons sugar. No egg goes in. Stir until the flour, salt and sugar are evenly combined.
2Bring the dough together with water
Pour in a little of the lukewarm water and work it into the flour, keeping the rest aside and adding it a little at a time. Keep adding water only until the flour comes together into a cohesive dough, which takes about 1/4 cup. Stop as soon as the dough holds together.
3Knead in the oil until smooth
Pour 1 tablespoon warm oil over the dough. Knead well for at least 5–7 minutes, working the oil through it. The dough is ready when it is smooth and pliable; if it still feels rough, work in a few drops of oil and knead a little more.
4Cover the dough and grease the tools
Cover the dough with a clean, damp cloth so it doesn't dry out while you shape. There is no resting time, so you can start shaping straight away, taking dough from under the cloth as you go. Lightly grease the tines of a fork with a few drops of oil, and lightly grease a flat plate to hold the shaped curls. Both should carry only a thin film of oil.
5Shape the first curl
Pinch off a small piece of dough and roll it into a marble-sized ball, keeping the rest under the cloth. Press the ball across the greased fork tines into a thin rectangle. Starting from one side, roll the ridged dough off the fork into a curl, keeping the ridges on the outside. The dough should be thin and evenly ridged.
6Seal the curls and shape the rest
Press the loose edge gently to seal it, without flattening the ridges. Place the curl on the greased plate. Repeat with the rest of the dough. Each curl should stay a small hollow tube.
7Heat the oil
Pour oil for deep frying into a kadai or sturdy deep pan. Heat it over medium-high heat, without letting it smoke, and keep your hands away from the pan. Drop in a tiny piece of dough about the size of a mustard seed. When it rises to the surface within 2–3 seconds, the oil is ready. This is a visual cue, not a temperature reading.
8Fry the curls
Carefully lower a batch of curls into the oil with a utensil, keeping your hands away from the oil, and don't crowd the pan. If you like, gently turn the curls with a slotted spoon as they fry. Fry until they are golden pink and cooked through, and don't let them turn dark brown. If they colour too quickly, lower the heat a little.
9Drain and cool
Lift the curls out with a slotted spoon and let the oil drain off against the inside of the pan. Transfer them to absorbent kitchen paper, then fry the remaining curls the same way. Leave the curls on the paper until they have cooled completely.
10Serve plain
Pile the cooled curls on a plate and serve them plain, at the same meal.