Ingredients and steps on one page. Print it, or choose “Save as PDF” in the print dialog.
Sekai Gohan
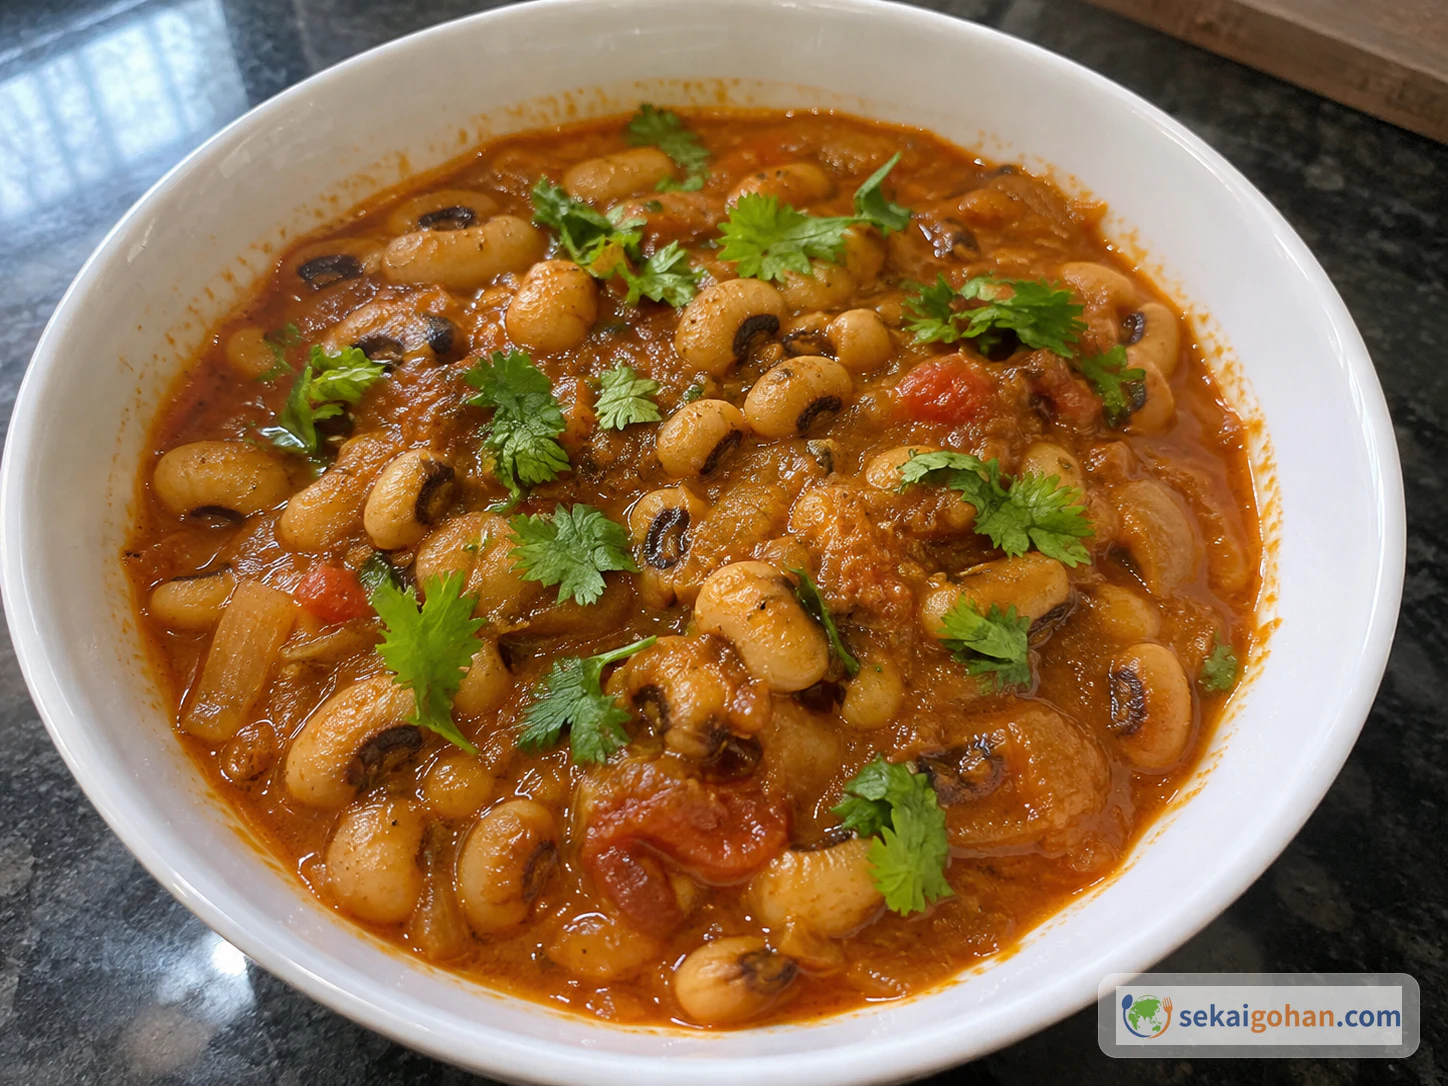
Lobiya: Punjabi-Style Black-Eyed Bean Curry (Lobia)
Ingredients
| Ingredient | Amount | Role |
|---|---|---|
| Dried black-eyed beans (lobiya) | 1 cup | The body of the dish |
| Water for rinsing and soaking | as needed | Separate from the cooking water |
| Oil | 2 Tbsp | Blooms the cumin and cooks the masala |
| Cumin seeds | 1/2 tsp | First aroma in the oil |
| Onion, chopped | 1/3 cup | Base of the masala |
| Ginger, chopped | 1/2 tsp | Aromatic |
| Garlic, chopped | 1/2 tsp | Aromatic |
| Green chili, chopped | 1/2 tsp | Fresh heat |
| Tomato, chopped | 1/2 cup | Body and acidity for the masala |
| Ground turmeric | 1/4 tsp | Ground spice |
| Red chili powder | 1/2 tsp | Ground spice and heat |
| Garam masala | 1/2 tsp | Ground spice blend |
| Ground coriander | 1 tsp | Ground spice |
| Water for cooking | 3 cups | Cooks the beans and forms the gravy |
| Salt | to taste | Seasoning |
| Fresh coriander leaves (cilantro), chopped | 2 Tbsp | Fresh finishing herb. Wash well under running water, drain, then chop |
Steps
1Soak and drain the beans
Put 1 cup dried black-eyed beans in a colander and rinse them with clean water. Move the beans to a large bowl, cover them with plenty of water and soak for 30 minutes, keeping them fully under water. Pour them back into the colander, rinse once more with clean water, and leave them until the water has finished dripping off. The beans should look pale and plump, with no water left pooling.
2Toast the cumin in hot oil
Check that the cooker's steam vent and gasket are in good order, as its manual directs. Heat 2 Tbsp oil in the open base of the cooker. Add 1/2 tsp cumin seeds to the hot oil. The seeds are ready when they crackle and sizzle.
3Soften the onion
Add 1/3 cup chopped onion to the cumin oil. Stir until the onion is soft and translucent. It does not need to turn dark brown, so stop before it takes on dark color.
4Sauté the aromatics
Add 1/2 tsp chopped ginger, 1/2 tsp chopped garlic and 1/2 tsp chopped green chili to the onion. Stir everything together and sauté briefly before adding the tomato. The mixture should smell fragrant and look evenly mixed in the pan.
5Cook down the masala
Add 1/2 cup chopped tomato and stir it into the onion mixture. Add 1/4 tsp ground turmeric, 1/2 tsp red chili powder, 1/2 tsp garam masala and 1 tsp ground coriander. Over low heat, stir and fry the mixture (bhunao), stirring constantly so it does not scorch. It is done when the masala turns soft and thick, pulls away from the sides of the pan and a little oil separates.
6Coat the beans and add the water
Add the well-drained beans to the cooked masala and stir until they are coated with it. Pour in 3 cups water and add salt to taste. Beans and water together must stay within the cooker's limit for beans and no more than one-third of its total capacity. If they do not fit, move everything to a larger compatible cooker. Do not reduce the water. Stir until evenly mixed.
7Lock the lid and pressure-cook
Close the lid securely and confirm that it is locked, following the cooker's manual. Bring the cooker up to pressure as its manual directs. Cook for 9–10 minutes, or for 8–9 whistles on a whistling cooker. The cooker should stay closed and locked on the hob throughout.
8Release the pressure naturally
Take the cooker off the heat and leave it closed so the pressure falls on its own. Do not force the release. Confirm that the pressure has fully dropped in the way the manual describes. The cooker is ready to open only once the pressure is completely gone.
9Open and check the beans
Open the lid by its handle, angling it away from you. If the lid resists, do not force it. Press a bean with a spoon and check that it is soft all the way to the center. Do not touch the hot beans with your bare hands. If the center is still hard, close the cooker and cook longer as the manual directs, then let the pressure drop and check again before moving on.
10Simmer the gravy
Simmer without the lid until the liquid has reduced and the gravy starts to thicken. To thicken it further, press a few beans against the side of the pot with the spoon, keeping most of the beans whole. Lift some gravy with the spoon. It is ready when it is a medium-thick gravy with soft, intact beans, neither a watery soup nor a dry paste.
11Finish with coriander and serve
Wash the fresh coriander leaves well under running water, drain them, then chop them. Add 2 Tbsp to the finished curry and stir gently to fold the leaves through. The stir mixes them in; it does not cook them. Serve the lobiya hot, with plain rice on the side if you like.