Ingredients and steps on one page. Print it, or choose “Save as PDF” in the print dialog.
Sekai Gohan
Uttapam: Thick South Indian Fermented Rice and Lentil Pancake
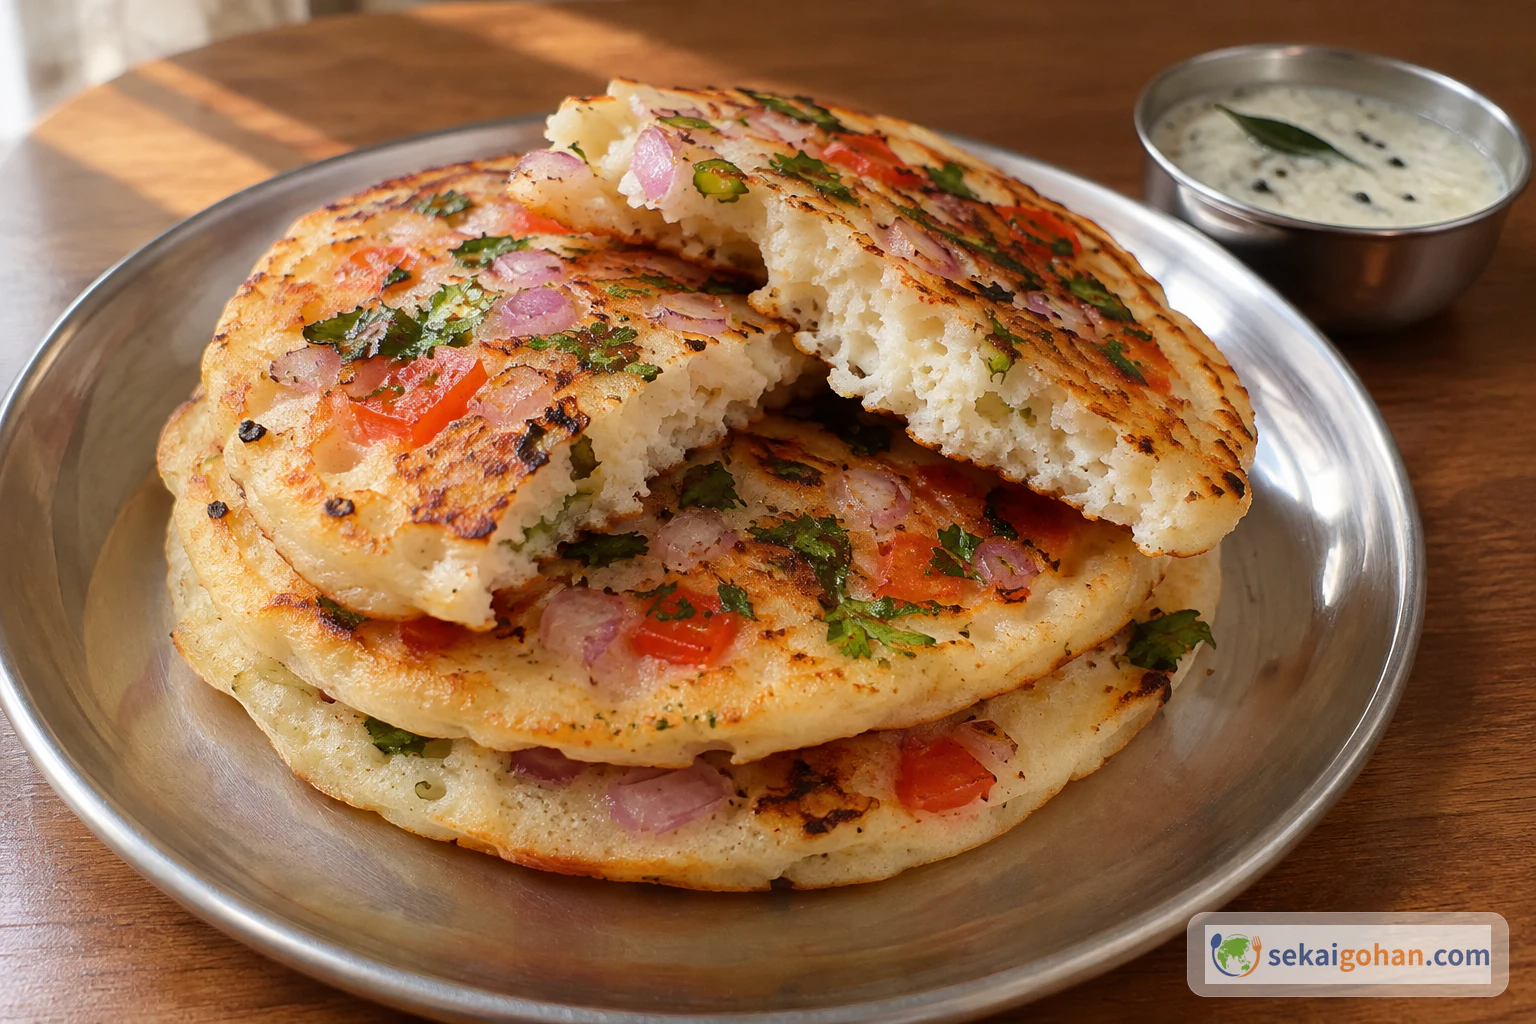
Ingredients
| Ingredient | Amount | Role |
|---|---|---|
| Skinned urad dal (dehusked whole black gram) | ½ cup (100 g) | The foam and body of the batter |
| Chana dal (Bengal gram), optional | 2 tbsp (25 g) | A fuller, rounder taste |
| Rice (raw long-grain, idli rice or parboiled rice) | 2 cups (400 g) | The bulk and the crisp edge |
| Fenugreek seeds (methi) | ½ tsp | Helps the fermentation |
| Thick poha (flattened rice), optional | ¼ cup (20 g) | Helps the batter start to rise |
| Water for soaking the poha | ¼ cup (60 ml) | Softens the poha before grinding |
| Water for soaking the dal and rice | as needed | Drinking-quality water to cover both bowls |
| Water for grinding the dal | ¾–1 cup | Chilled in summer; makes the dal batter fluffy |
| Water for grinding the rice | ½ cup | Chilled in summer; makes the rice batter smooth |
| Salt (non-iodized or pink salt) | ½ tsp | Seasoning, added once after combining |
| Water for thinning before cooking | as needed | Brings the batter to pouring consistency |
| Oil or butter | 2–3 tbsp | For the griddle, the edges and the flip |
| Onion | 1 large, chopped (1 cup) | The main topping; sweetness against the sour batter |
| Tomato, optional | 1 medium, seeded and chopped | Color and extra sourness |
| Carrot | ¼ cup grated (60 ml) | Sweetness and color |
| Green chillies | 2–3, chopped | Heat; adjust to taste |
| Coriander leaves (cilantro) | ¼ cup chopped (60 ml) | Fresh aroma; leave out if you dislike it |
Steps
1Soak the dal and the rice in separate bowls
Rinse the urad dal, chana dal and fenugreek seeds together, put them in one bowl and cover them well with water. Rinse the rice and cover it in a second bowl; the two grind to different textures, so they stay apart until the batters are combined. Soak both for 4–5 hours, at room temperature for no more than 4 hours, then in the fridge at 39°F (4°C) or below for any time beyond that; the recipe stays the same, only where the bowls wait changes. Fifteen minutes before grinding, soak the poha in its ¼ cup (60 ml) water. Move on when the dal and rice have swollen and look plump.
2Grind the dal light and fluffy
Drain the dal and put it in the blender with the poha and its soaking water. Add ¾ cup water, chilled in summer, and grind until the batter is fluffy and pourable. If it stiffens and the blades labor, add 2–4 tbsp more water. Stop before the jar feels warm, because warm batter ferments unevenly. It is ready when no grit remains and a spoonful mounds softly before settling.
3Grind the rice smooth and thick
Drain the rice and grind it with ½ cup water. Scrape down the sides of the jar once or twice so no whole grains hide near the blades. Keep going until the batter is smooth and thick, with only a faint grain at the surface. When you lift a spatula, the batter falls back slowly in a heavy ribbon.
4Combine the batters and salt once
Pour both batters into the large bowl, leaving room for the rise. Add the ½ tsp salt and mix with a spoon until no streaks of white dal batter remain. Salt goes in here and only here, so no second pinch slips in later by habit. The batter is ready to rest when it is one even color, thick and still pourable.
5Ferment until risen and bubbly
Cover the bowl with plastic wrap or a cloth and leave it in a warm place overnight, or until risen; this takes 8–16 hours depending on the warmth of the room, and around 12–14 hours at about 86°F (30°C). In a cold kitchen, use an Instant Pot on its low yogurt setting, or an oven that has been preheated, switched off and left with only the light on, and use nothing warmer, such as a rice cooker's keep-warm. Judge by the batter, not the clock: it has risen to 1½–2 times its volume, the surface is covered in fine bubbles, and a scoop feels light. Stop there, because longer fermentation turns it sour.
6Loosen the batter just before cooking
Spoon out only as much batter as you plan to cook, and put the rest back in the fridge. Stir it gently and add water a little at a time until it has the consistency of dosa batter: thick, but it pours. Too thin and the uttapam spreads flat; too thick and the center stays raw. Cook one small uttapam first, taste it, and stir a little more salt into the batter if it needs it. The batter is right when it leaves the ladle in a thick, steady stream.
7Heat the griddle and pour without spreading
Heat the tawa or pan well over medium heat, until a few drops of water sizzle away in about 2 seconds; a griddle that is not hot enough leaves the batter flat. Wipe a thin film of oil over the whole surface with a paper towel. Drop one ladleful of batter into the center and leave it, at most nudging the edge with the back of the ladle to round the shape. Turn the heat down. Within moments the edge turns opaque and bubbles rise across the thick round.
8Press on the toppings and cook the base
Scatter the onion, green chilli and coriander, plus carrot and tomato if you are using them, over the wet top and press them in lightly. Drizzle a little oil around the edge. Cook on low to medium heat and leave the pancake where it is, because moving it now breaks its thickness. It is ready to turn when the base has set, the edges are golden, bubbles open in the center and the top looks dry.
9Flip and cook the onion side
Sprinkle a little oil over the onions. Slide a thin spatula in from the edge toward the center and turn the uttapam over in one move. Cook until the onion is cooked through and caramelized against the iron. Batter that has come straight from the fridge browns more slowly, so give it the extra time rather than turning up the heat. It is done on this side when the onion is cooked through and the edges are golden.
10Check the center, plate, and reheat the griddle
Turn the uttapam topping-side up onto a plate. Cut into the first one: the center should be set and spongy, with no wet batter. If you use a probe thermometer, aim for 165°F (74°C) at the center for 15 seconds. Reheat the griddle before every new ladle, because a cooled griddle turns the next pancake flat. The griddle is ready again when water drops sizzle off as fast as they did for the first one.