Ingredients and steps on one page. Print it, or choose “Save as PDF” in the print dialog.
Sekai Gohan
Khanom Chan: Thai Nine-Layer Steamed Coconut Pandan Dessert
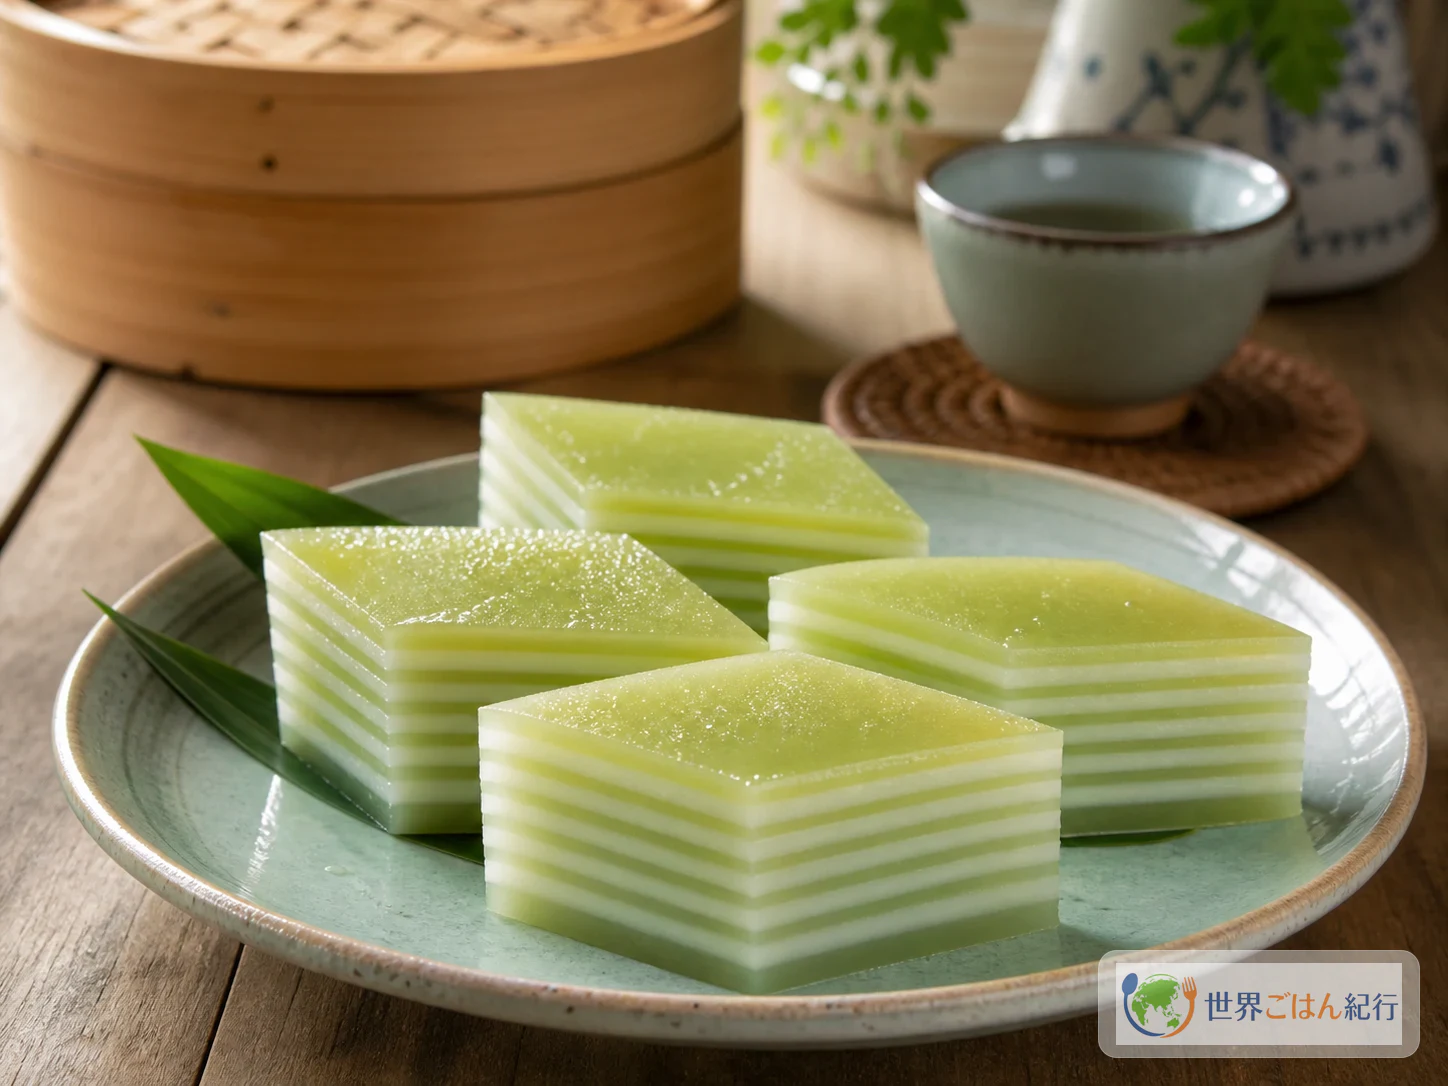
Ingredients
Basic batter
| Ingredient | Amount | Role and how to choose |
|---|---|---|
| Rice flour (joshinko or fine rice flour for baking) | 2.75 oz (80 g) | The structure of the white layers. Avoid mixes that contain wheat |
| Tapioca starch | 4 oz (120 g) | Gives a supple bounce and translucency |
| Kudzu starch or potato starch | 1.5 oz (40 g) | Kudzu gives a smoother result, potato starch a slightly lighter one |
| Coconut milk | 1¾ cups (400 ml) | Unsweetened, canned. Shake well before opening |
| Palm sugar or light brown cane sugar | 4 oz (110 g) | Palm sugar has a deeper aroma; cane sugar tastes lighter |
| Salt | 2 g | Sharpens the sweetness and lifts the coconut |
| Water | ½ cup (120 ml) | Brings the batter to a pourable consistency |
| Pandan leaves | 1 oz (30 g) | Frozen is fine. Provides the aroma and green color |
| Water for pandan extract | ¼ cup (80 ml) | Blend with the leaves and strain. Not needed if using store-bought extract |
| Vegetable oil | 1 tsp | For a thin coat on the pan |
| Tapioca starch / rice flour (for adjusting) | 8 g / 4 g | Use only if the green batter turns thin |
Steps
1Make the pandan water
10 min
Wash the pandan leaves and cut them into about 1 inch (2–3 cm) pieces. Put the leaves and the ¼ cup (80 ml) water in a blender and blend until no fibers are visible. Line a strainer with a paper towel and press the mixture through it to collect a smooth green liquid. It should run off a spoon in a thin line with no visible grit. Aim for ¼ cup (60–70 ml).
If you have no pandan, skip this step and use the ¼ cup (80 ml) water as is. Simply dividing a white batter in two works fine. If you use pandan extract, follow the dilution on the label and reduce the water by the amount of liquid you add. Adding too much in search of a stronger aroma can give a chemical smell, so start small.
2Make the coconut sugar syrup
8 min
Put the 400 ml coconut milk, 110 g sugar and 2 g salt in a small saucepan over low heat. Without letting it boil, warm it while running a silicone spatula across the bottom of the pan until the sugar granules disappear. You're aiming for about 60–70°C (140–158°F): steaming, but with the surface not bubbling.
Turn off the heat and let it cool to 40°C (104°F) or below. If you pour it into the flour while hot, some of the tapioca starch gelatinizes and forms lumps. At this stage it should taste just a little salty. Steaming softens the edge of the sweetness, and cooling brings the aroma together.
3Mix the flours and divide into two batters
12 min
Put the 2.75 oz (80 g) rice flour, 4 oz (120 g) tapioca starch and 1.5 oz (40 g) kudzu or potato starch in a bowl and whisk for 30 seconds. Add the cooled coconut syrup in three additions, mixing each time to crush any pockets of flour. Add the ½ cup (120 ml) water too, bringing it to a consistency a little thinner than a loose pancake batter. When you lift the whisk, the batter should fall in a thin ribbon, and the trail should disappear in about 2 seconds.
Pour it through the strainer into another bowl. If it's too thick, add water 2 tsp at a time; if too thin, add rice flour 1 tsp at a time. It's easier to adjust if you hold back some of the water and match the consistency at the end.
Divide the batter evenly between two containers. Add the ¼ cup (60–70 ml) pandan water to one and leave the other white. If only the green batter has become thin, mix in the 8 g tapioca starch and 4 g rice flour set aside for adjusting to bring it back. Strain once more and check that no starch has settled at the bottom.
4Bring the steamer to a strong boil first
5 min
Put 1.5 quarts (1.5 L) water in the steamer and bring it to a boil over high heat. Stretch a clean kitchen towel tightly around the inside of the lid so the steam doesn't escape. Brush the inside of the pan thinly with vegetable oil, set it in the steamer and heat it for just 2 minutes. You're ready when steam rises steadily from the edge of the lid without stopping and the pan is hot.
Warming the pan helps the first layer spread thin and even. If you don't have a pot that fits a steamer, a deep pot with a metal steaming rack works. What matters is that the pan stays level and out of the water.
5Set the first layer
6 min
Stir the white batter well from the bottom, until no starch has settled and the surface is uniformly smooth. Measure 70 ml in a measuring cup, pour it into the warmed pan, cover, and steam over medium-high heat for 5–6 minutes. Move on when the surface turns from translucent to milky white, no liquid comes off on a light fingertip touch, and the surface doesn't ripple when you shake the pan.
Keep each layer at about 70 ml (a little under 1/3 cup). If a layer is too large, the next one goes on before the center has set, and the stripes blur. The first layer only needs to be thick enough that you can't see the bottom of the pan through it. Not trying to make it thick is the shortcut to a clean cross-section.
6Alternate green and white layers
40–45 min
Once the first layer has set, stir the green batter from the bottom. Check that it has the same consistency as the white and pours from the measuring cup in a thin ribbon, then measure 70 ml and pour it gently into the center of the pan. Dropping it hard onto one spot punches a hole in the layer below, so pour from close to the surface and let it spread slowly. Cover and steam for 5 minutes, and once the surface has set, add the same amount of white batter.
The nine layers go white, green, white, green, white, green, white, green, white. Each time you open the lid, wipe the condensation from the inside with the towel. The starch settles at the bottom of the batter, so always stir about 10 times before pouring. If only the green batter has thickened, stir it gently in the measuring cup; don't add more water.
If the surface hasn't set in 5 minutes, the heat is too low or the layer is too large. If liquid is still there after 7 minutes, don't rush the next layer; extend the steaming 2 minutes at a time until it sets. Conversely, if layers dry out and crack, the steam is too strong or the lid is open too long. Bring the heat back to medium-high and pour quickly.
7Steam the final layer through
8–10 min
After pouring the ninth layer, pop any surface bubbles lightly with a bamboo skewer and close the lid. For this last layer only, don't judge at 5 minutes; steam for 8–10 minutes so it sets all the way to the center. Turn off the heat when the surface is a glossy milky white and only the very center wobbles slowly when you shake the pan.
Taking the lid off suddenly can let cold air dent the surface. Turn off the heat, open the lid 1 inch (2 cm), wait 1 minute, then open it fully. Remove the pan and cool it on a rack for 20 minutes. If you cut it while hot, the layers slide and the green bleeds into the white, so wait until the center is below body temperature.
8Cool and cut into diamonds
15 min
Run a thin knife around the sides of the pan, dip the bottom in warm water for a few seconds, and turn it out onto a cutting board. With a lightly oiled knife, cut it into strips 1 inches (3 cm) wide, then cut on the diagonal into diamonds. Wiping the knife with a damp cloth after every cut keeps the green from smearing onto the white.
It's ready to cut when the surface isn't dry and springs back slowly when pressed. Chilling it too much in the refrigerator hardens the tapioca bounce, so let the portions you're serving sit at room temperature for 15 minutes. Nine visible layers in the cut face, white layers that aren't cloudy and green that isn't dull mean success.