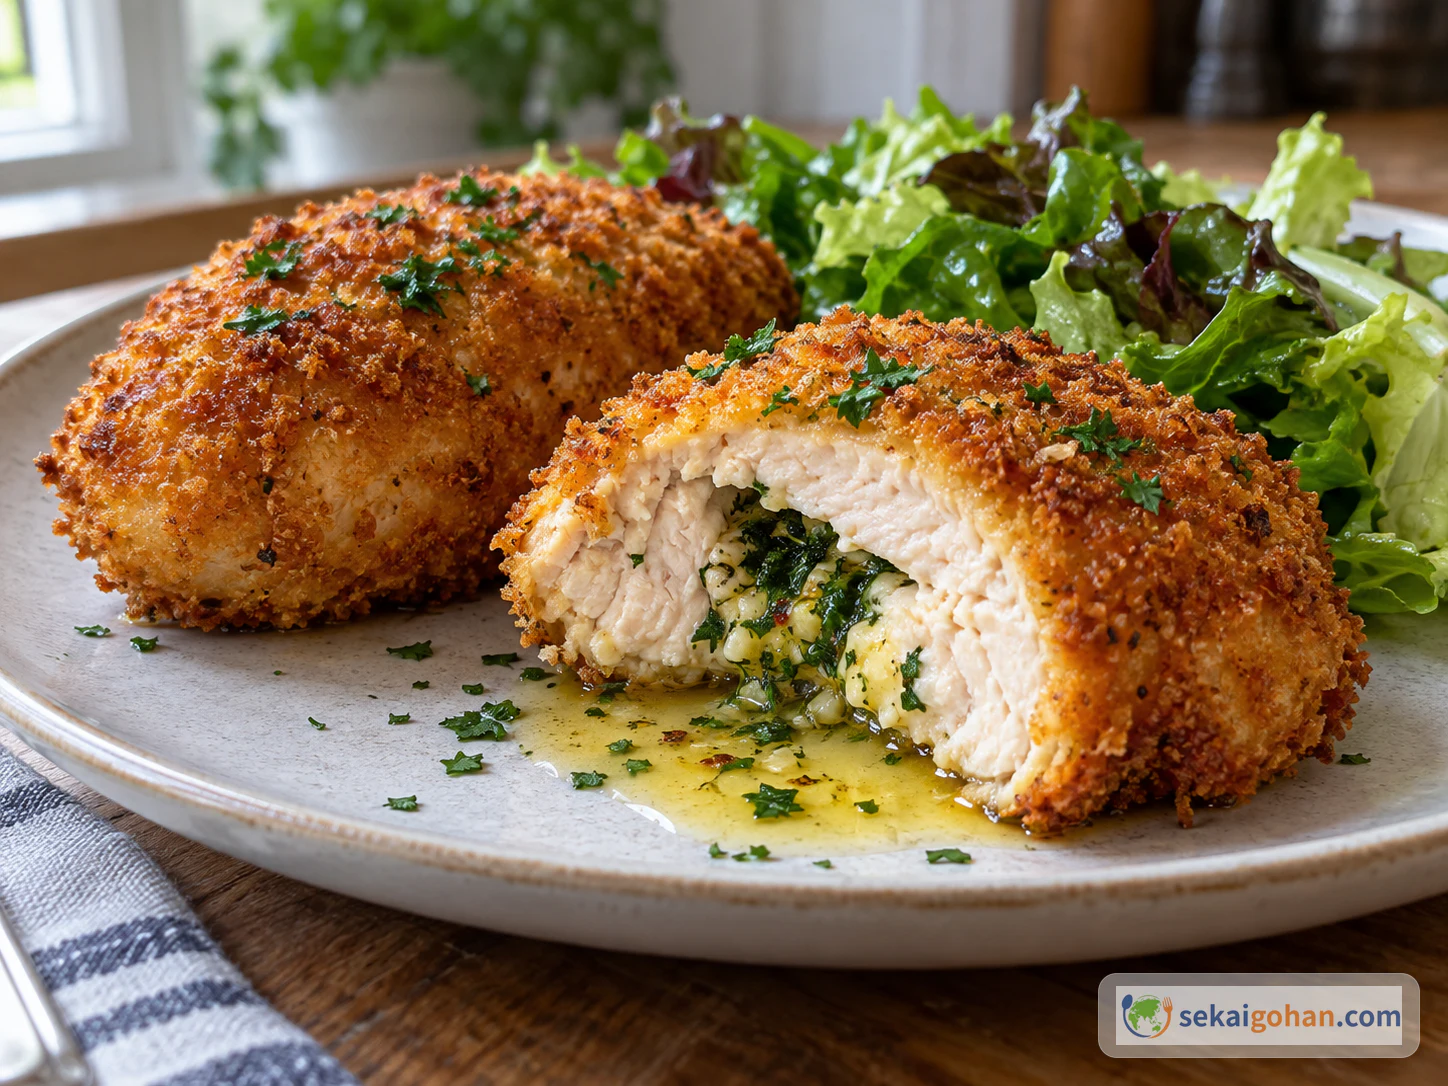
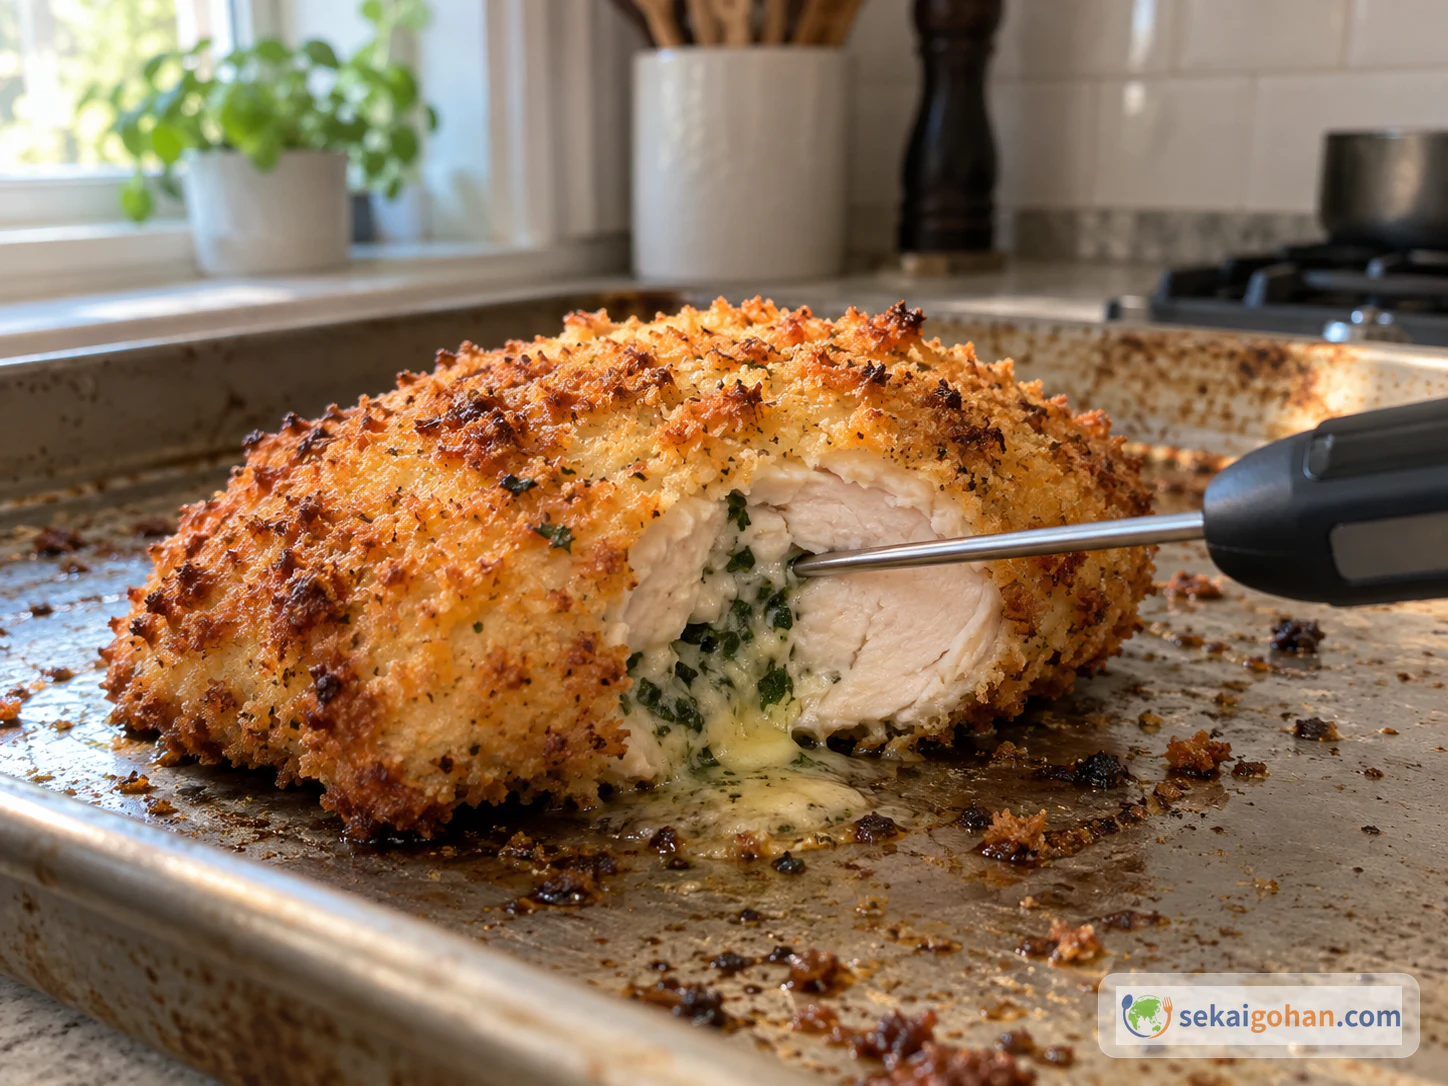
A golden, breadcrumbed chicken breast sits on the plate. When the knife goes in, butter flecked with green parsley runs out from the middle. Chicken Kyiv is a classic of Ukrainian cuisine: a breaded chicken fillet filled with butter and herbs. The goal is butter sealed inside, fragrant parsley and garlic, and a thin, crisp crumb coat.
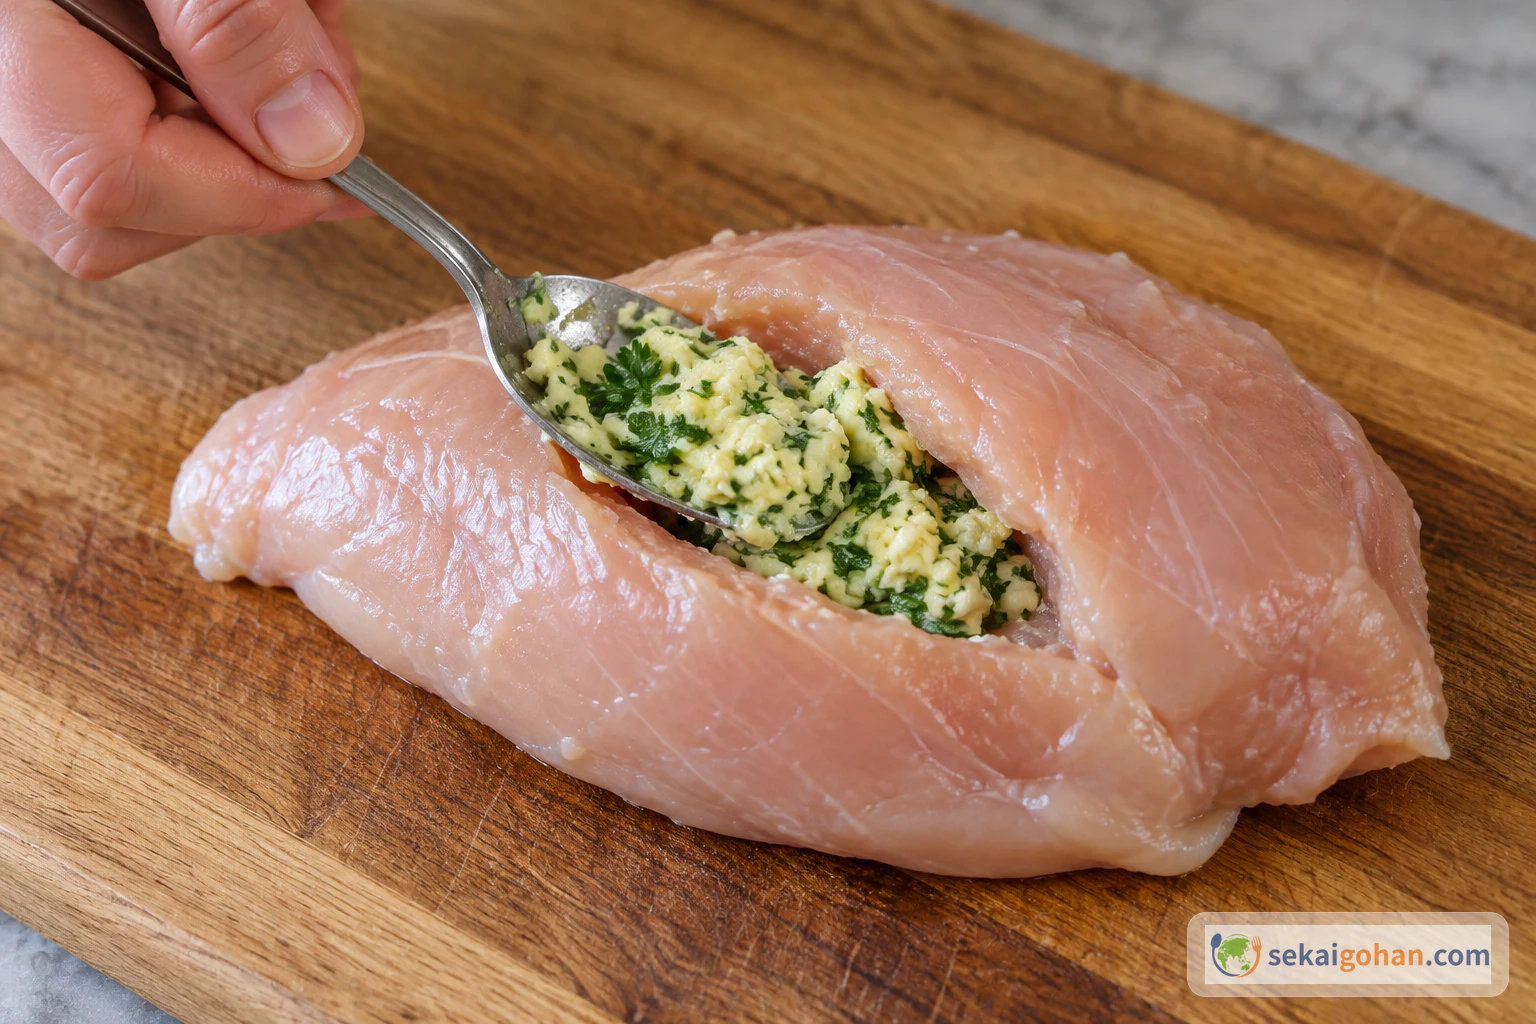
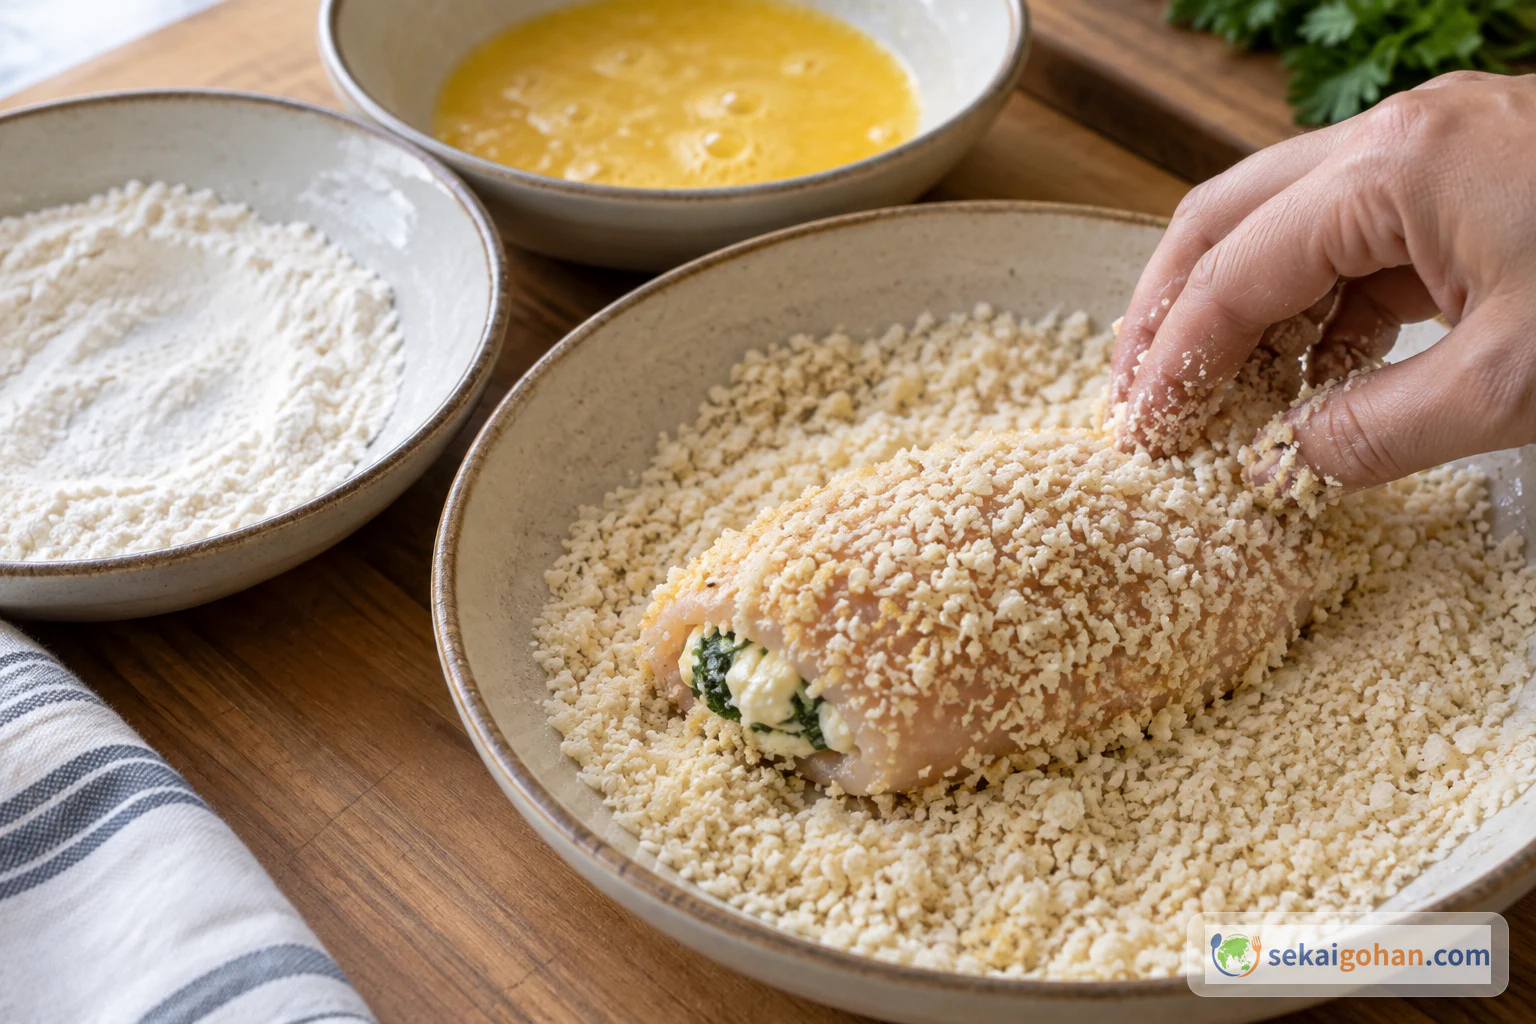
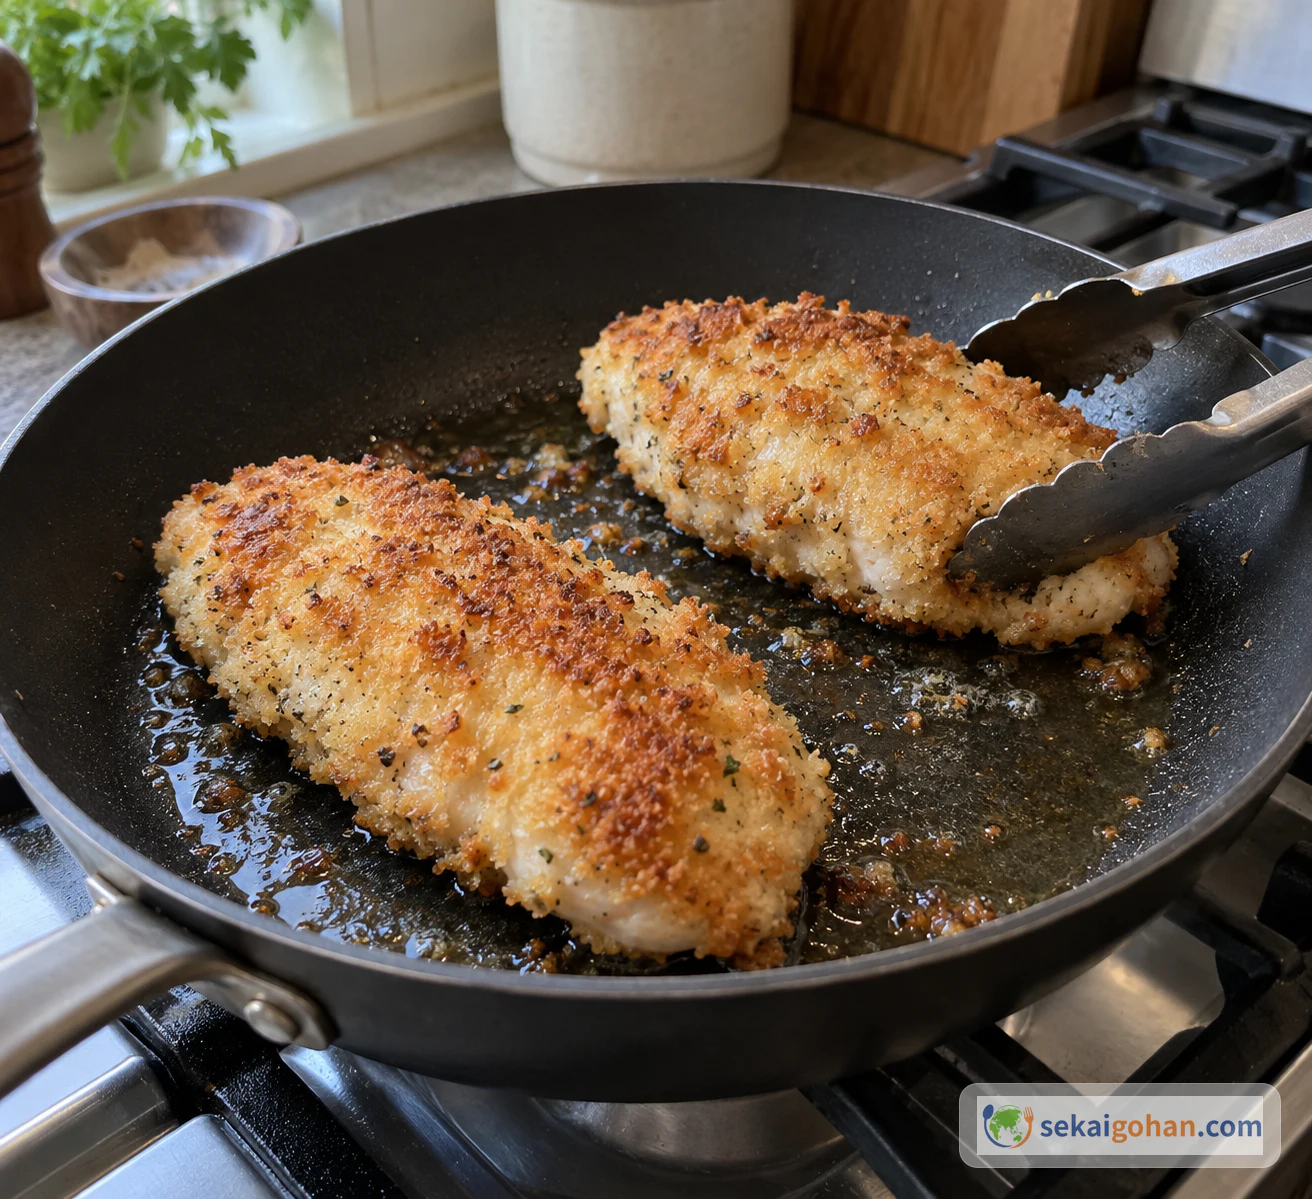
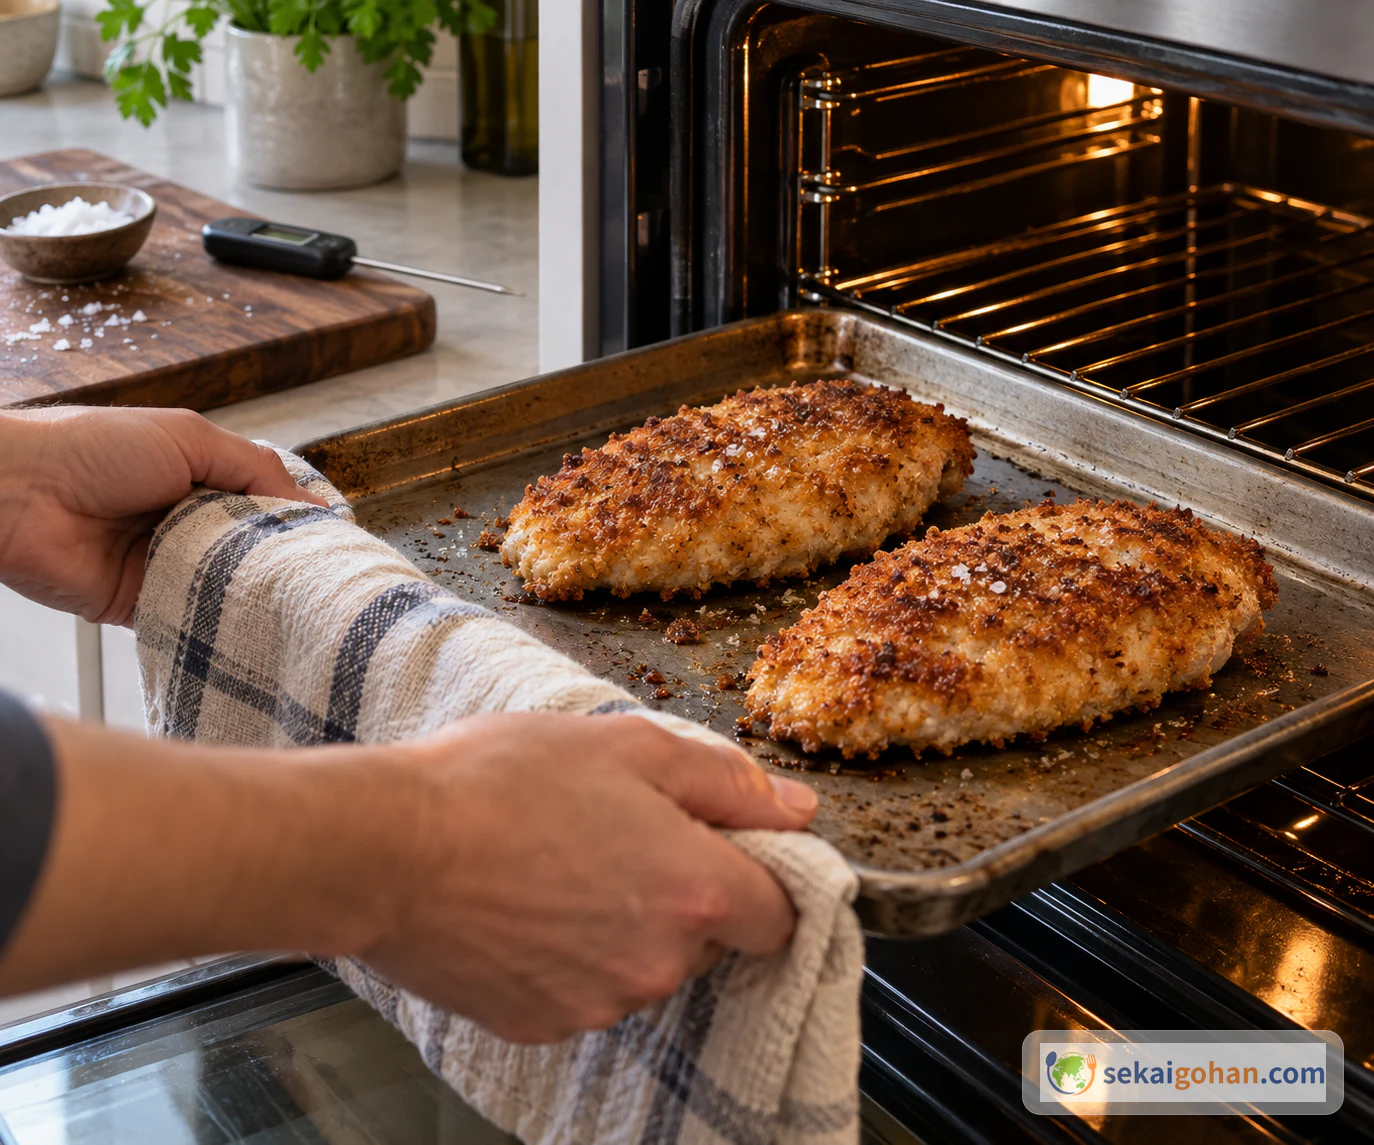
That flowing center is the fun of the dish, and it is also why it deserves some care. The butter stays hidden behind the crust, so neither the clock nor the color of the coating can tell you whether the chicken is cooked through. Soft herb butter goes into a pocket cut into each breast, which then gets one coat of flour, egg and fine panko. The chicken browns gently in the pan and finishes in the oven, and a thermometer in the thickest part of the meat makes the final call.
About Chicken Kyiv
In Ukrainian the dish is called Котлета по-київськи (kotleta po-kyivsky). Chicken Kyiv uses the modern spelling of the city's name, and the older English spelling, Chicken Kiev, is still widely used for the same dish. For more dishes from the same country, see our Ukraine page.
Where the dish began is not settled, and there are several theories. It resembles the French côtelette de volaille, but the recipe and filling differ, so the likeness alone doesn't prove a common origin. What is clear is that it is a Soviet-era classic, and it became widely served in Kyiv in the 1950s.
In Kyiv it also comes as a bone-in dish, with a paper frill on the bone and mashed potato on the side. This traditional form, the chicken supreme, is a breast with half the wing attached. It is made differently: the breast is butterflied, flattened, rolled around the butter, frozen, double-coated and deep-fried. The version here is the boneless home style served with salad, and its pan and oven times apply only to it.
Ingredients for 2: Soft Butter Filling and a Single Crumb Coat
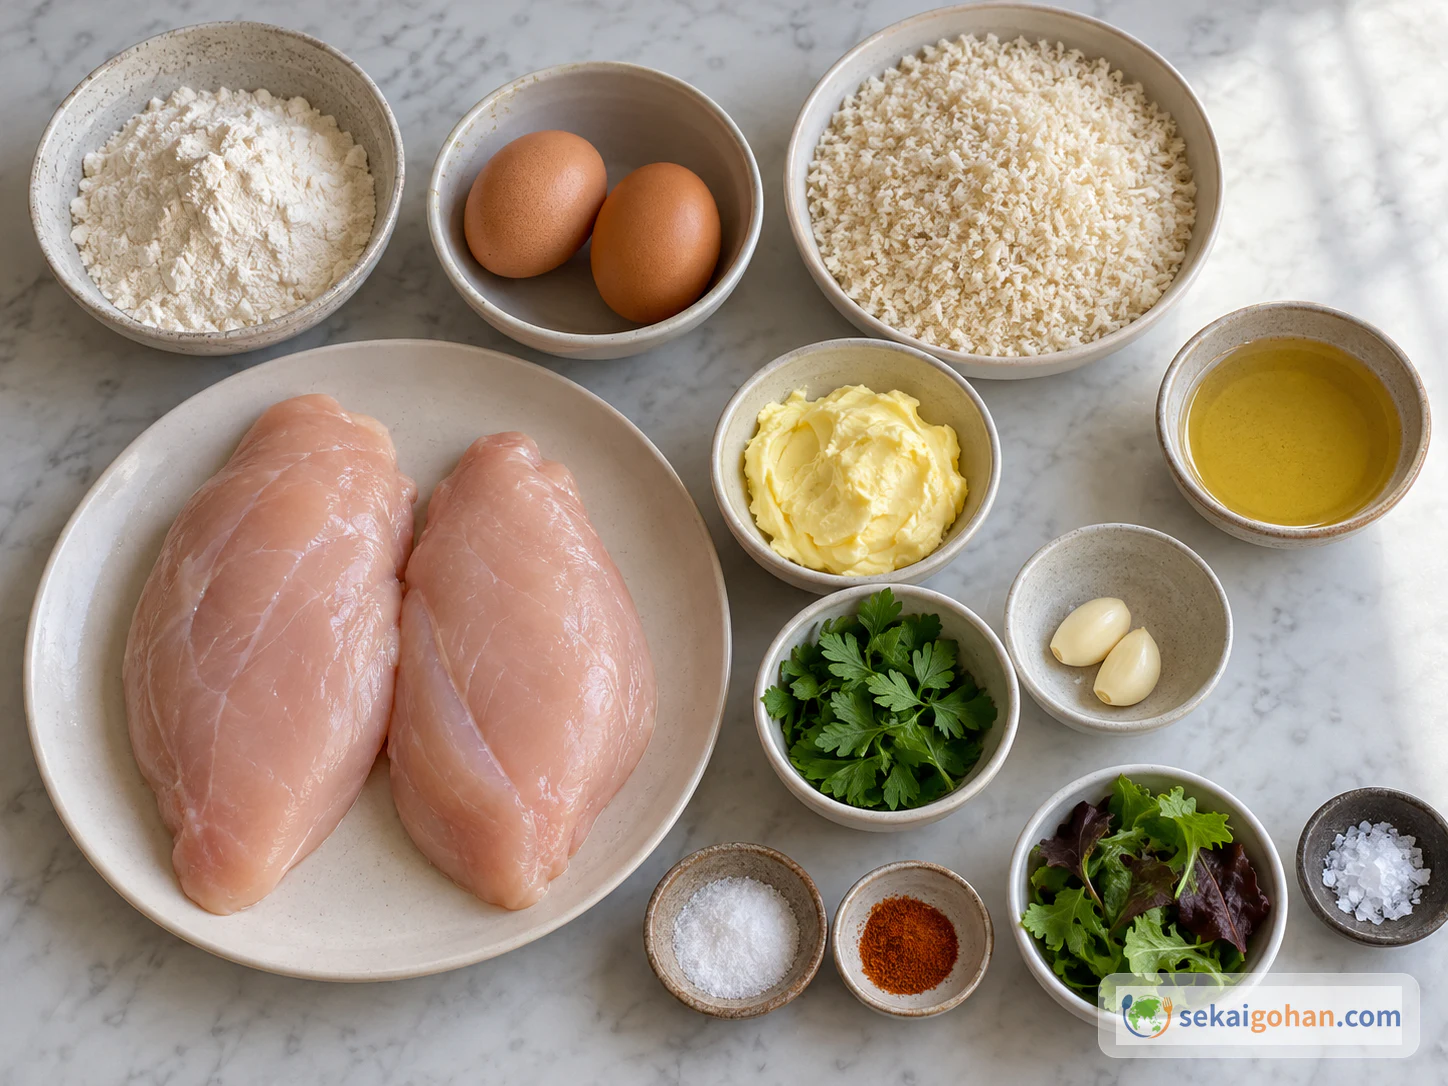
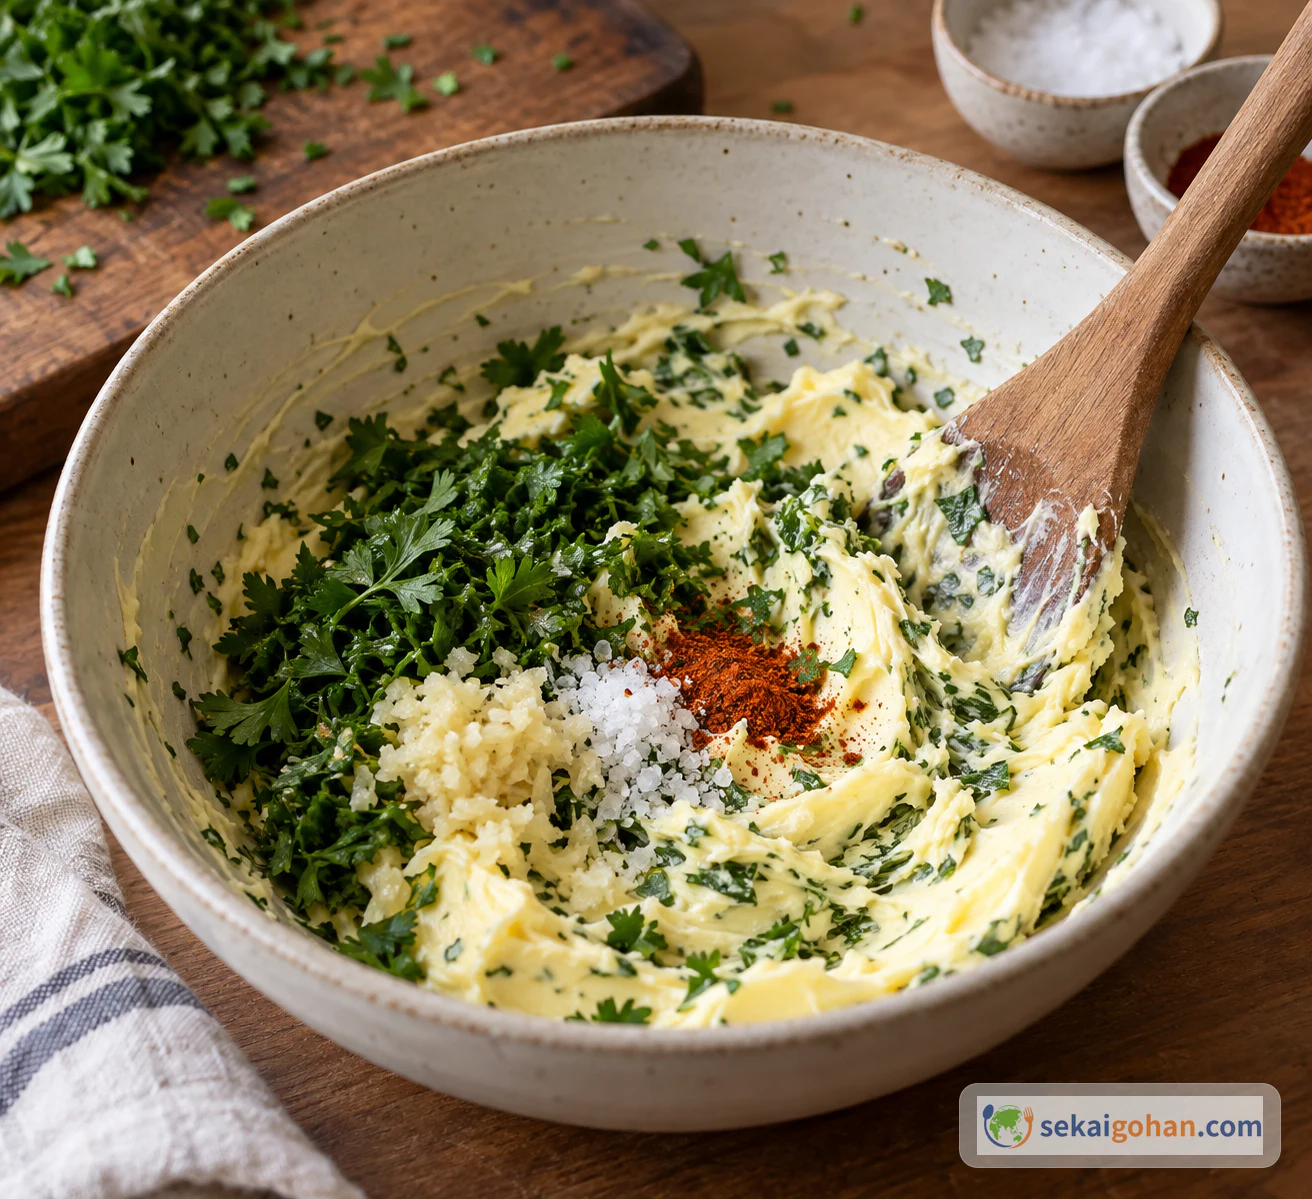
These amounts are for two. The butter mixture, flour, eggs and panko are preparation amounts. Fill each breast with as much butter as its pocket comfortably holds, so some butter and some coating will be left over. Use unsalted butter, with 1 tsp of salt in the filling.
This dish contains chicken, milk (butter), wheat (flour and panko) and egg. If you choose groundnut oil, it also contains peanut. Check the labels on packaged breadcrumbs. Throw away any leftover flour, egg and panko that have touched raw chicken. Do not reuse them in anything that will not be cooked, and keep the salad and finishing salt away from the raw meat and its dishes.
Equipment
- Mixing bowl and wooden spoon for the butter
- Thin, sharp knife for making the pocket
- Teaspoon for filling the pocket
- Three shallow dishes for flour, beaten egg and panko
- A board used only for raw chicken
- Plate and cover for chilling
- Nonstick frying pan and tongs
- Oven tray
- Clean, thin-probe instant-read thermometer
- Measuring spoons for the salt and cayenne
Choosing Ingredients for Chicken Kyiv
Butter. Use unsalted butter, since the recipe already adds 1 tsp salt. Salted butter makes the filling noticeably saltier.
Parsley. The recipe calls for flat-leaf parsley. Curly parsley works, though its aroma is different and it chops differently. If you want a stronger parsley note, add more, but make the base recipe first so you know what you are changing from.
Cayenne. Cayenne gives a gentle heat. If you find it too hot, use less than the 1/2 tsp and the filling will taste milder. Other ground chilies bring a different flavor and heat.
Breadcrumbs. Fine panko gives an even, close-textured coat. Coarser breadcrumbs make a rougher, crunchier-looking coat, and they stick and brown differently, so watch the color in the pan.
Chicken. Use large skinless breasts. The times and methods here are written for that cut.
Method: Fill, Coat, Brown, Then Finish in the Oven
The pan and oven times depend on the thickness of the chicken and on your equipment. The thermometer reading at the center of the thickest part of the meat tells you when it is done.
Chicken Kyiv Problems and Fixes
| Problem | Possible cause | What to do |
|---|---|---|
| Butter leaks out during cooking | The pocket was pierced through to the outside, or the coat did not cover the ends | Cut only from the thick end and keep the knife inside the meat. Coat flour, egg and panko right to the ends, and keep the heat moderate |
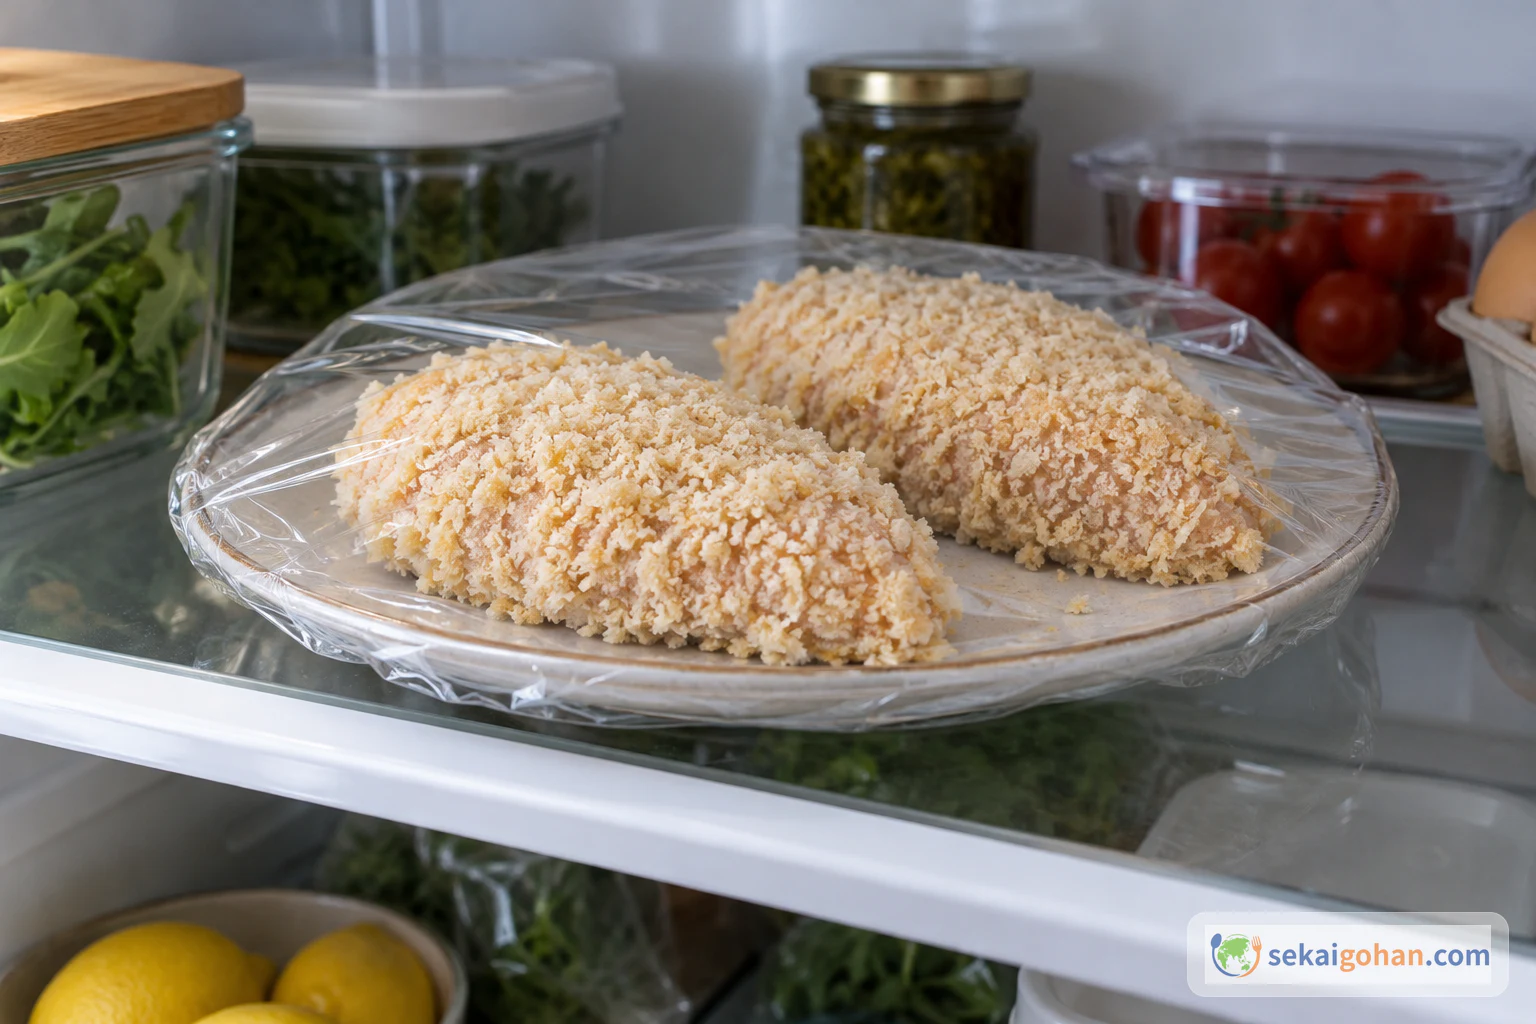
| The coating falls away | Flour was uneven or too thick, or the chicken was not chilled | Dust the flour thinly and evenly and shake off the excess before the egg and panko. Chill, covered, for at least 20 minutes |
| The crust is dark but the center is not at temperature | Pan heat too high | Keep the pan at low to medium heat. In the oven, go by the thermometer rather than the timer until the center of the thickest part reaches 167°F (75°C) for at least 1 minute |
| The thermometer reads hot, but you are not sure it is in the meat | The probe tip may be sitting in the butter pocket | Move the probe into the thick flesh beside the pocket and read again |
| Little butter runs out when cut | Several things can affect this | Serve the chicken promptly after the temperature check, straight from the oven |
Serving and Storing Chicken Kyiv
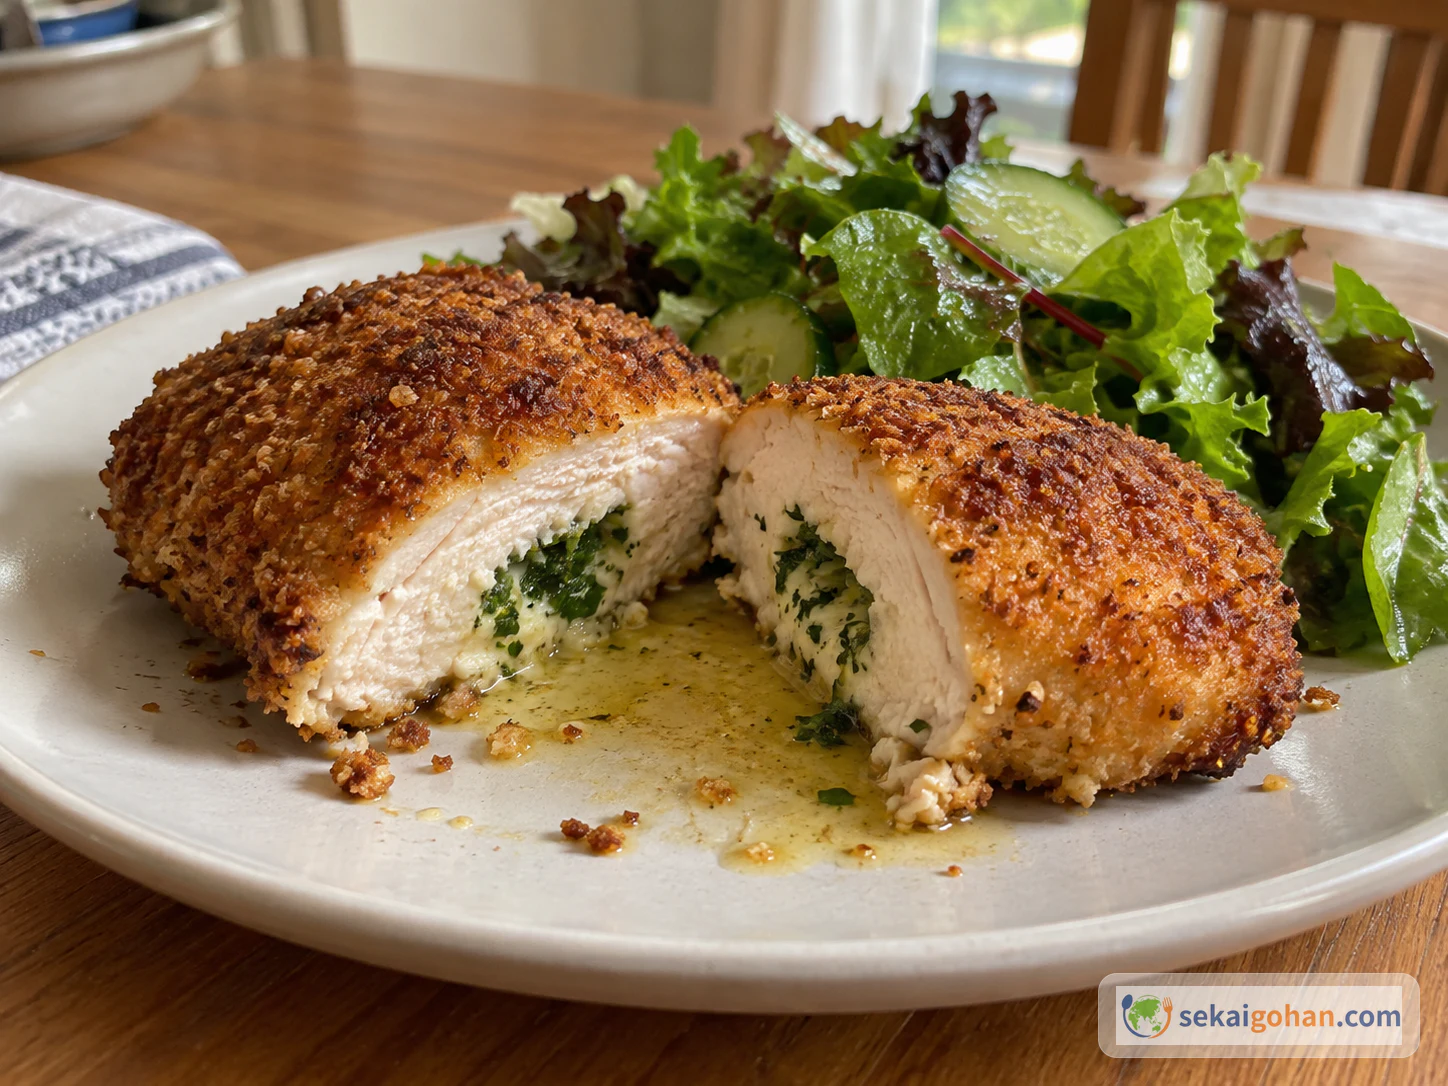
A crisp green salad is the natural partner, with whatever leaves you like in whatever amount. Something fresh and simple sits well beside the rich butter and fried crumb. Mashed potato works too, as it does in Kyiv.
For leftovers, divide them into shallow containers and cool them quickly. Reheat them thoroughly before eating.
Frequently Asked Questions
Can I trust the oven time alone?
No. The 10–15 minutes in the oven is a guide, and thickness and ovens vary. Check that the center of the thickest part of the meat reaches 167°F (75°C) for at least 1 minute, measuring the meat rather than the butter.
Why did my butter escape?
Most likely the pocket broke through to the outside, or the coat did not seal the ends. Cutting only from the thick end and coating all the way to the edges helps.
Can I make it ahead?
Yes. Chill the coated chicken for at least 20 minutes, or until you need it.