

When you want a quick bite on a Brazilian street corner, the first thing you spot in the glass case is coxinha. You take the teardrop-shaped fritter in a paper napkin and bite in from the tip: the thin crust cracks, and inside is a dough scented with chicken broth wrapped around shredded chicken. It looks like a croquette, but the star is a wheat dough worked with chicken stock rather than potato, so it eats quite differently. Done well, it has that Brazilian snack-bar quality: a fine, toasty outside and chicken flavor all the way through.

About coxinha
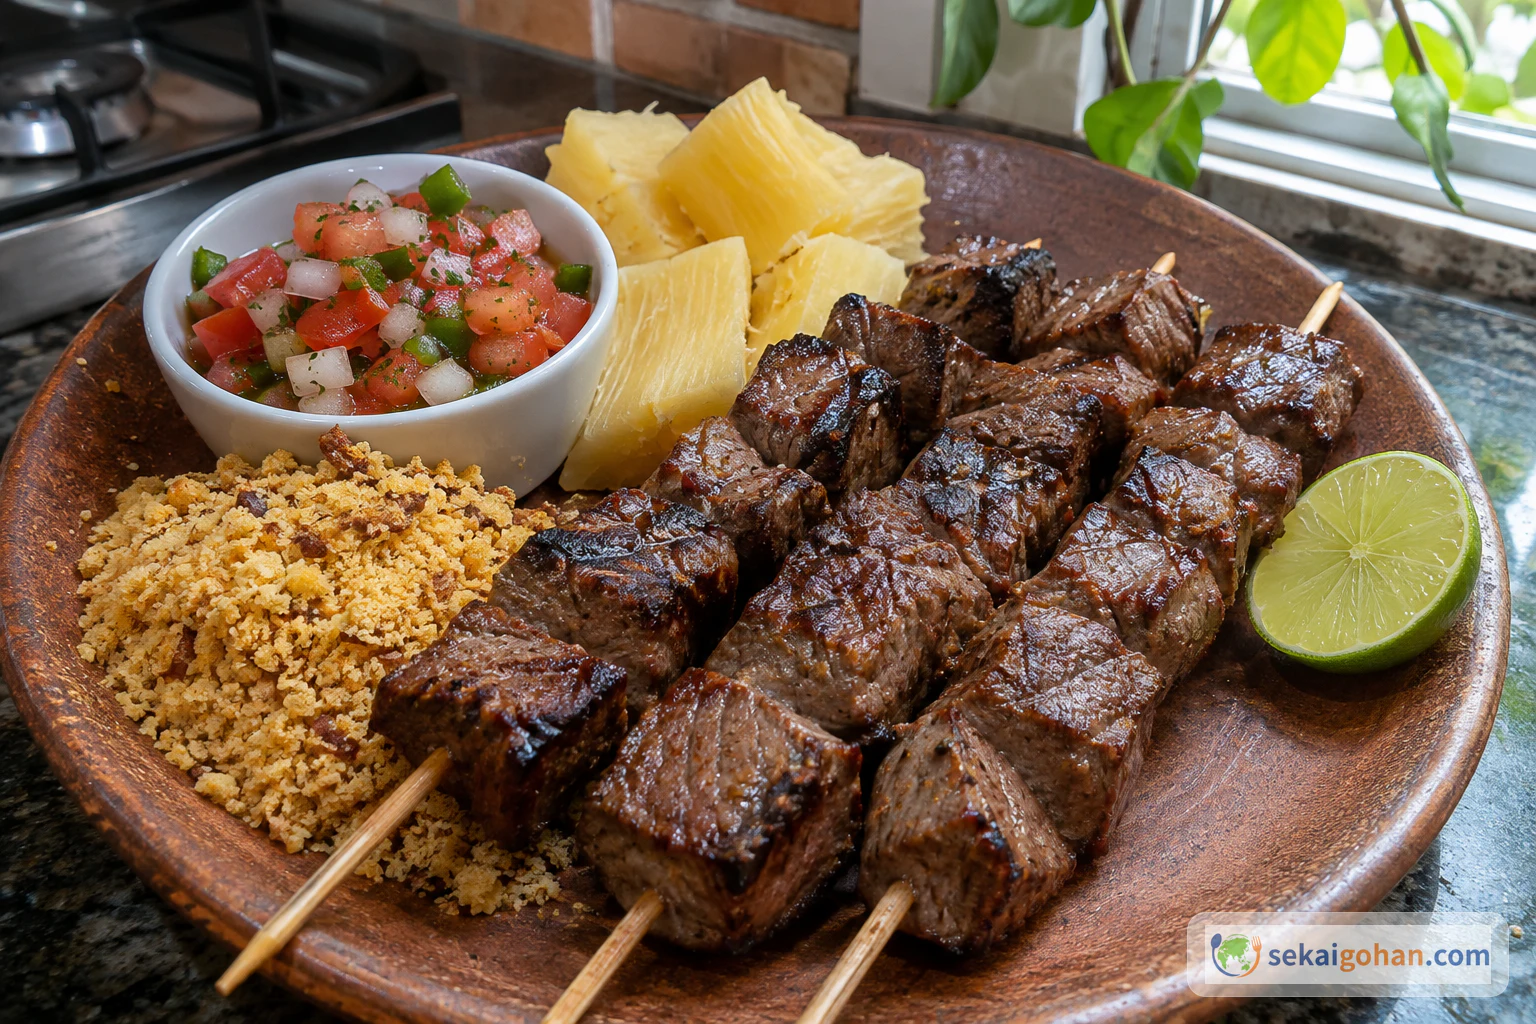
The name coxinha means something like "little thigh" in Portuguese, and the teardrop shape recalls a chicken drumstick. The filling is finely shredded chicken, and shops often mix in creamy Catupiry or requeijão. Coxinha is both home cooking and shop snack, and it fits just as well before a big Brazilian spread. Put it next to meat-centered churrasco, black-bean feijoada and farofa, which soaks up the meat juices, and you start to see the range of Brazilian food: snacks, stews, charcoal grilling and flour-based dishes.

Origin and the lanchonete
Coxinha is often traced to the 19th century around Limeira in São Paulo state. A court legend says a son of Princess Isabel, of the imperial era, would eat only chicken thighs, so the cook shaped dough like a thigh and served that. Today it's known as a snack from São Paulo, and it sits in snack bars all over Brazil.
In Brazilian lanchonetes (snack bars) and padarias (bakeries), fried snacks fill the glass cases from morning until evening: coxinha, pastel, kibe, pão de queijo. A large one makes a light lunch on its own, while small ones appear by the dozen at birthday parties and family get-togethers.
How coxinha differs from a chicken croquette
The chicken isn't simply breaded and fried. It's wrapped in a dough that carries the chicken's own flavor, which is why a good broth comes first, and that is the big difference from an ordinary chicken croquette. In Brazilian shops you often find Catupiry, a creamy cheese brand, in the filling, where it keeps the chicken moist and holds it together.
Shape matters too. A coxinha isn't round; it swells at the base and tapers to a point at the top. It doesn't have to be perfect, but closing the top narrowly means each bite gets dough, filling and crust all at once.
Ingredients — chicken and dough from an ordinary kitchen

This makes 12 fairly large coxinhas. As a snack it serves 4; as a party appetizer it can stretch to 6. The first time, don't make them too small: about 1.5 oz (45 g) dough and about 25 g filling per piece is easiest to wrap.
This recipe uses chicken, wheat, eggs and dairy. Some breadcrumbs and cream cheese contain soy or other allergens. For a party, check the ingredient labels before serving.
Shopping items that can be confusing
The paprika is there for color and aroma, not heat. A lot of smoked paprika pushes the aroma toward Spain, so regular sweet paprika is easier for a first try.
The oil temperature makes or breaks a coxinha. If you want to avoid crusts that darken only on the surface, or coxinhas that soak up oil and turn heavy, a cooking thermometer is a real help.
On days when you make dozens, chopping the onion and breaking down the breadcrumbs adds up. You can do it by hand, but a small food processor makes larger batches easier.
Choosing ingredients for coxinha
Ordinary chicken breast, all-purpose flour and breadcrumbs are all you need, as long as you keep the broth from poaching the chicken. It goes into the dough and a little into the filling, so don't throw it out.
Catupiry can be hard to find outside Brazil, and cream cheese is the easiest stand-in. On its own it's rich and firm, so mix it into the filling with a little chicken broth so it doesn't set too hard. For something closer to Catupiry or requeijão, loosen the 2 oz (60 g) cream cheese with 2 tsp milk and add a pinch of salt, so saltiness comes forward rather than sweetness. Some versions use mozzarella, but the stretchiness takes over and it feels like a different dish; start with chicken and cream cheese.
Ordinary breadcrumbs work, but how fine they are matters. Coarse crumbs such as panko look rough, pile up thickly at the tip and give a surface closer to a Japanese croquette. Put dry breadcrumbs in a bag and crush them lightly with a rolling pin, or pulse them briefly in a food processor, and you get closer to the smooth coating of a snack-bar coxinha.
Method — work the dough, wrap the filling, fry briefly
Coxinha is a long process: poach the chicken, make the filling, cook the dough, shape, and fry. Rush any stage and they burst. Simply cooling the filling first and wrapping only once the dough is at a workable temperature raises your success rate considerably.
The easiest approach at home is to freeze them shaped and breaded. To fry from frozen, lower the oil to 170°C (338°F) and take 4–5 minutes so they heat through to the center. If they go into oil that's too hot, the outside darkens while the inside stays cold.
Coxinha troubleshooting

Coxinha failures show up in the shape more than the flavor. They split while frying, the filling seeps out of the base, or the coating peels off, and the causes are almost always the same.
Sticky dough wasn't worked long enough. It may come together as soon as the flour goes in, but taking it off the heat then leaves moisture behind. Work it an extra 2–3 minutes, until a thin film forms on the bottom of the pot, and it will stick to your hands much less. If it cracks because it cooled too much, cover it with plastic wrap to keep it moist and knead it lightly by hand before shaping.
A watery filling calls for a rethink of the sauté, not more cheese. After adding the chicken, tomato and broth, cook off the moisture over medium-low heat until it holds together when lifted with a wooden spoon. A runny filling wets the dough from the inside, and the seam opens. A double coating is sturdier, but at home one coat is enough.
Use 350°F (180°C) as your benchmark oil temperature. The filling is already cooked, so frying is really about setting the coating while warming them through. Fry low and long and they soak up oil; fry hot and fast and only the tip darkens. Frying 3–4 at a time, without crowding the pot, gives more consistent results.
Serving, variations and storage

A large coxinha like the ones from a shop is quite filling on its own. At home, slightly smaller ones are easier to wrap and keep the oil temperature steady. Once you've got the basic 12-piece batch down, you can make 24 minis instead: use 2 tsp filling and about 25 g dough each, and shorten the frying time to around 2 minutes.
For heat, a sauce at the table is more reliable than chili in the filling. Brazilian snack bars sometimes serve a little red pepper sauce on the side, and at home a quick hot sauce of vinegar, chili and garlic, or a store-bought chili sauce, is plenty.
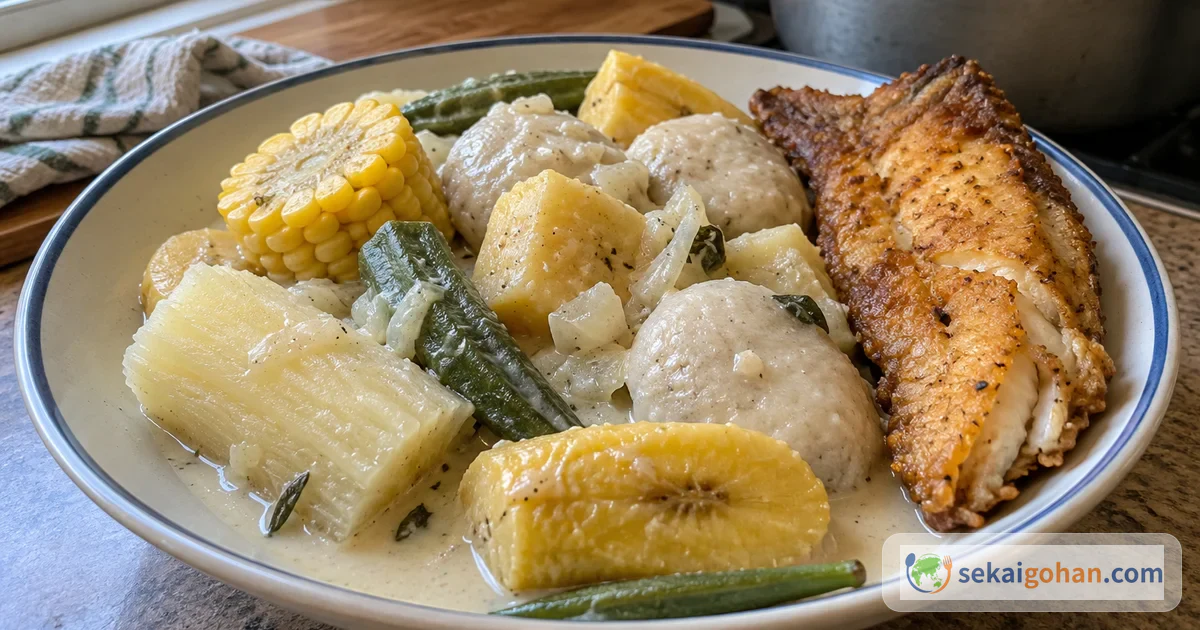
On a menu, coxinha sits on the appetizer side. On a day when feijoada is the main, make them small; on a churrasco day, a few served first make the wait more fun. If you'd rather not stack fried food on fried food, a stewed fish dish like moqueca baiana balances things out.
Freezing and reheating coxinha

Coxinhas take effort, so it's worth making extra, and freezing them before frying gives more reliable results than storing them after. Double the batch, fry half fresh and freeze the rest, and next time you can put out a plate right away before the feijoada or churrasco.
Arrange shaped, breaded coxinhas on a tray with space between them and freeze for 2–3 hours until firm, then transfer to a freezer bag. Doing it in this order keeps them from sticking together or crushing their tips. In a home freezer, use them within 2–3 weeks so they don't pick up freezer odors.
When frying from frozen, set the oil to 350°F (170°C). Frying at 350°F (180°C) darkens the surface first and can leave the inside cold. Fry for 4–5 minutes, until the bubbling calms down and they're golden all over; if you're unsure whether the center is hot, cut one open and check for steam and warmth.
Fried coxinhas keep in the refrigerator until the next day once cooled. The microwave alone softens the crust, so microwave at 600 W for 30 seconds, then bake in a toaster oven or a 180°C (356°F) oven for 4–5 minutes to crisp the surface a little. They won't be quite like fresh from the fryer, but they work for breakfast or as a small item in a packed lunch.
Frequently asked questions
Does coxinha have potato in it?
Some recipes include it, but a dough made only with flour and chicken broth is common too. Potato makes the dough softer and easier to handle, but it can feel heavy once cooled. Here the dough is mainly flour, to bring out the aroma of the chicken broth.
Can I make them in the oven or an air fryer instead of frying?
You can, though the texture will differ from fried coxinha. In an air fryer, brush the surface lightly with oil and cook at 200°C (392°F) for about 10–12 minutes, turning them once halfway, and take them out when the surface is dry and golden. The dough and filling are already cooked, so this step is mainly about coloring the coating.
Can I leave out the heat for kids?
Absolutely. This filling contains no chili; the paprika is only for color. Adults can add pepper sauce at the table, which makes family meals easy.
Won't chicken breast turn out dry?
Only if it's overcooked. Aim for 15–18 minutes over low heat and take it out as soon as it's cooked through. Because the shredded chicken is then sautéed with 3 tbsp broth and bound with cream cheese, it ends up moister than chicken breast eaten on its own.