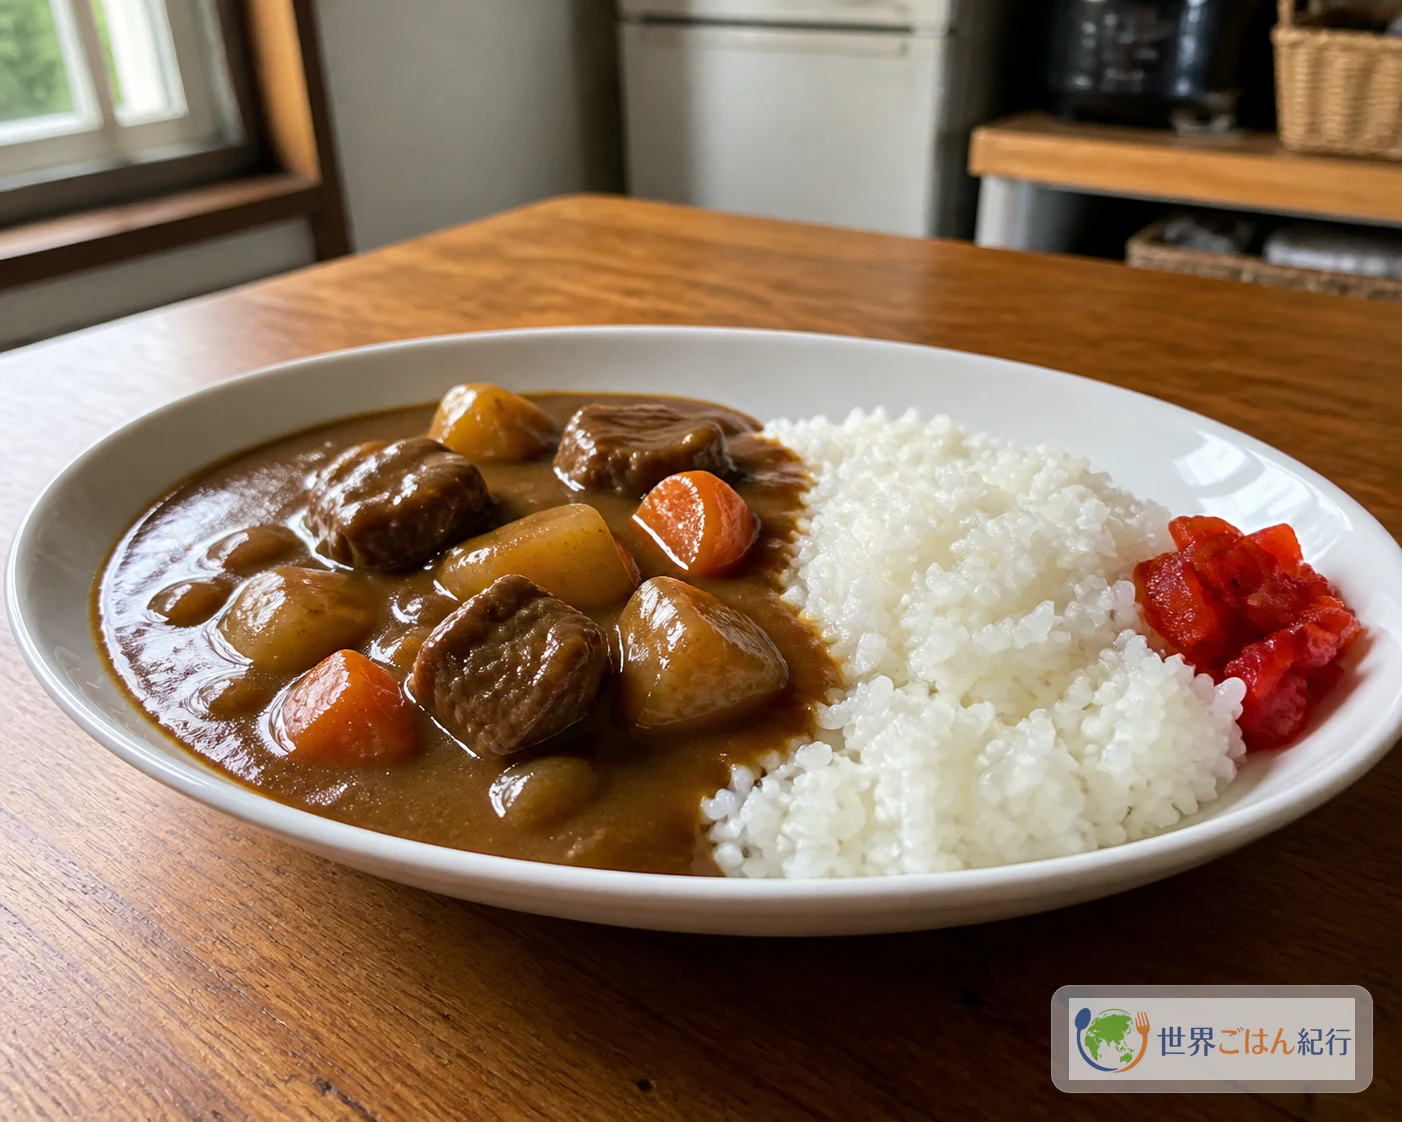
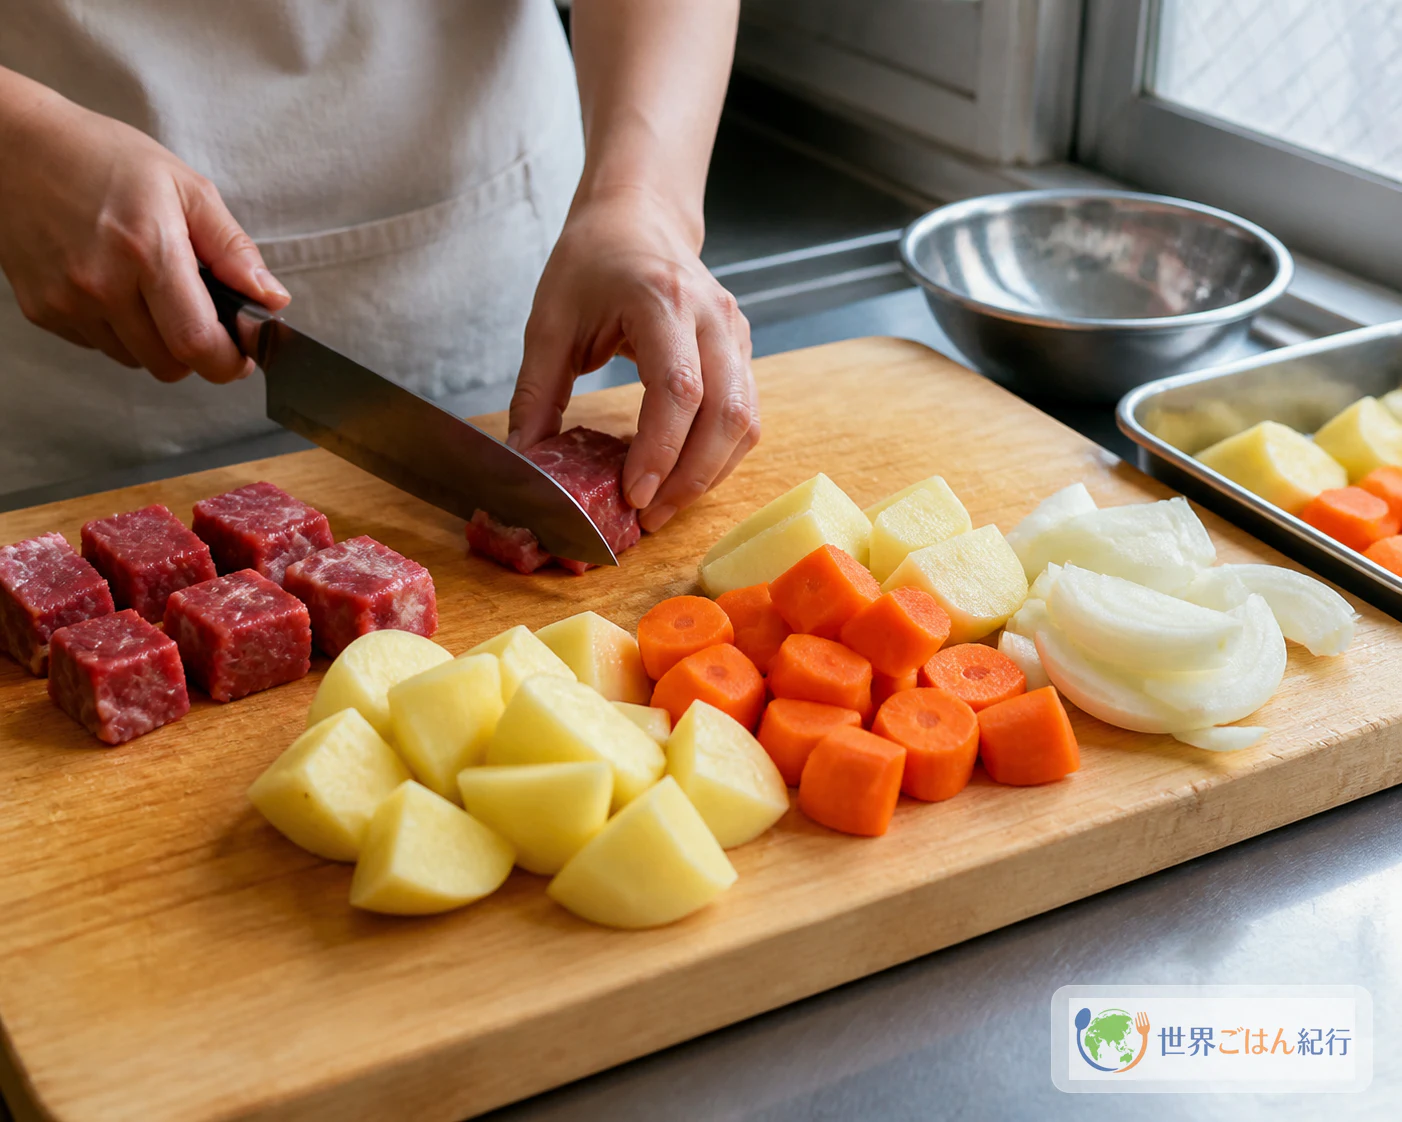
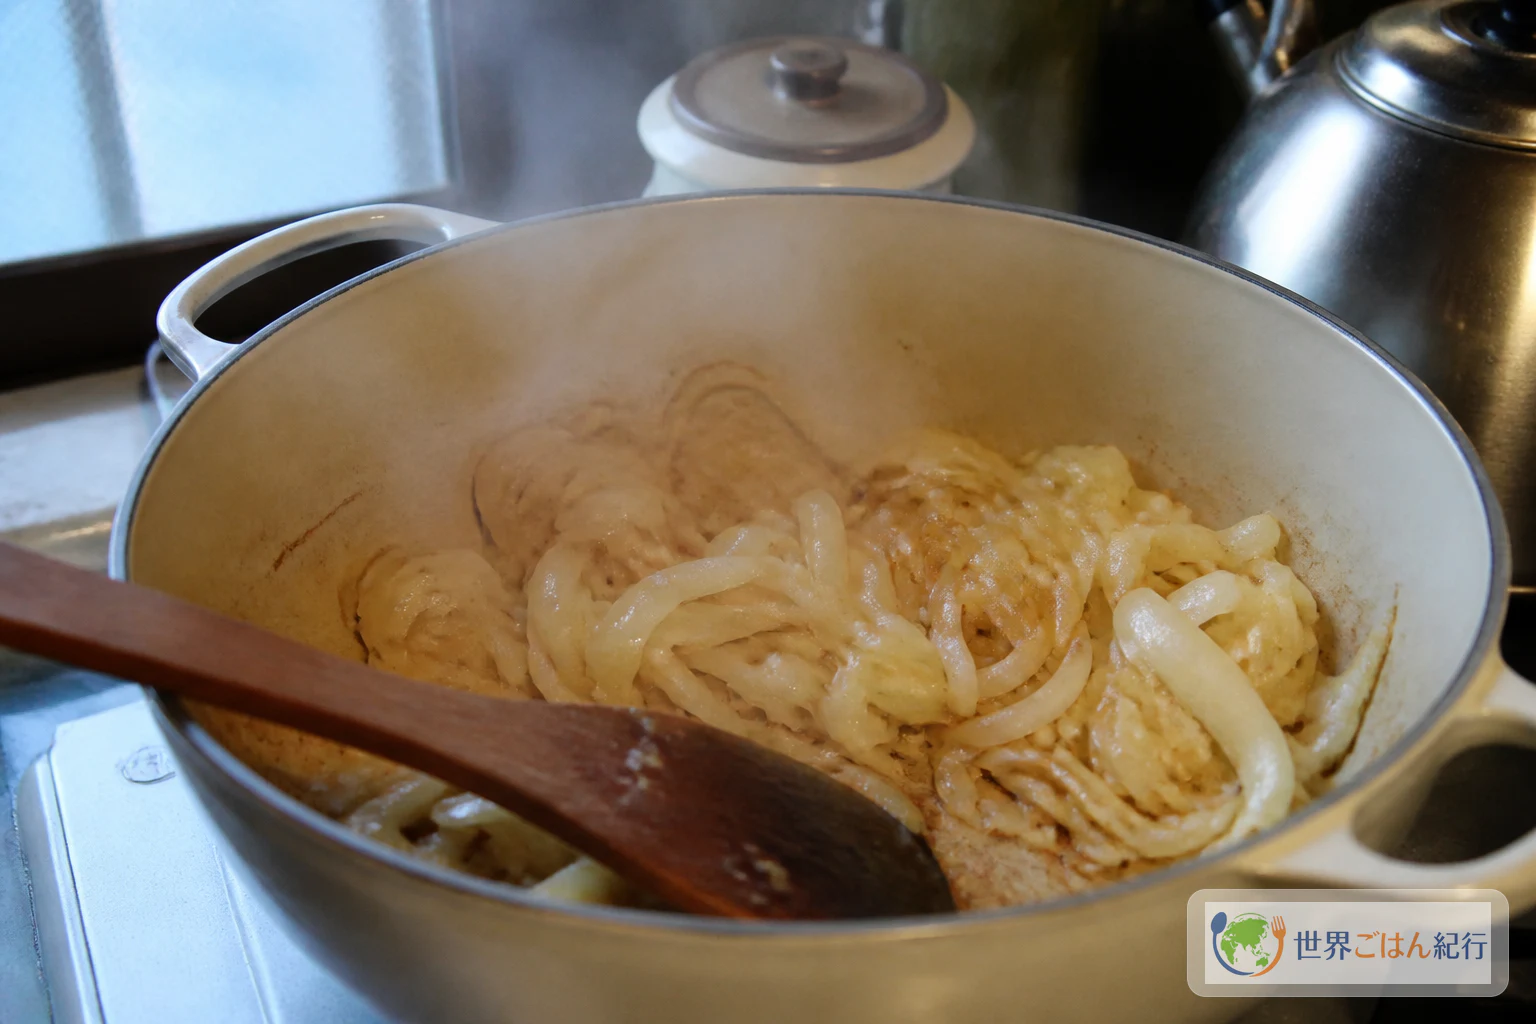
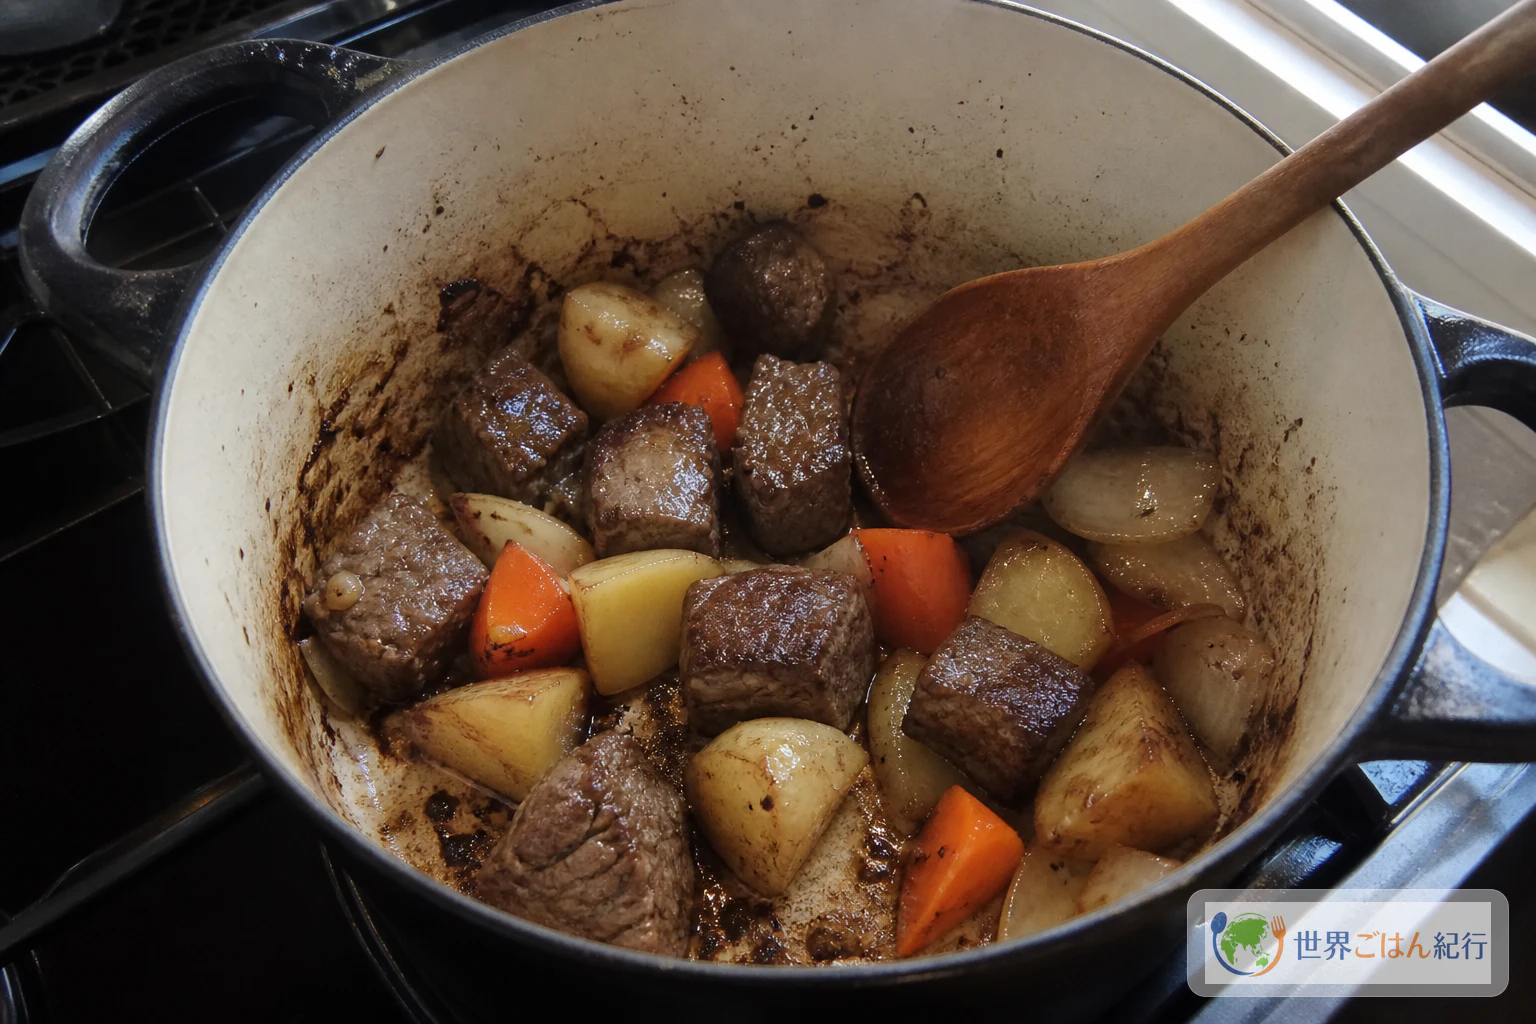
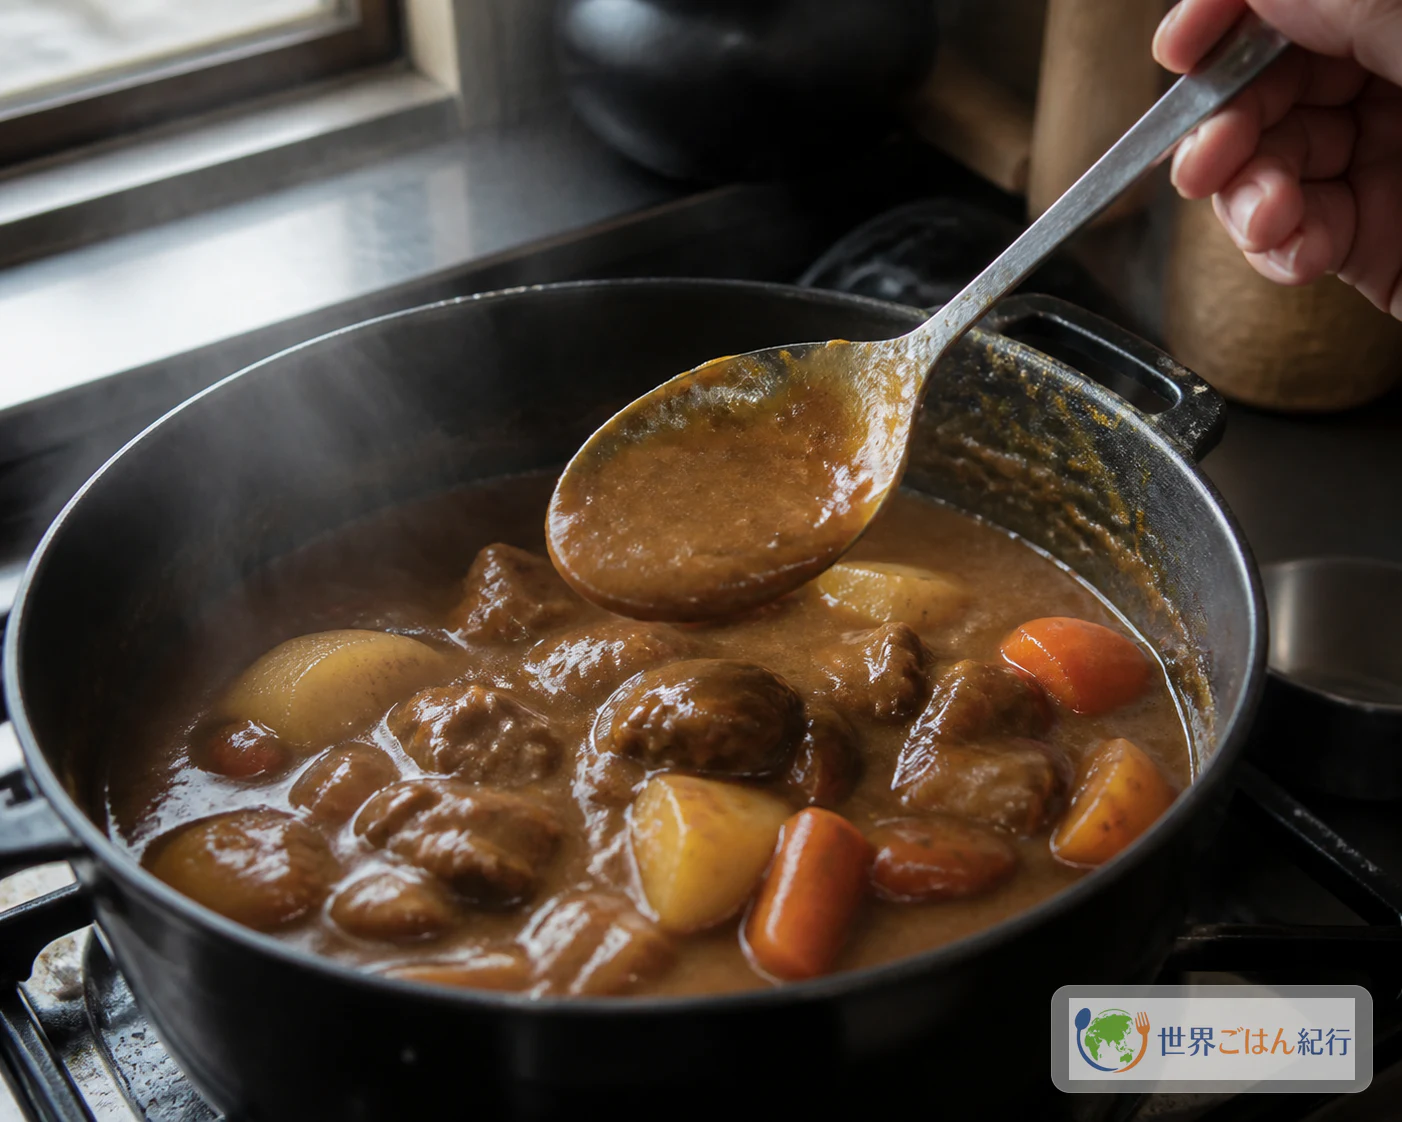
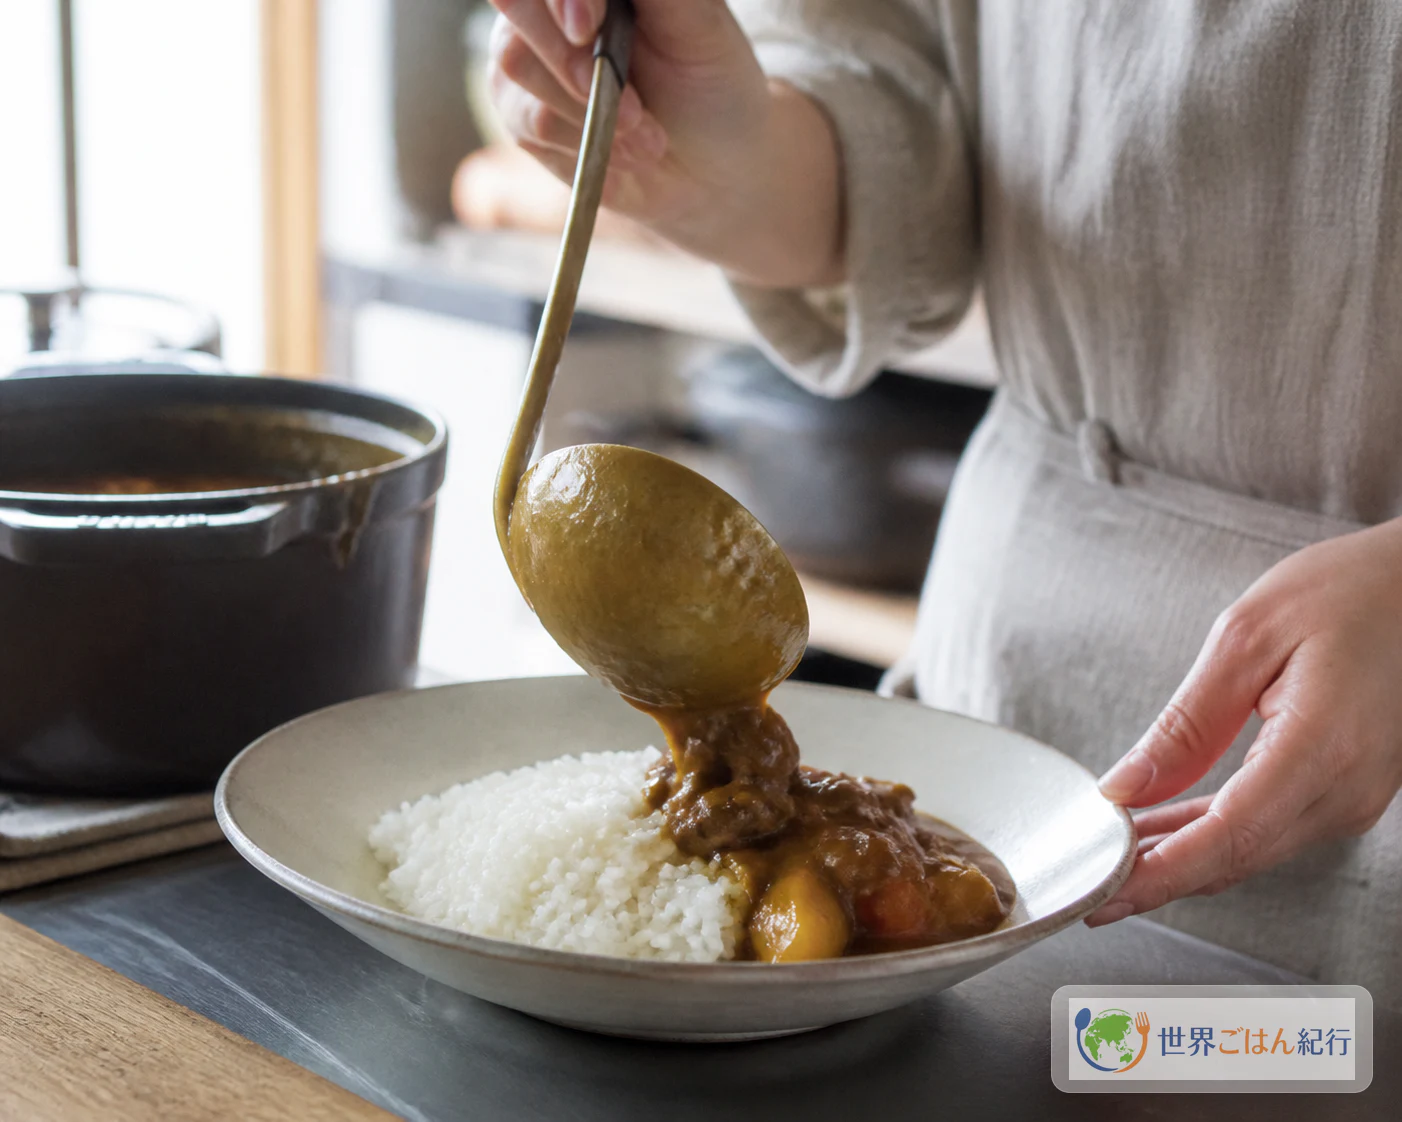
Spread the onions in the pot and at first they make a light, watery sound. Keep them moving over medium-low heat and the sound quiets. Once only the edges have turned light brown and the meat and vegetables go in, a sweet smell rises from the bottom of the pot, even before the curry powder is added. That is how Japanese home curry rice begins: beef, potatoes and carrots in a thick, rounded sauce made to sit alongside white rice. It came to Japan as a Western dish in the Meiji era and grew into something each region, and each household, makes its own way.
What makes Japanese curry rice
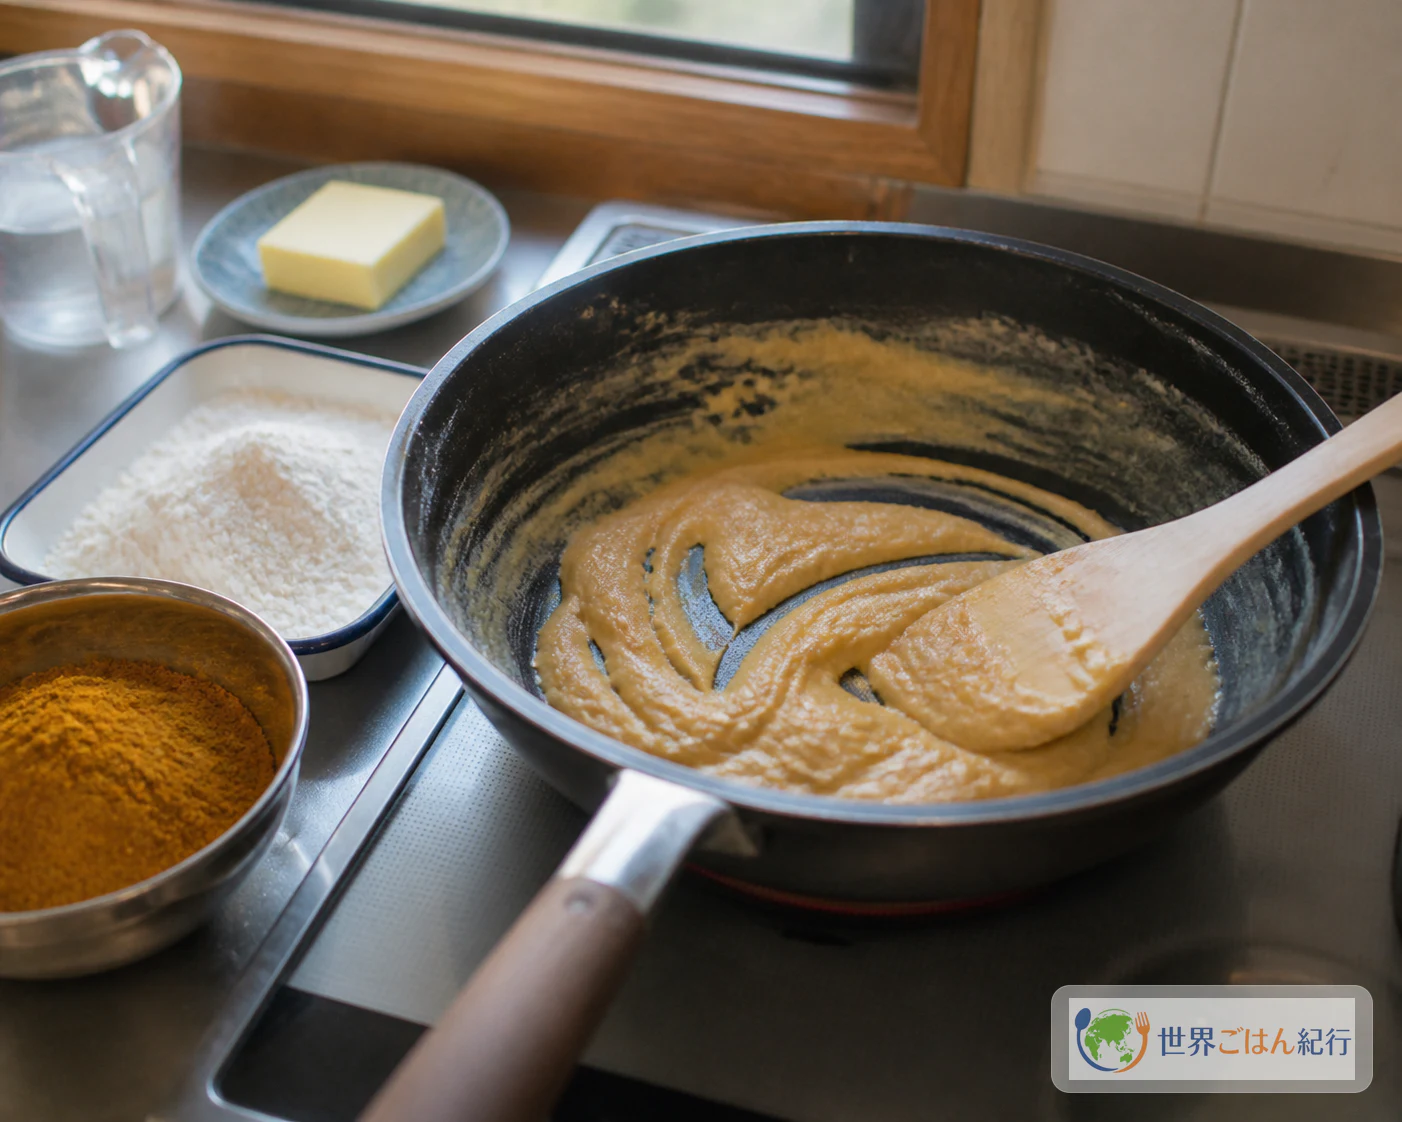
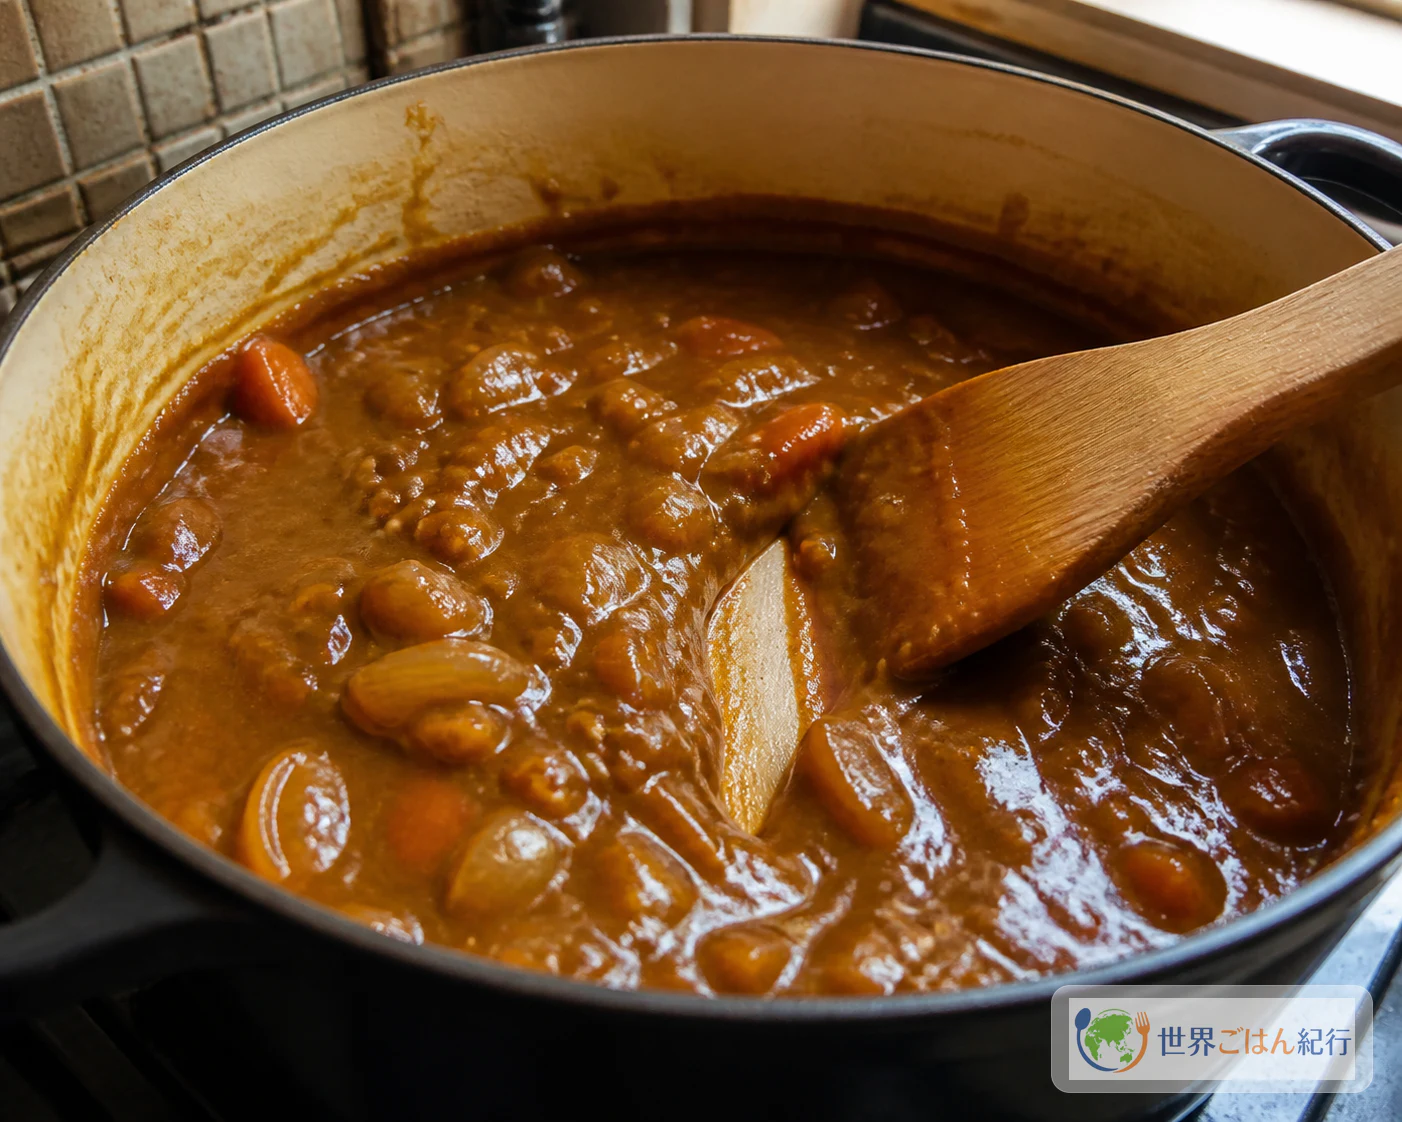
Japanese home curry gets its body from a roux. You cook flour in fat, combine it with the curry powder, and add the liquid a little at a time. That roux carries the juices of the meat and vegetables, and it sets the thickness so the curry doesn't run too far over the rice.
This plate is defined less by the amount of curry powder than by the order: cook the flour in fat, then bring it into the liquid. Sweeten the onions without scorching, brown the surface of the fillings and combine the roux last, and you get a rounded flavor that doesn't rely on heat alone. India's murgh makhani builds its sauce on spices and dairy instead. With Japanese curry, think about thickness first, because it has to sit beside rice.
From the navy's pot to the home plate
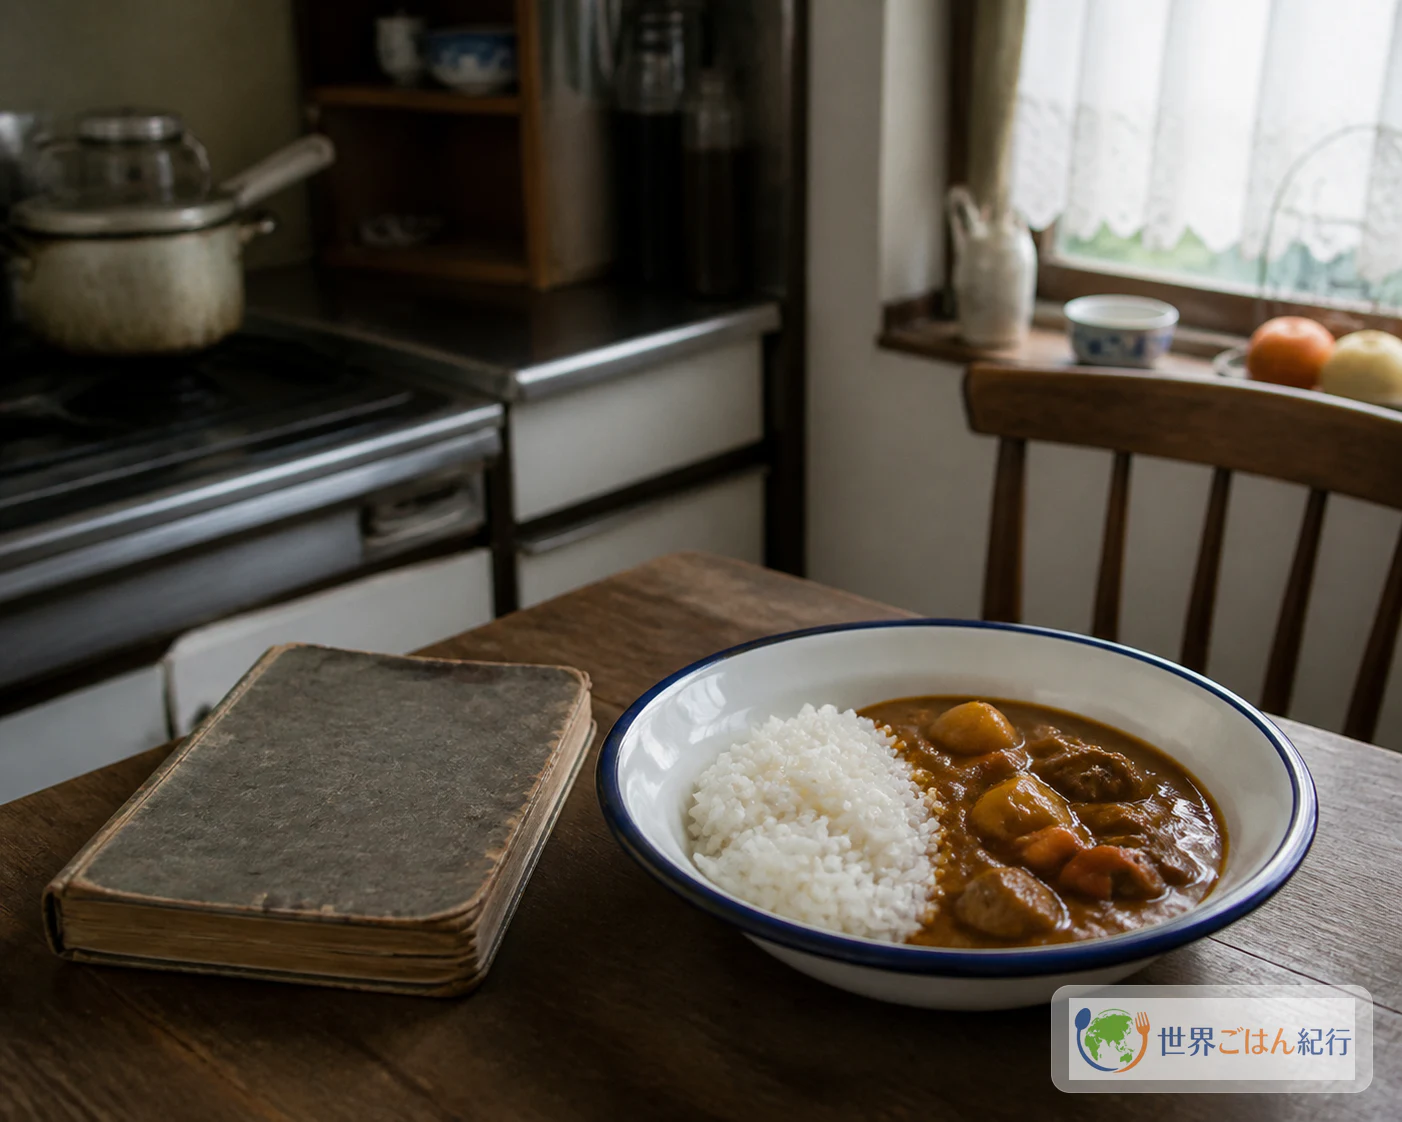
Curry powder was born in Britain at the end of the 18th century and came to Japan in the Meiji era as a Western dish. A word for curry first appears in a work from 1860, and in 1871 Yamakawa Kenjiro encountered curry on a ship. A cookbook of 1872 included curry dishes, presenting it as a stew with a Western name, and a 1908 navy cookbook included a recipe for "curry rice" (written "kareiraisu"). That recipe has nothing like today's commercial roux; it shows how the navy of the time put together a Western-style stew to eat with rice.
Navy meals were built around white rice, and nutrition was a concern. Against that background, a curry-flavored stew of British Navy origin was thickened with flour to suit rice, which also made it easy to keep alongside rice on a ship's table. Retired servicemen carried the flavor home to towns across the country, where it spread to families and local eateries. That is why curry rice never stayed in one place.
Today's "Yokosuka Navy curry" took shape in 1999 as a town-revitalization dish, a regional brand made easy for shops and homes to cook. It is related to Meiji navy food and to the home's commercial roux, but each is its own thing, and keeping them a little apart makes the differences in flavor easier to explain.
Yokosuka, Kanazawa and Sapporo
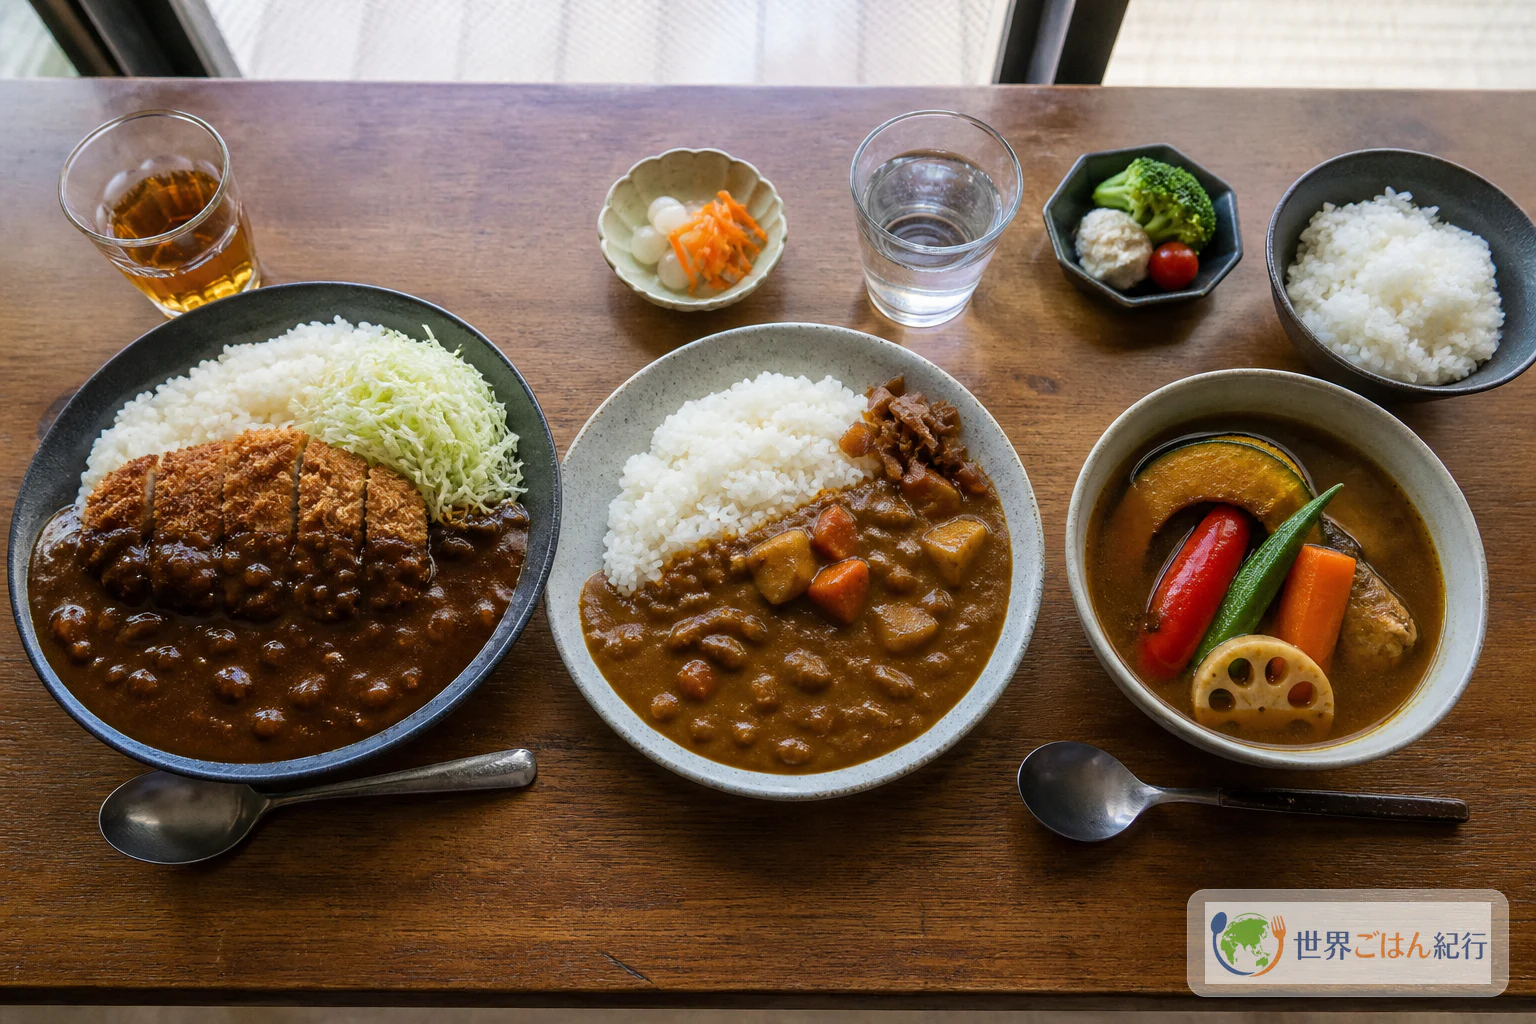
Even within "Japanese curry," the dish people remember differs by region. Yokosuka is known for a navy-style curry of beef or chicken, onions, carrots and potatoes, thickened with flour and served with rice. At certified restaurants it comes as a full meal with salad, milk and chutney, so the regional dish covers what goes beside the plate as much as what goes in the pot.
Kanazawa curry has a dark, thick roux, shredded cabbage and a pork cutlet. The roux is spread on the rice, the cutlet set on top and the cabbage placed to one side, an order of eating quite different from a home braise. Sapporo soup curry, which arose about 50 years ago, goes the other way: large-cut, colorful vegetables in a thin soup, with spices and stock that vary by shop.
| Regional style | What distinguishes the plate | If you adopt it at home |
|---|---|---|
| Yokosuka navy curry | Thickened with flour, rice and sides combined into one meal | Watch the roux thickness and the sides |
| Kanazawa curry | Dark roux, shredded cabbage, cutlet presentation | Keep the braise; change only the plating |
| Sapporo soup curry | Large vegetables and a flowing soup served alongside rice | Skip the flour roux; make a soup in a separate pot |
If you're recreating any of these at home, start with a thickness that holds up beside rice, then borrow from the plating and sides. Keep in mind that when the amount of liquid and the size of the fillings change, the heat they need changes too.
Curry on the family table
Friday curry is a meal for keeping a sense of the day of the week before the weekend. Life on board is different from a family dinner, but when a dish is tied to a day or a family gathering, its taste stays in memory longer than any recipe. Some days the time spent cooking onions becomes time for conversation; other days, vegetables cut the night before go into the pot and reach the table quickly.
Curry rice spread for more than its spice. Rice, root vegetables and meat came together in one pot, and because saltiness and thickness could be adjusted at the end, each household could change the fillings and still call it the same dish. Fukujinzuke or rakkyo, a pile of cabbage or a salad on the side add regional and household flavor outside the pot.
Ingredients (serves 4)
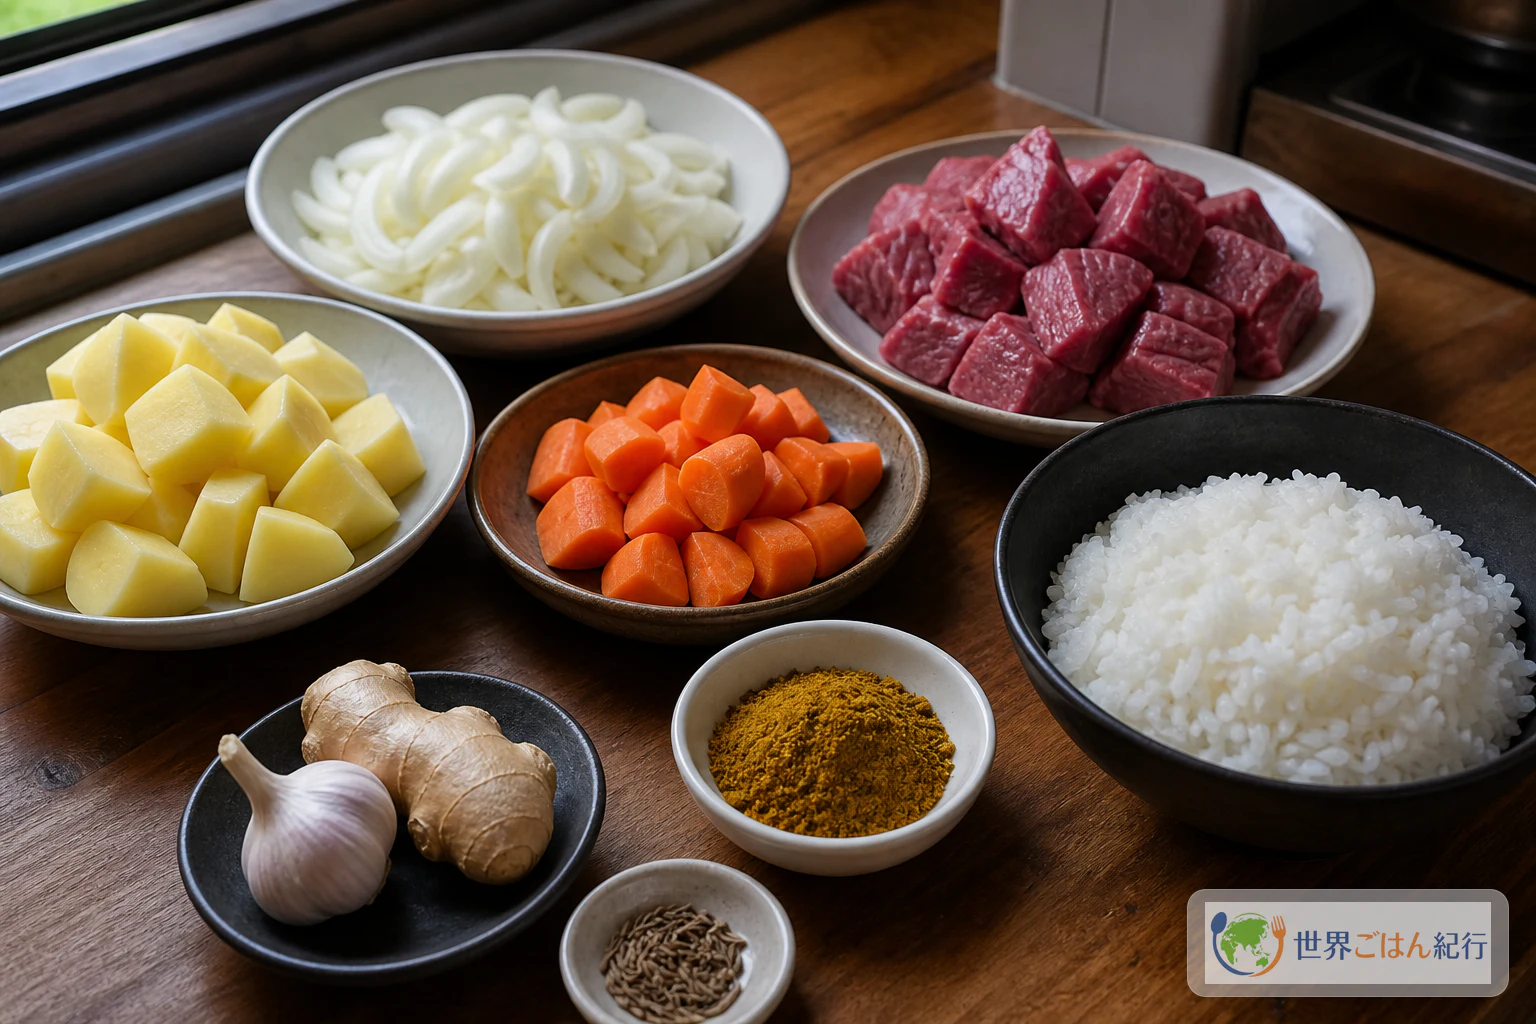
Ingredient table
Each serving is about 5.5 oz (150 g) cooked rice and about 9 oz (250 g) curry. Flavor changes with the cut of meat, the salt in the curry powder and how much liquid evaporates, so don't add all the salt at once; taste at the end and decide. Large potatoes tend to leave the center firm, and small ones melt into the roux. If you want them to keep their shape, keep to 1 inches (3 cm) cubes.
Deciding what to buy extra
Curry powder, beef, root vegetables and rice are easy to find at a nearby supermarket. The one thing worth seeking out is cumin, if you want an aroma that powder alone struggles to give. A set of whole spices lets you try a few in small amounts, without ending up with a big bag of only cumin. If you already have cumin seeds, or want a milder aroma, you don't need to buy more.
Choosing the meat for Japanese curry
Beef is the classic filling, but pork shoulder or chicken thigh work well. Pork shoulder layers its fat with the sweetness of the onions. Brown the surface for the same 8–10 minutes as beef and check that the center is cooked at the end of the simmer. If a lot of fat floats up, skim a little before finishing so it doesn't feel heavy beside the rice.
For chicken thigh, cut it into 1 inches (3 cm) cubes, brown only the surface in step 4, and shorten the simmer in step 6 to 15–18 minutes. Go by a skewer through the potatoes and a fully cooked center in the chicken rather than by the clock. Removing the skin lightens the fat and keeps it from firming when cold.
To leave out the meat, add 9 oz (250 g) shimeji or king oyster mushrooms and 5.5 oz (150 g) chickpeas. Cook the mushrooms in step 4 until their water cooks off, and add the beans in the second half of step 6. Vegetables alone give the liquid little body, so increase the diced tomato to 7 oz (200 g) and decide the salt last.
Instructions: fillings first, roux joined afterward
Make the roux in a small skillet and move it to the stew pot. Because the flour isn't sprinkled straight into the pot, lumps are easier to track down if they form. Start cooking the rice at the same time as step 1, and let it steam for about 10 minutes before serving.
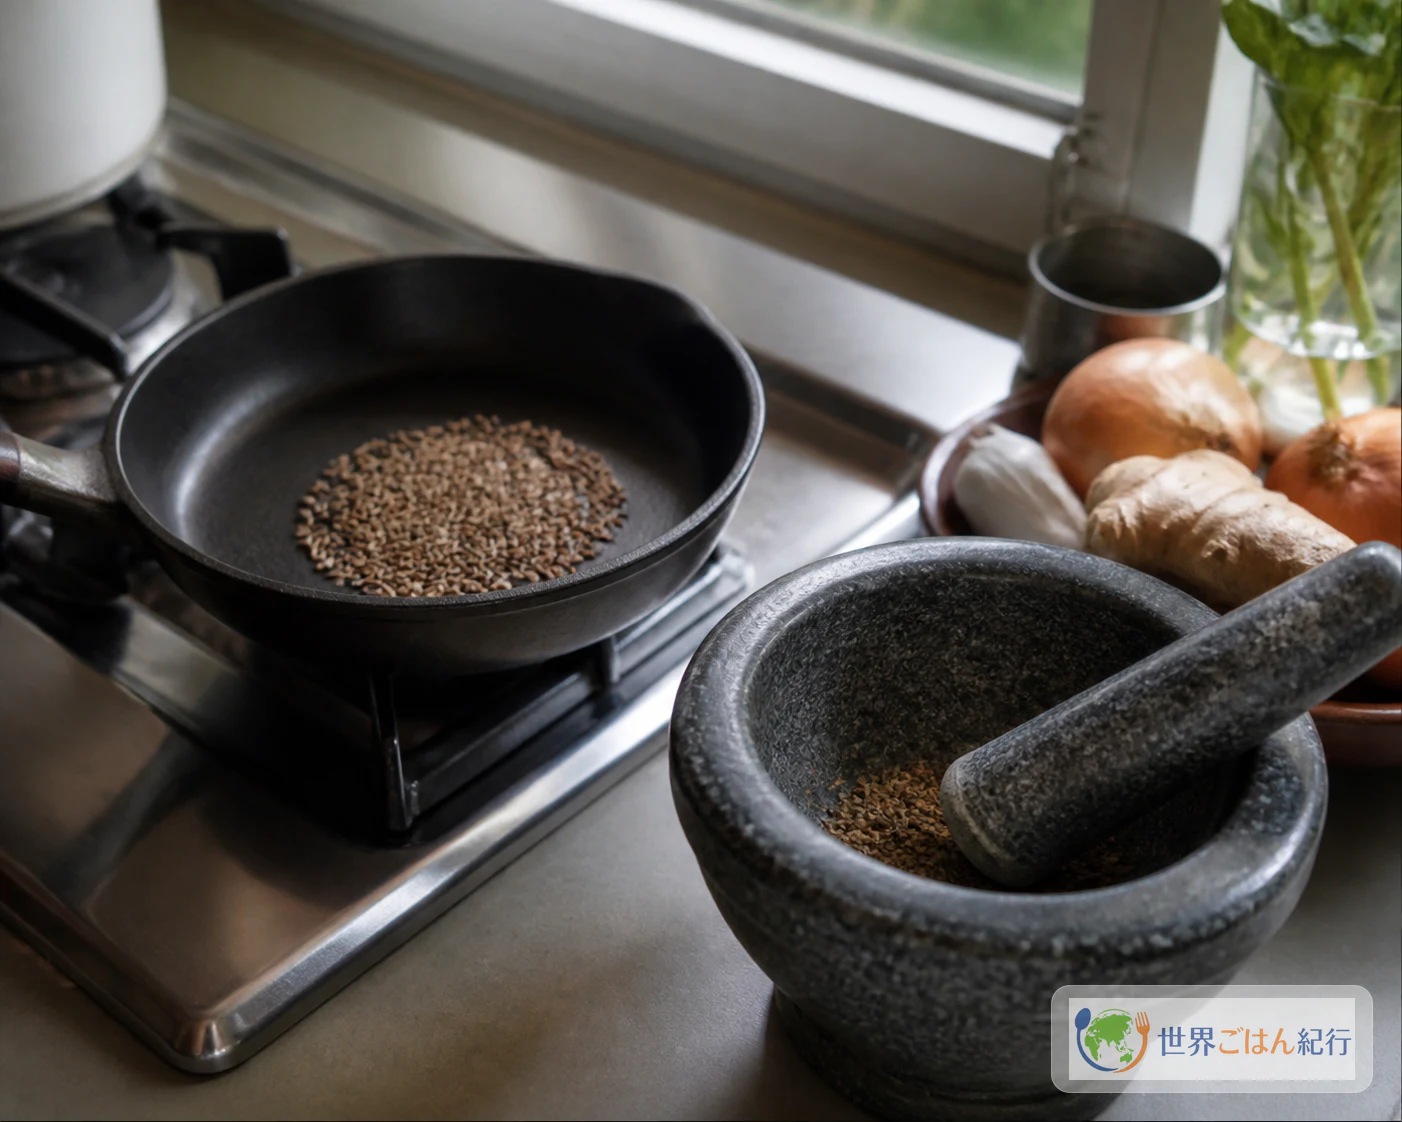
If you use cumin seeds, a small dry skillet and a mortar are useful. If you buy a mortar, choose one with no cracks or chips, and check the material. If you use curry powder alone, already own a mortar, or are making this only once, don't buy one. Lightly crush the cumin with your fingers, or skip step 2.
Fixing onions, roux and potatoes in curry
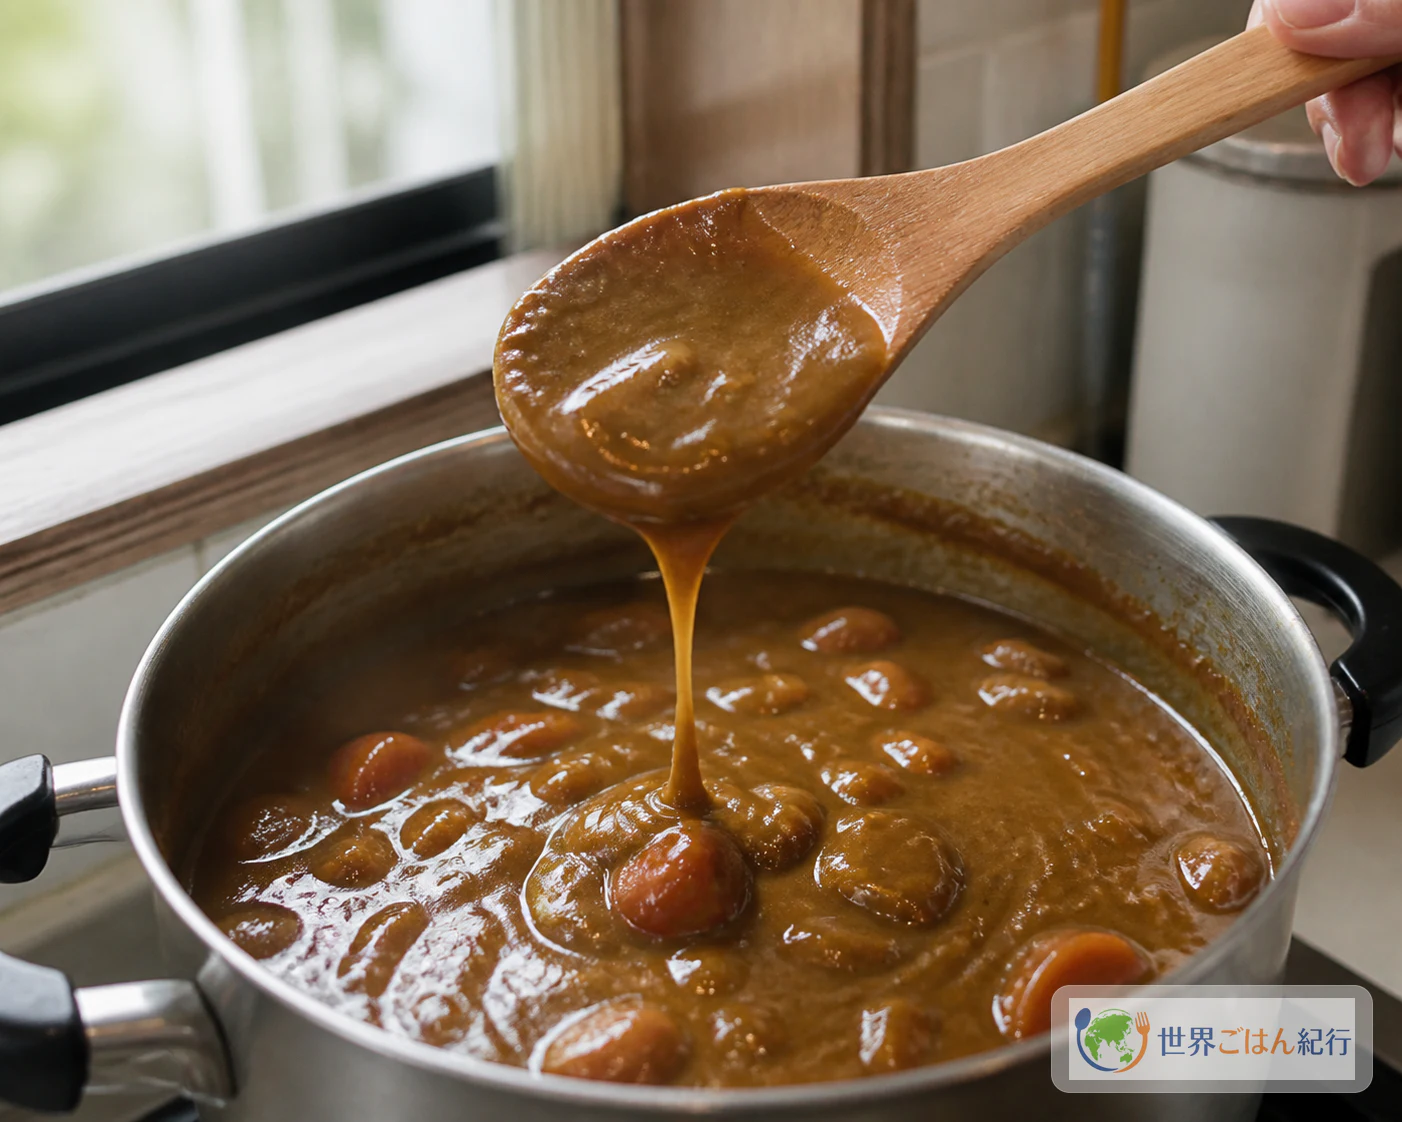
Simmering time alone won't tell you when curry is done. Watch the color of the onions, the temperature of the roux and the center of the potatoes, and you can correct for differences between pots even with the same quantities.
If the roux is watery, remove the lid and reduce over low heat for 5–8 minutes, until it clings thinly to the back of a spoon. Reducing concentrates the flavor, so fix the thickness first and add salt a pinch at a time at the end. Loosening a too-thick pot with boiling water is easier to recover from than stirring in flour dissolved in water, which brings a floury taste and lumps.
Serving and reheating Japanese curry rice
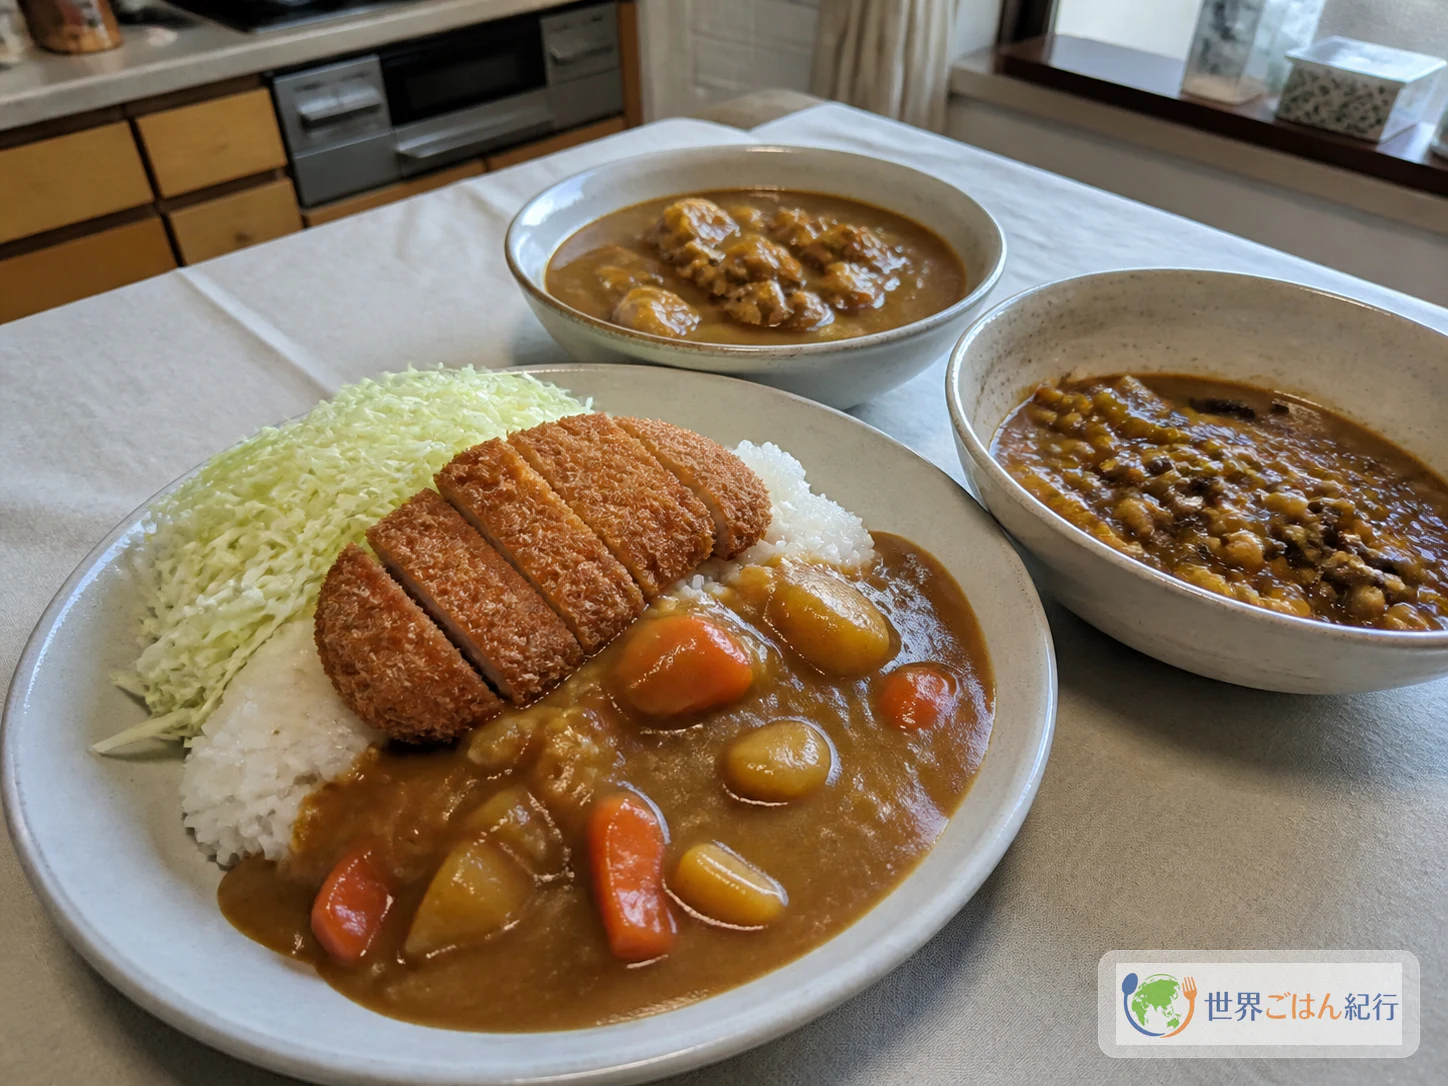
From the same pot you can branch into other ways of eating by changing the plating and fillings. When you borrow a regional name, call it a home version of that plate.
A Kanazawa-style plate with cutlet
Finish the braise a little thicker, set shredded cabbage beside the rice, and top with a separately fried pork cutlet. Simmering the cutlet loosens the coating, so set it on just before serving. Leave part of the rice uncovered so you can alternate bites with the cabbage, and the texture stays interesting.
A thinner Sapporo style
For Sapporo-style soup curry, leave out the flour and butter and increase the water to 3¾ cups (900 ml). Grill root vegetables and green peppers separately, open the curry powder in a little oil before adding it to the soup, and serve it in a bowl separate from the rice. Watering down the thick curry blurs the aroma and saltiness, so build it as its own dish.
Sides for a full meal
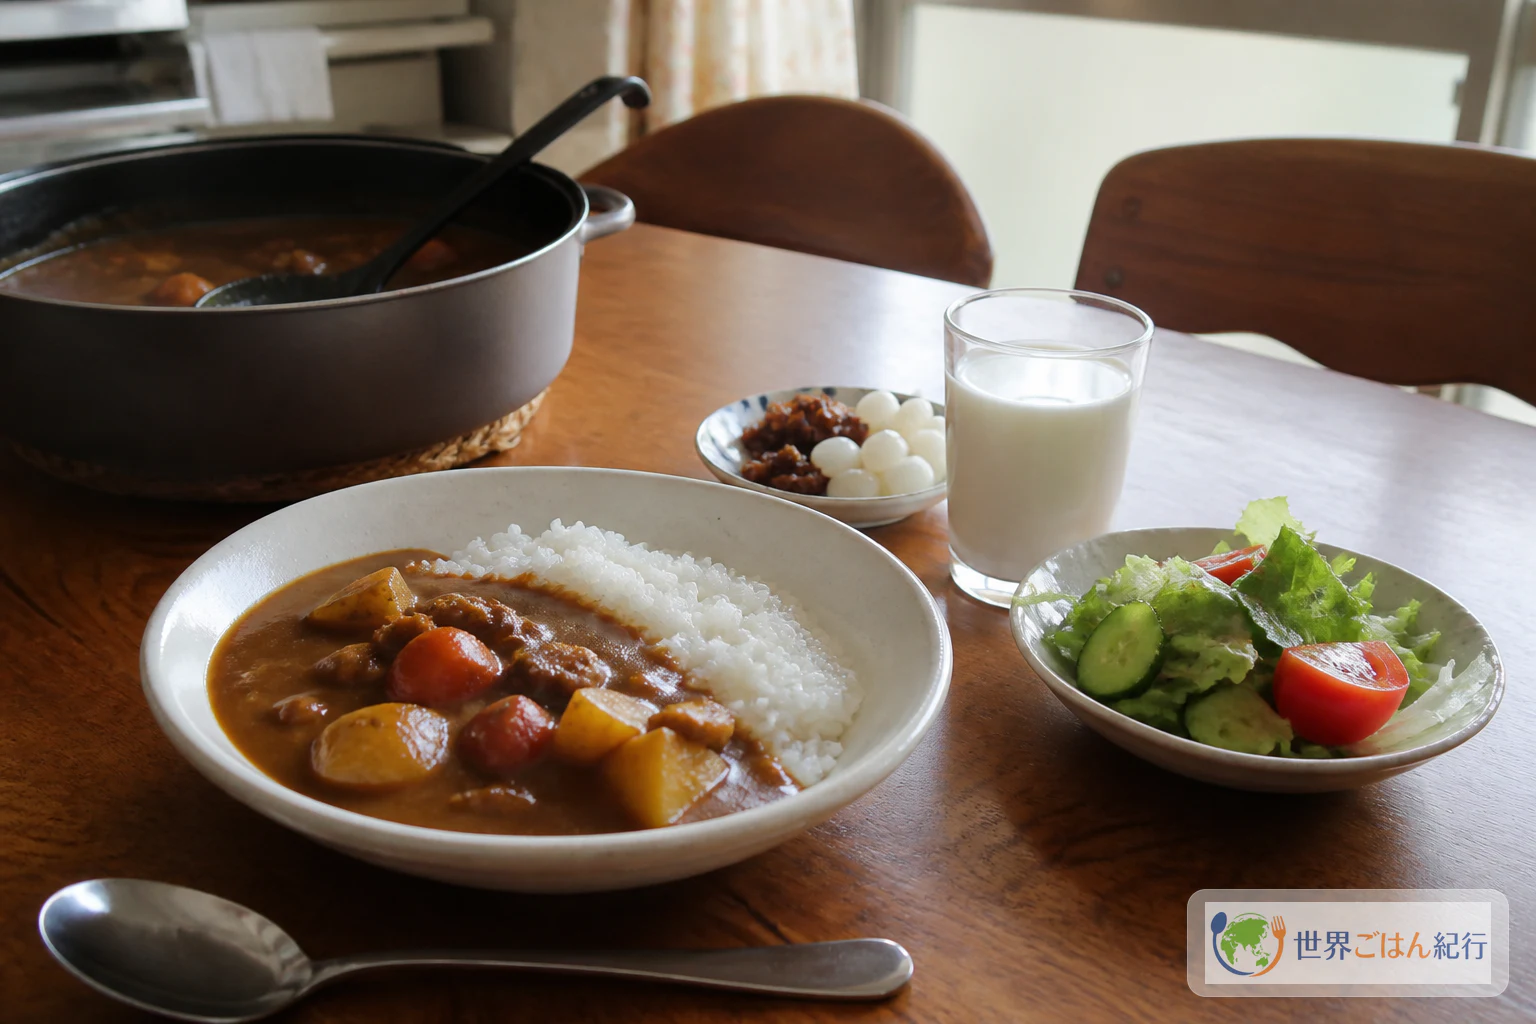
Navy-style curry is served today with salad and milk beside the plate, as a set meal rather than curry alone. The sides vary from place to place; the idea worth bringing home is turning a stew into a single, complete meal.
Reheating the next day
The roux firms as it cools, so warm one portion at a time and add a little boiling water to restore the thickness. Keeping the whole pot over low heat tends to scorch the bottom, and warming only what you take out is better for both flavor and food safety.
Storage and frequently asked questions
How should I store leftover curry?
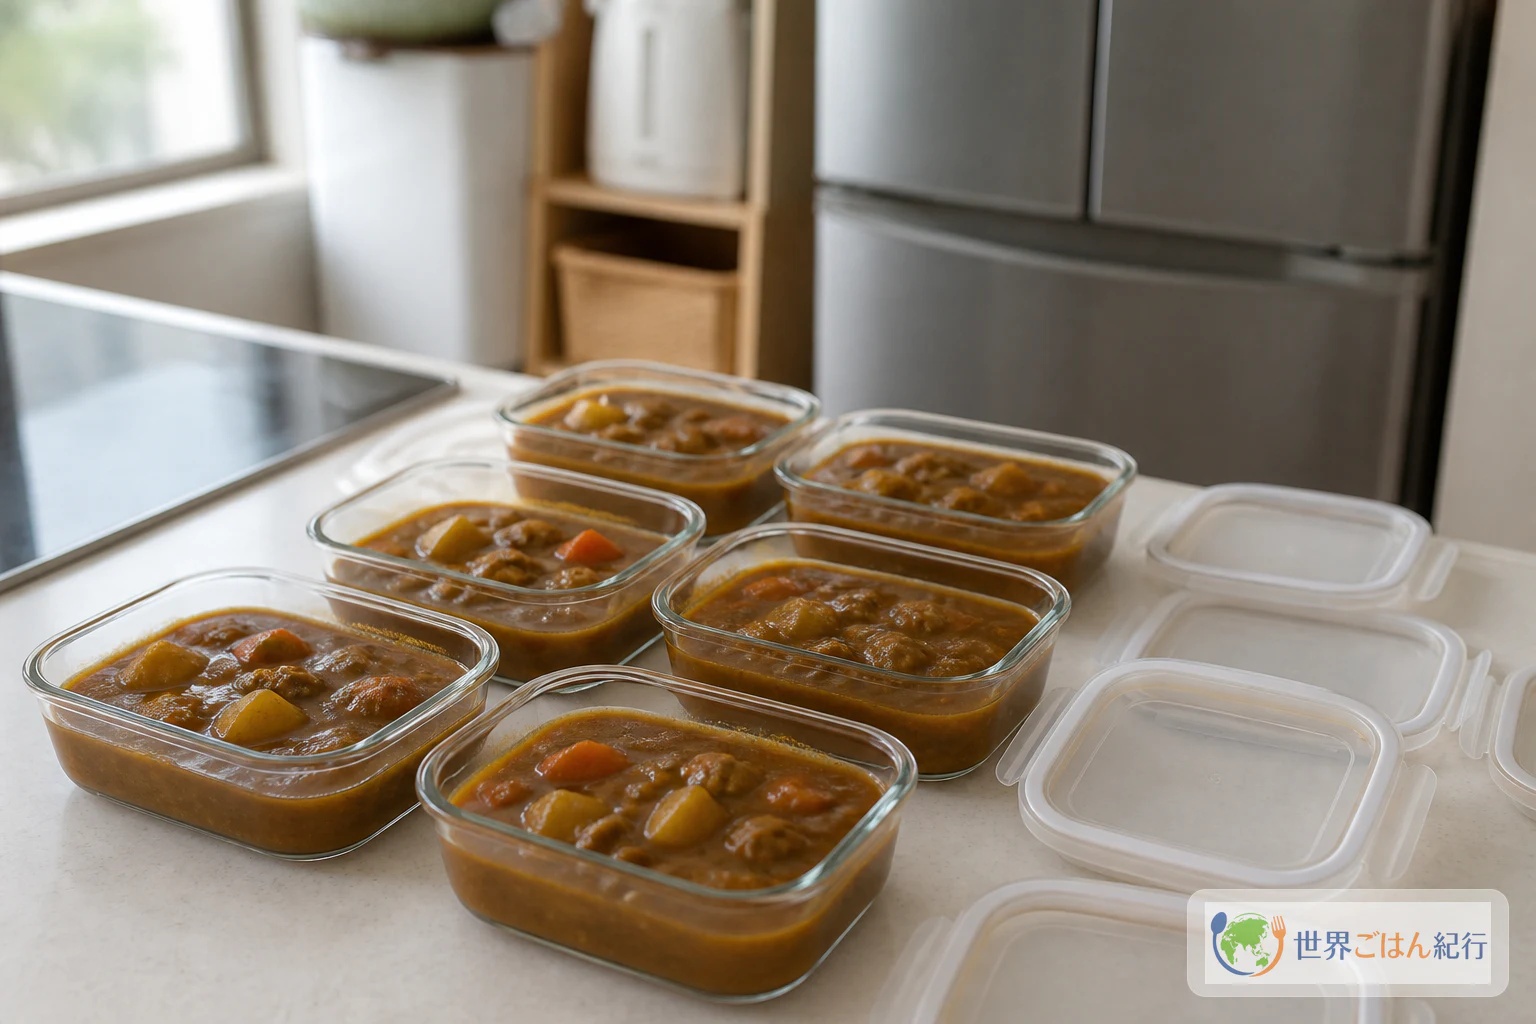
When you finish eating, take the curry out of the pot rather than leaving it at room temperature. Curry and stew left in a large pot at room temperature let Clostridium perfringens multiply easily. Divide it into clean shallow containers, one portion at a time, cool it quickly in ice water or similar, and refrigerate. When reheating, stir well and heat thoroughly, warm only what you will eat, and don't store reheated food again. If anything about the smell, appearance or container seems off, throw it out without tasting.
Can I make it with commercial block roux?
Yes, but block roux already contains flour, fat, salt and spices. Adding the 1 oz (30 g) flour, 1 oz (30 g) butter and 25 g curry powder from this table as well would make it too strong, so replace them with the amount for 4 servings on the box. Keep the same order: cook the onions, brown the meat and vegetables, and tenderize the fillings in the liquid.
Are cumin seeds and a mortar essential?
No. With curry powder alone, skip step 2. Crushing a little cumin and adding it brings up the aroma in the mouth, and for a one-off the flat of a knife or a small mortar works. Buy a mortar only if you will keep cooking with whole spices, and check the material first.
How far should the meat be cooked?
Cook beef, pork and chicken through to the center. Heat until the core reaches 75°C (167°F) and hold it there for at least 1 minute. In step 6, bring to a boil, then simmer over low heat and check that no red remains at the center of the meat and the juices run clear. Serve with a clean spoon, never one that touched raw meat.