Nurungji: Korean Scorched Rice Crust and Sungnyung (누룽지)

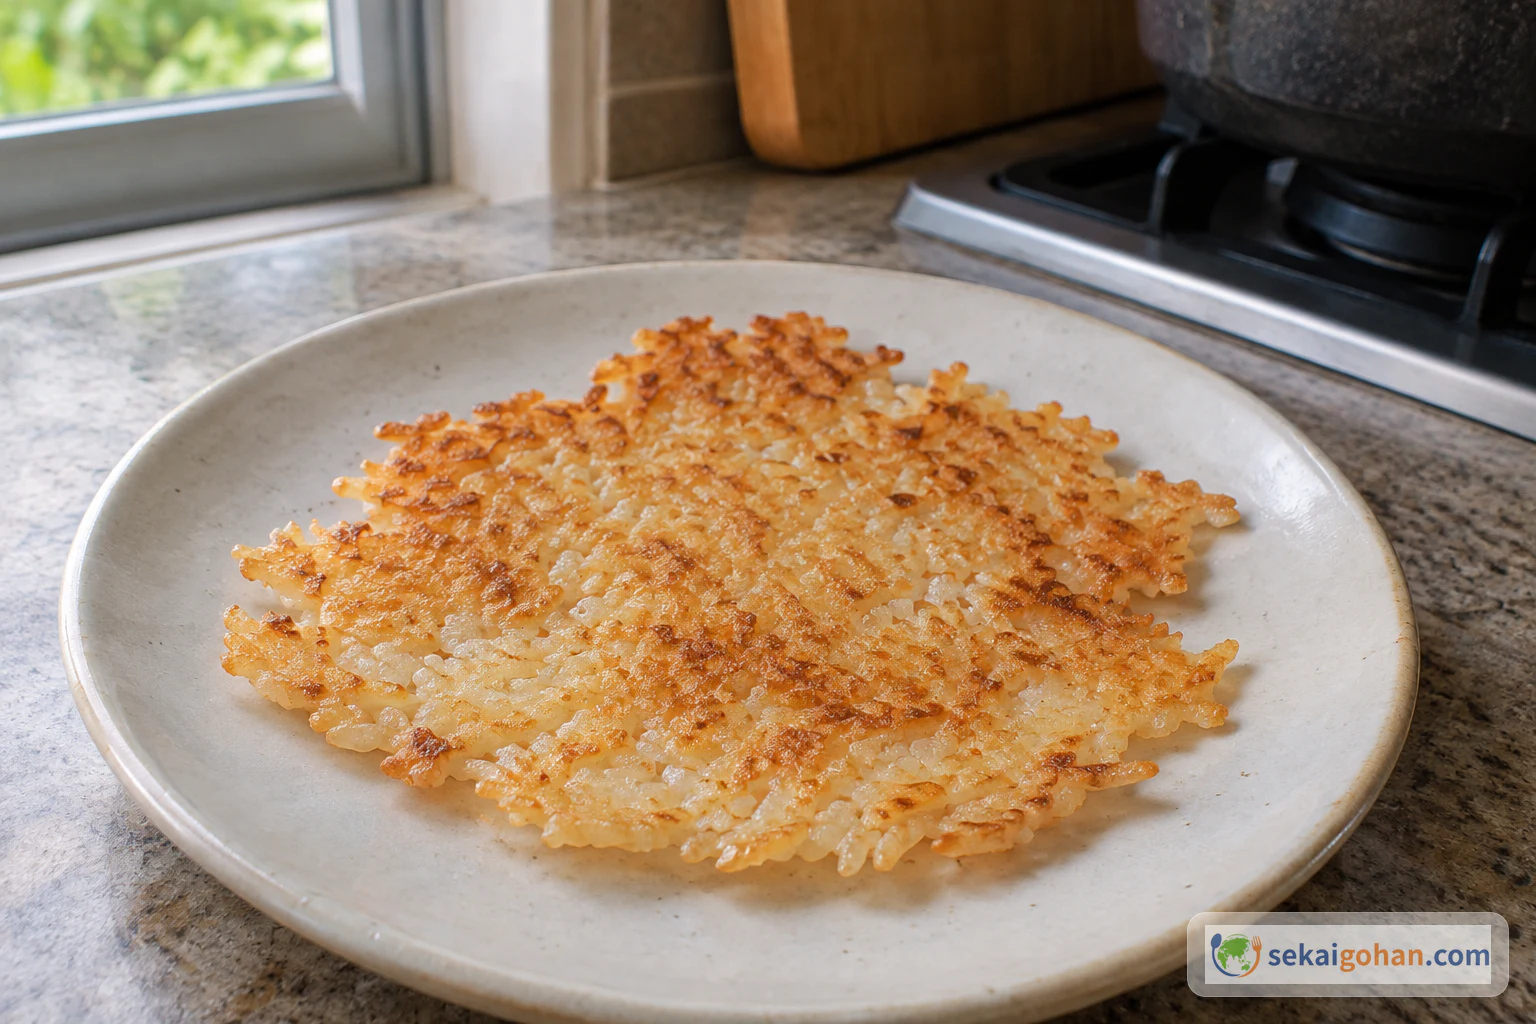
A thin, golden nurungji rice crust lifted from the bottom of the pot and set on a small plate
Serves
2 servings of cooked rice
Cuisine
Korean

How to make nurungji (누룽지), the thin golden rice crust that forms on the bottom of a pot of Korean rice, starting from raw short-grain rice. Covers rinsing, the 30-minute soak, the extra simmer that builds the crust, loosening it with a covered pot and a few drops of water, and turning the pot into sungnyung, the scorched-rice drink. Also covers rice-handling advice, troubleshooting and the dish's place at the Korean table.

Cooking flow

Cooking steps

STEP11 / 14

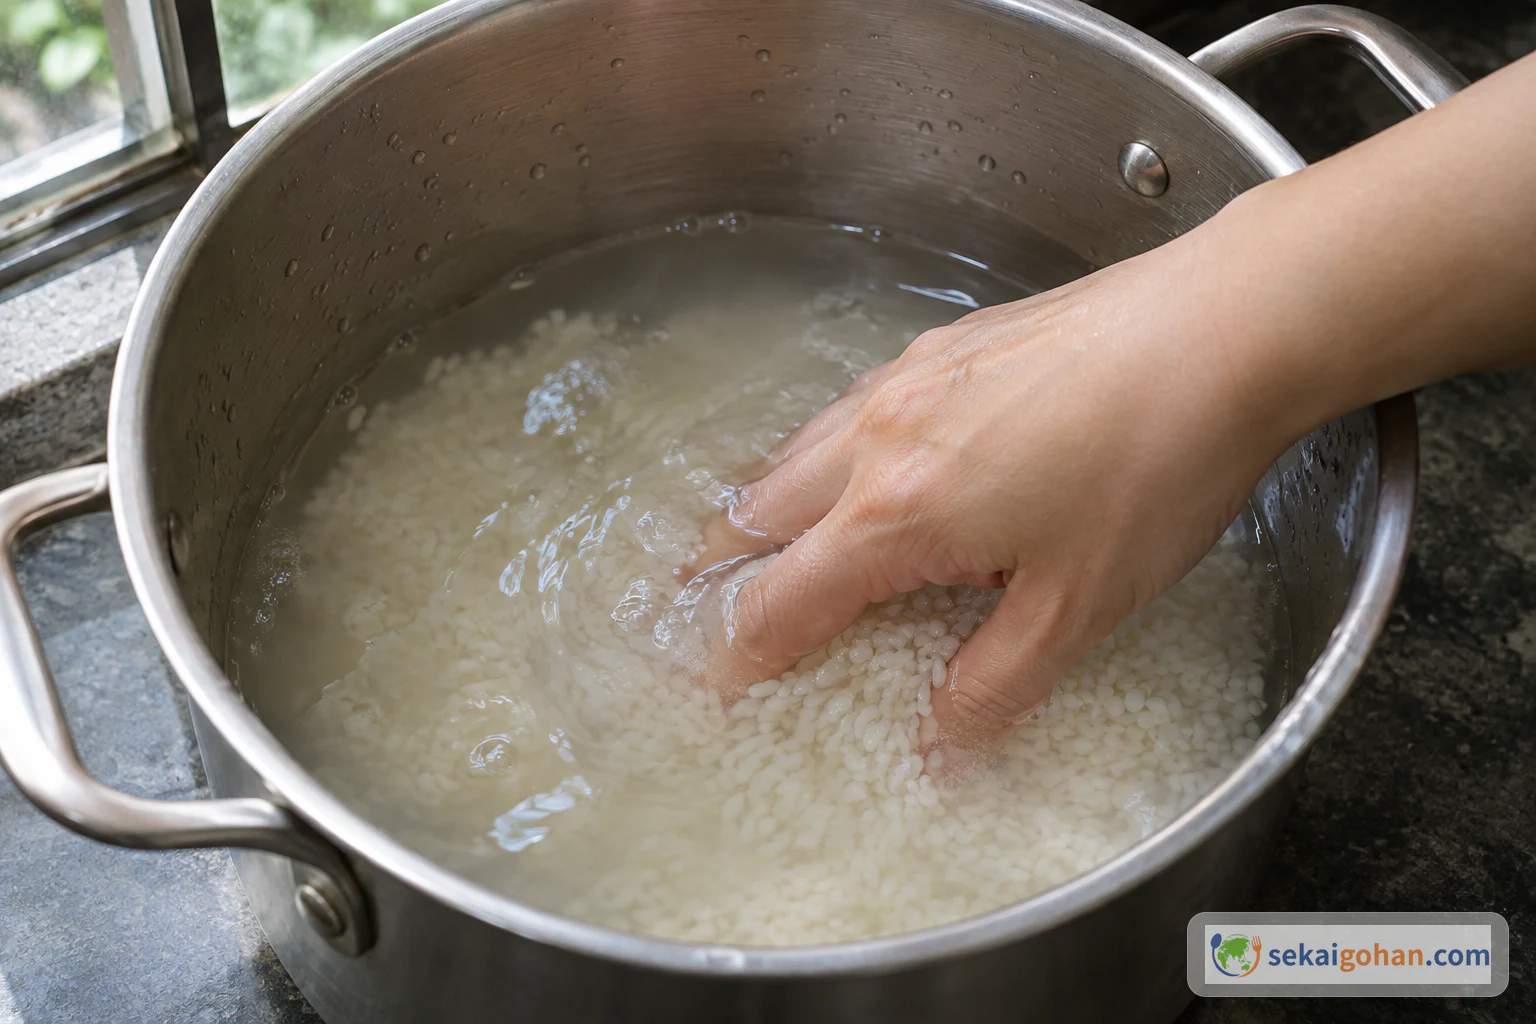
Rub the rice in cold water

A hand gently rubbing wet short-grain rice in water in a heavy-bottomed pot
Rub the rice gently by hand in cold water

Put the short-grain rice in the pot and cover it with cold water. Rub the wet rice gently between your hands.

STEP22 / 14

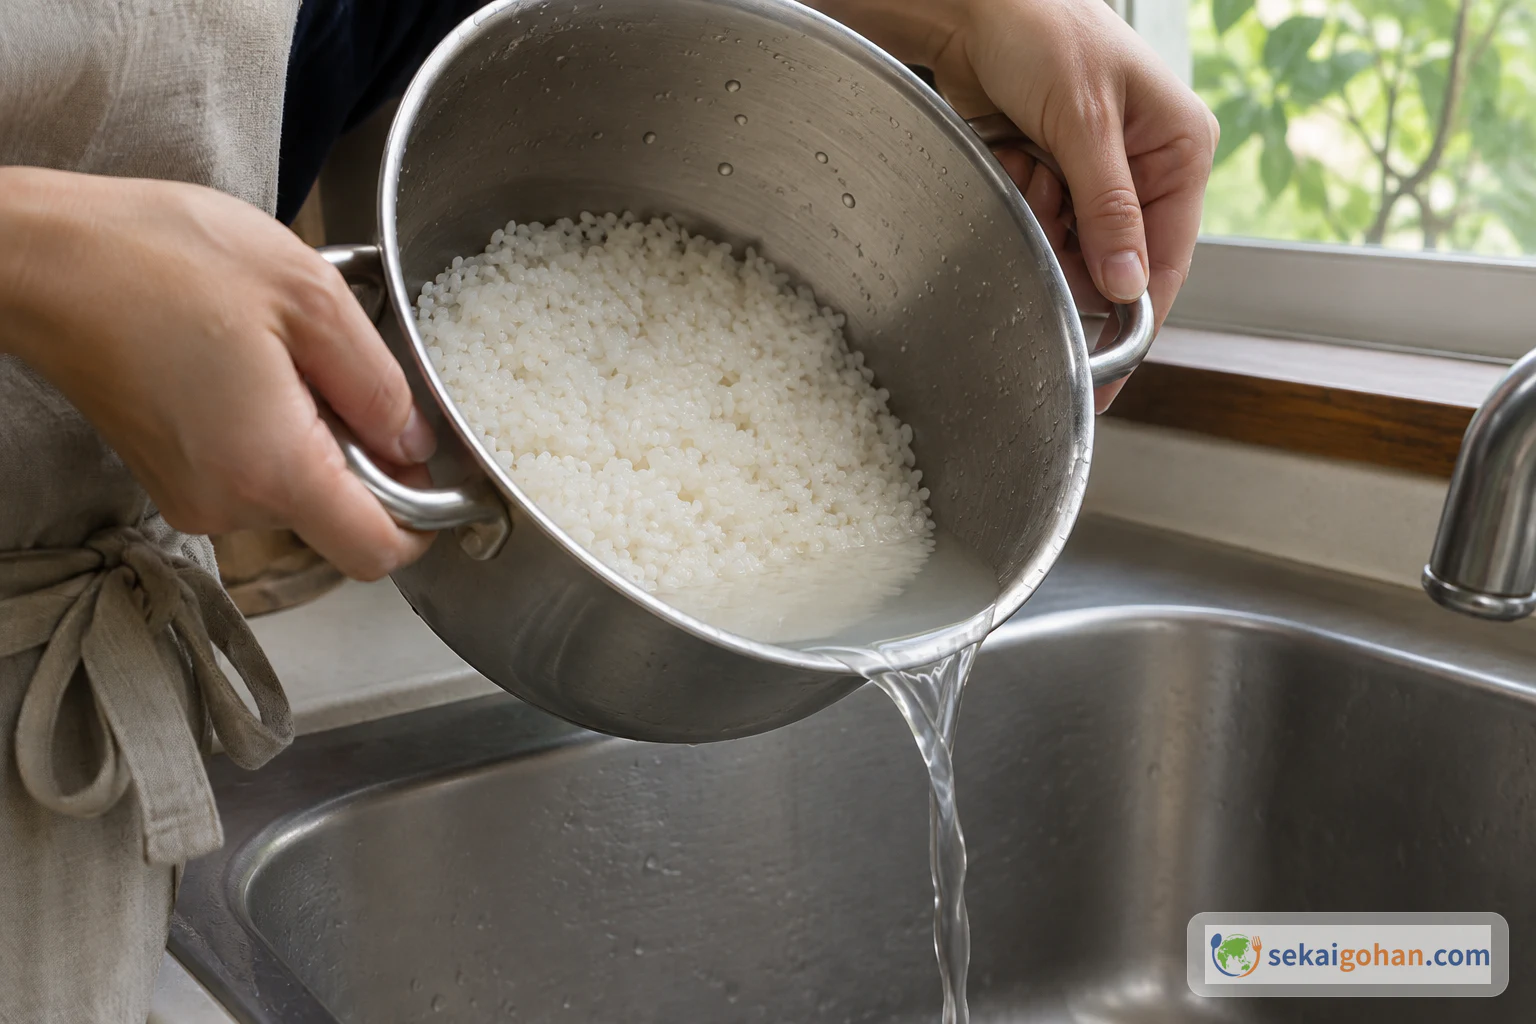
Rinse until clear and drain

Tilting the pot to drain the final clear rinse water while the rinsed rice stays inside
Drain the final rinse water and keep the wet rice in the pot

Pour off the cloudy water and rinse again. Repeat until the rinse water runs clear, then drain off the last of the water, keeping the rice in the pot.

STEP33 / 14

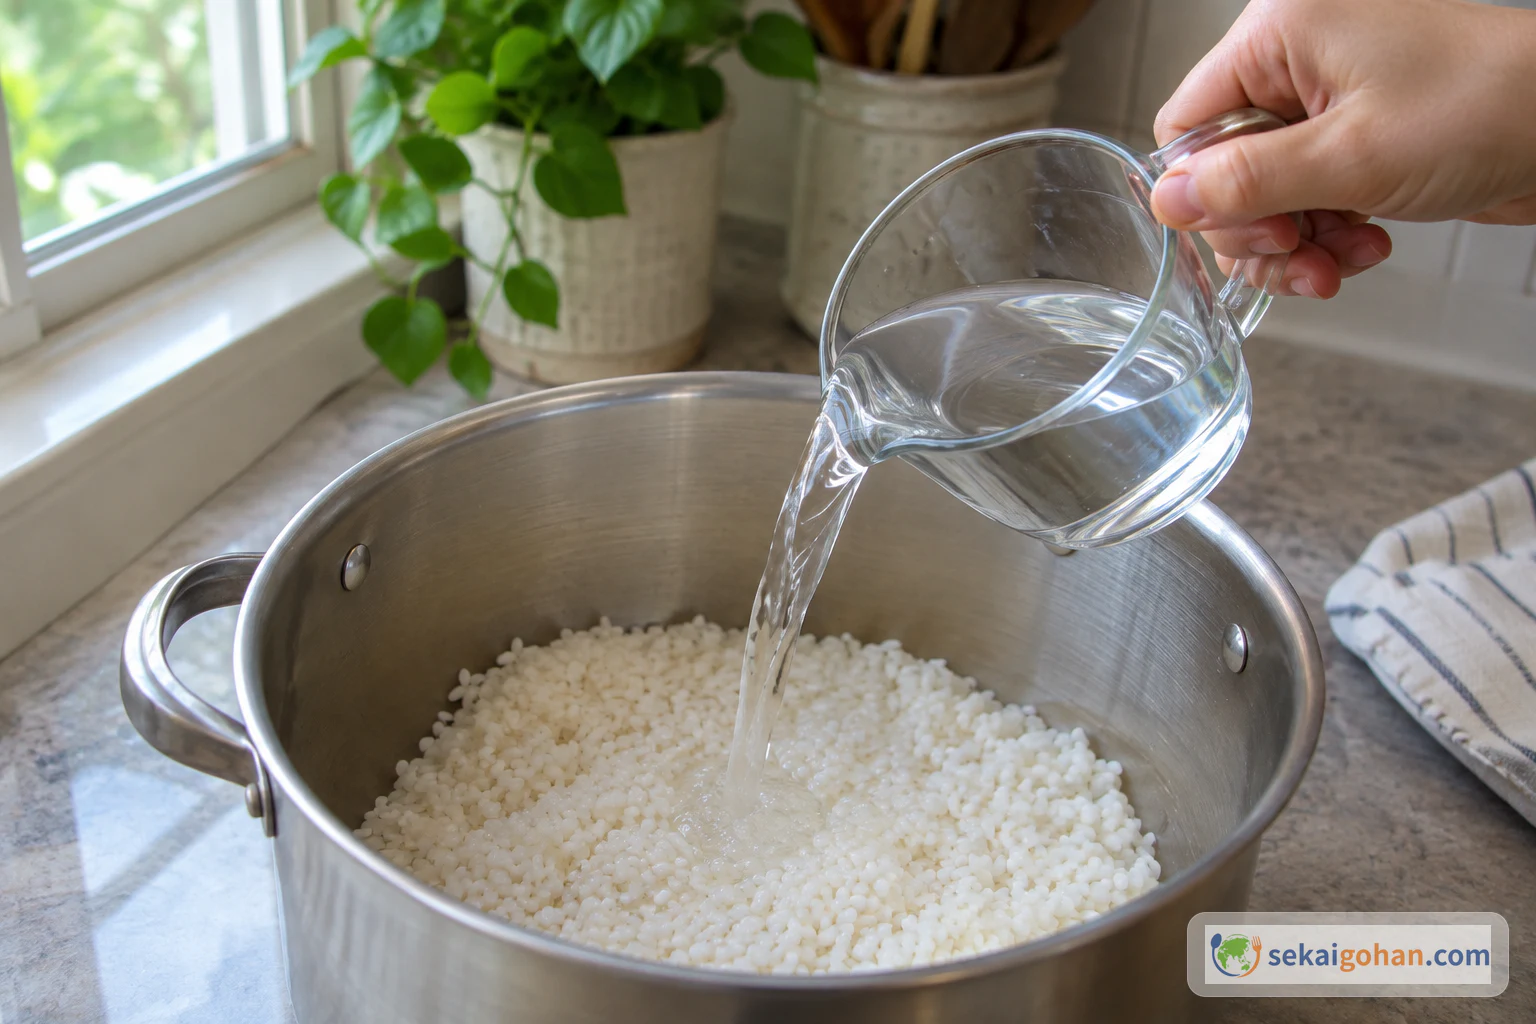
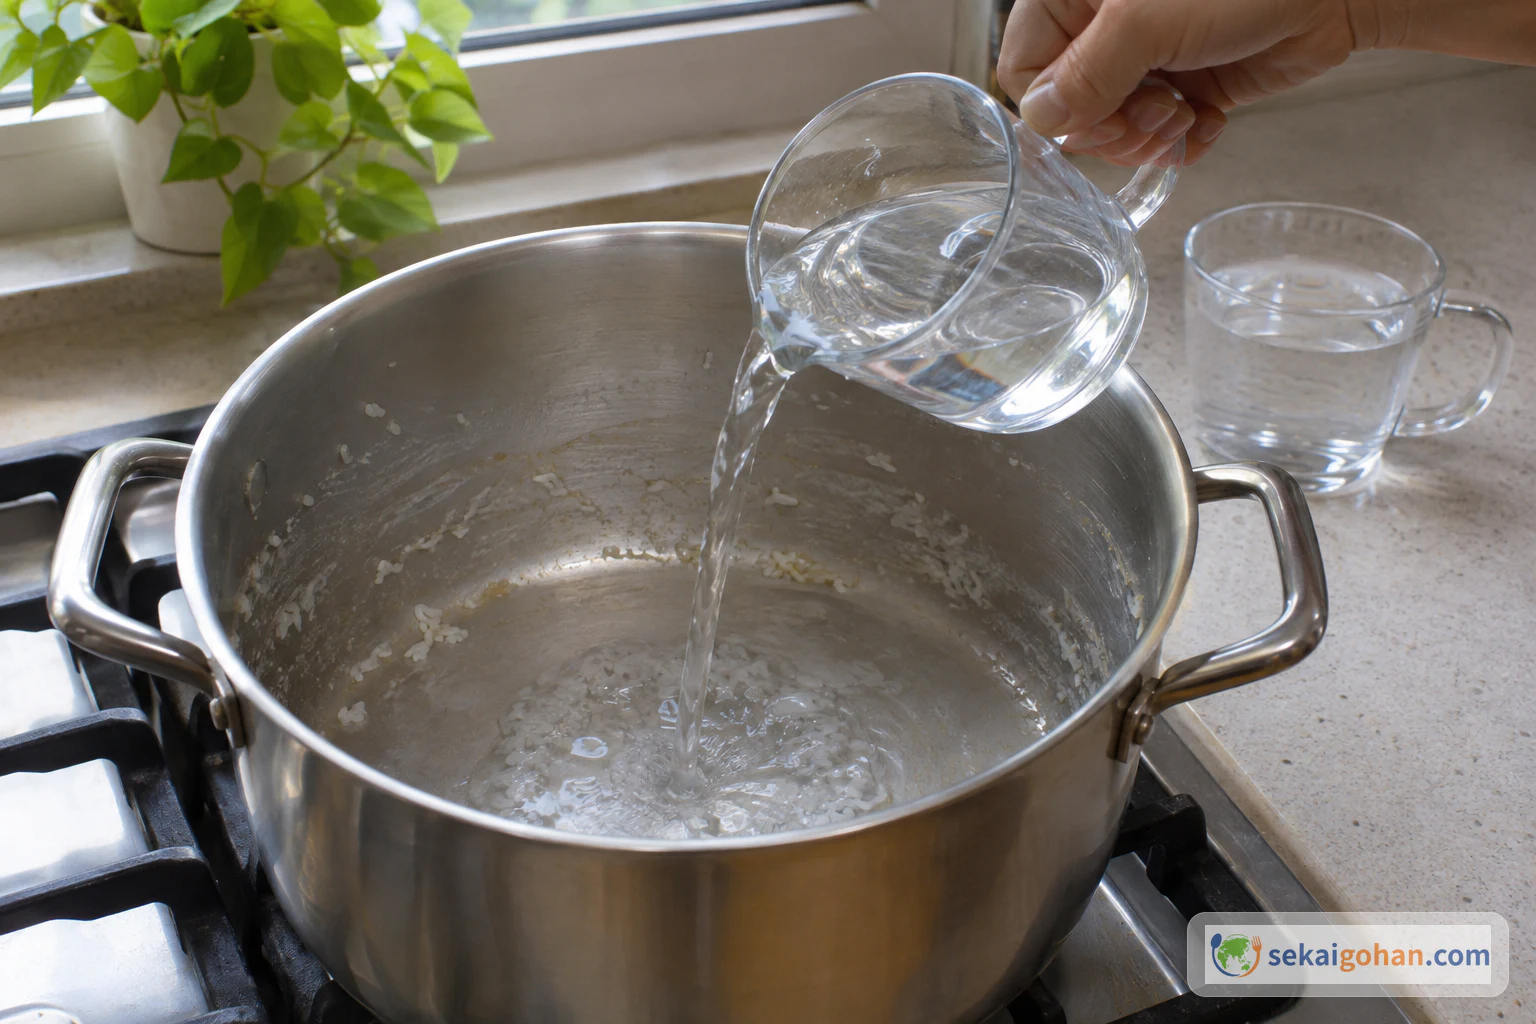
Add 1 cup of water

Pouring water from a measuring vessel onto the drained rice in the pot
Add 1 cup of water to the drained rice

Pour 1 cup of water over the drained rice in the pot.

STEP44 / 14

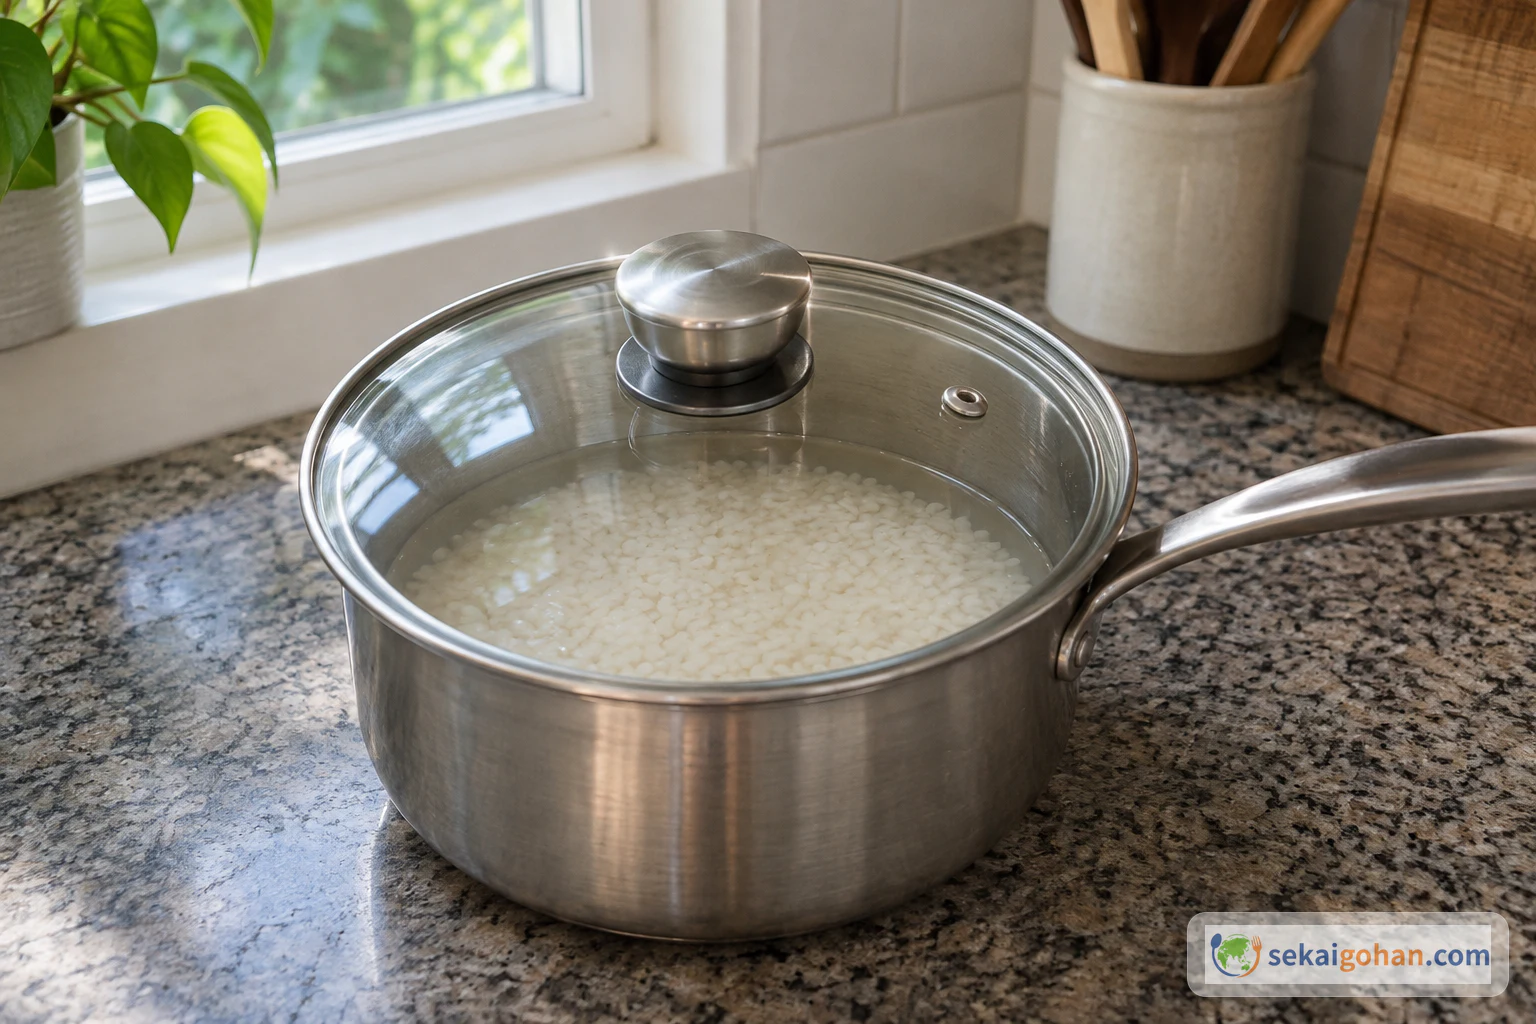
Cover and soak for 30 minutes

The lidded pot of rice and water resting on a countertop during the soak
Soak the rice, covered, for 30 minutes

Put the lid on and leave the rice to soak for 30 minutes, off the heat.

STEP55 / 14

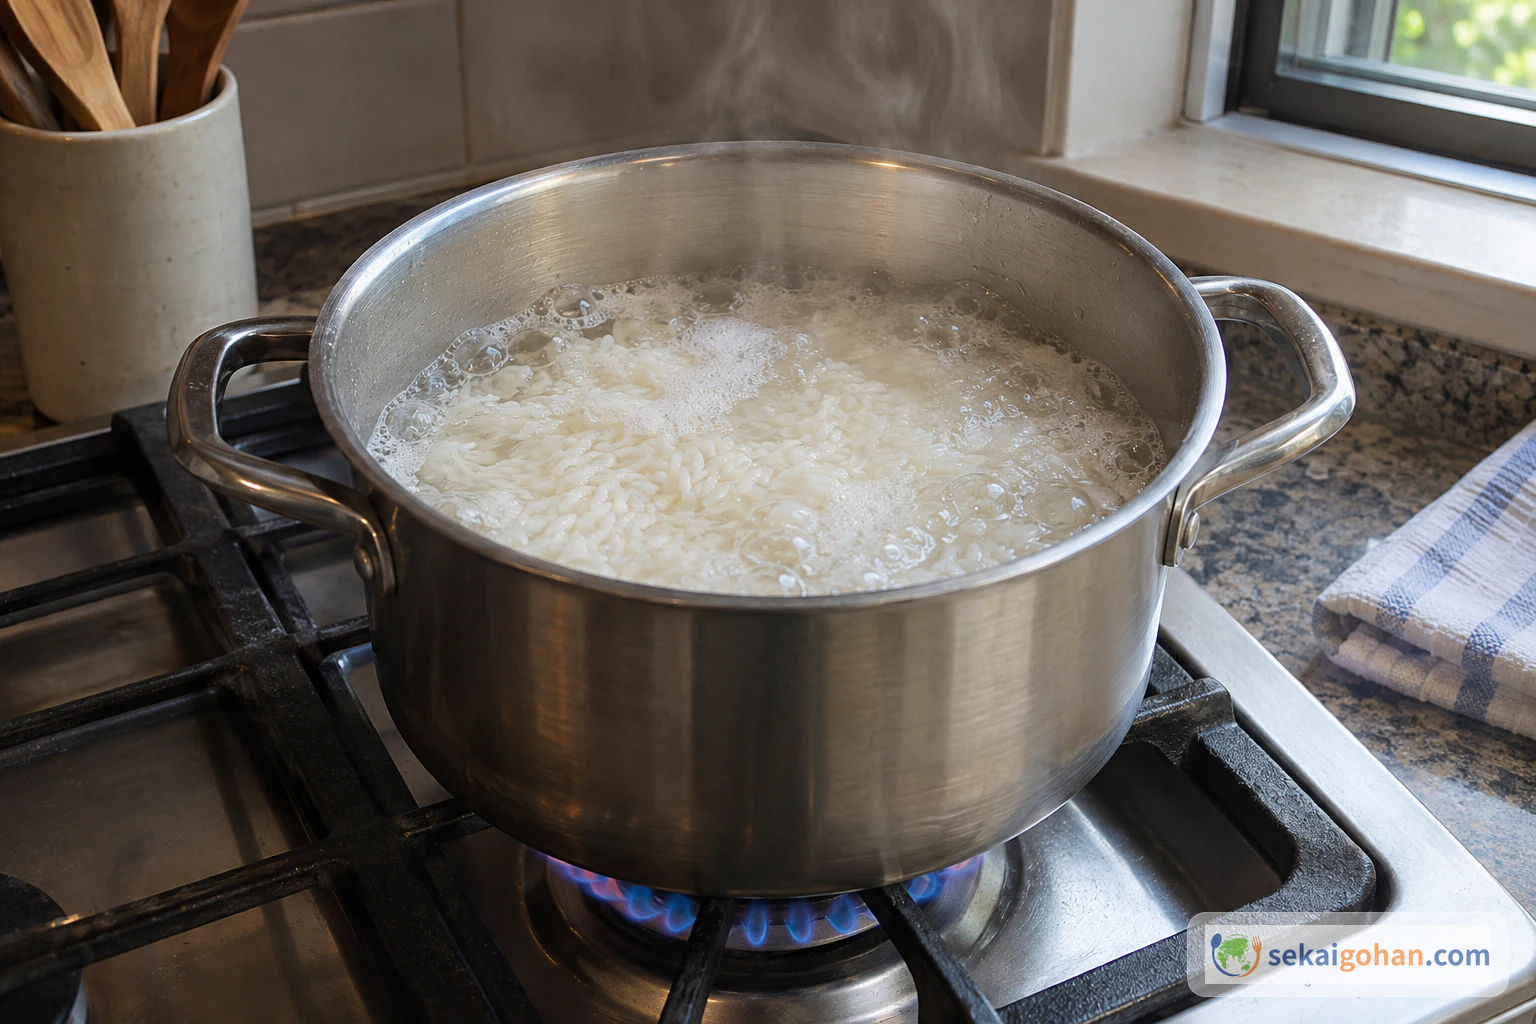
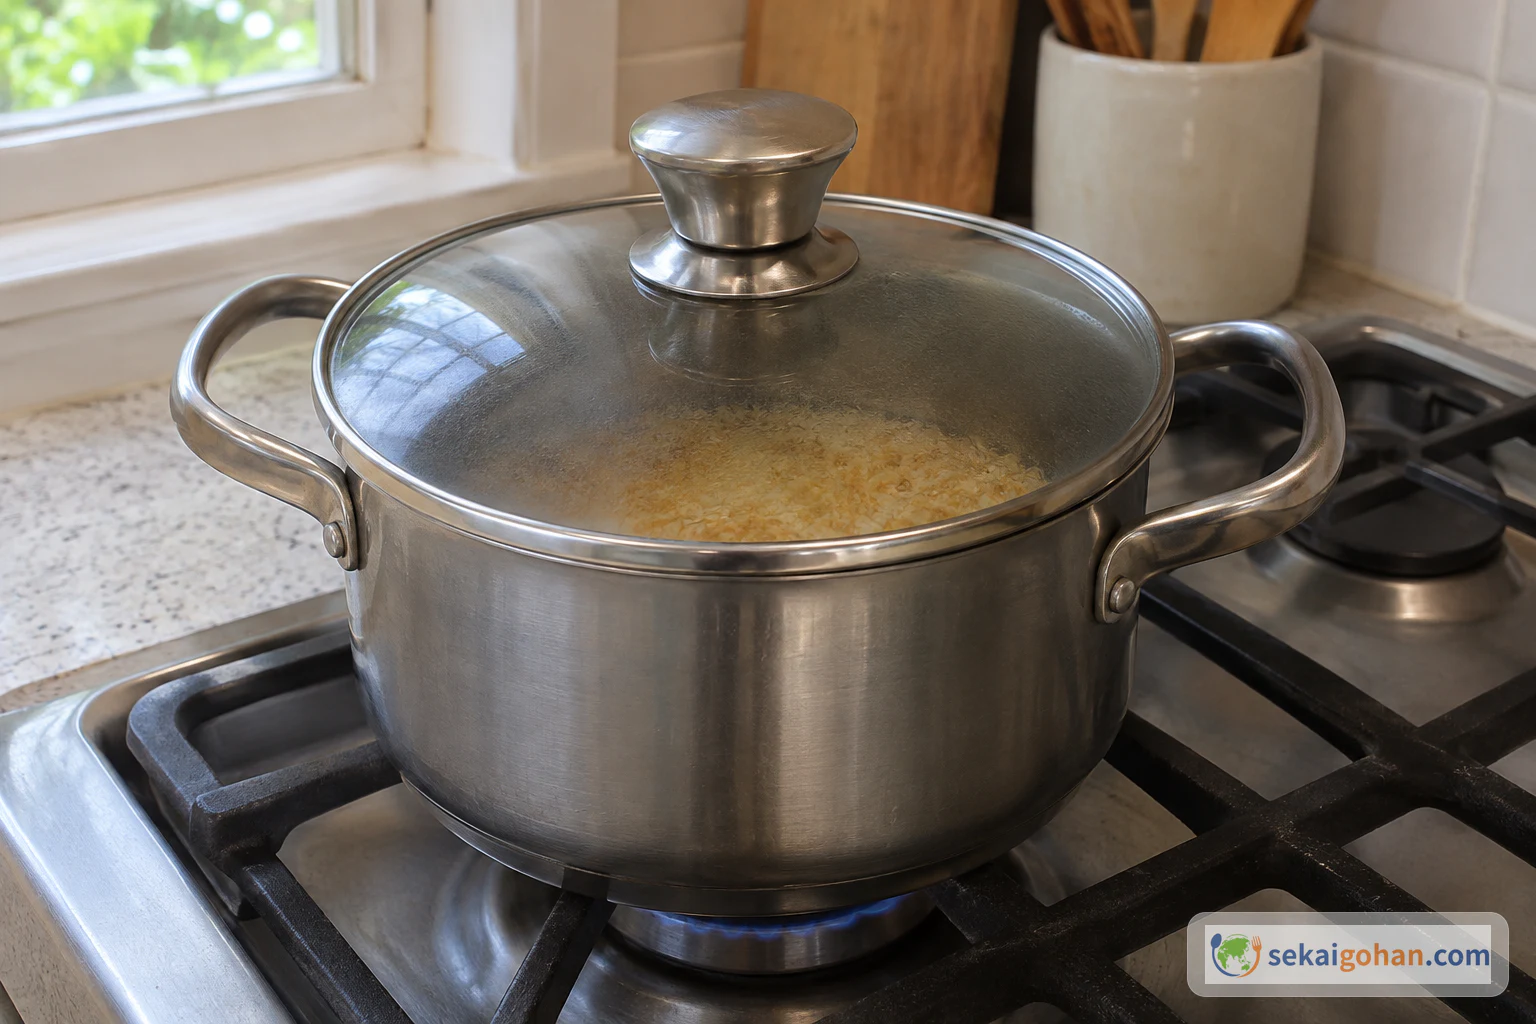
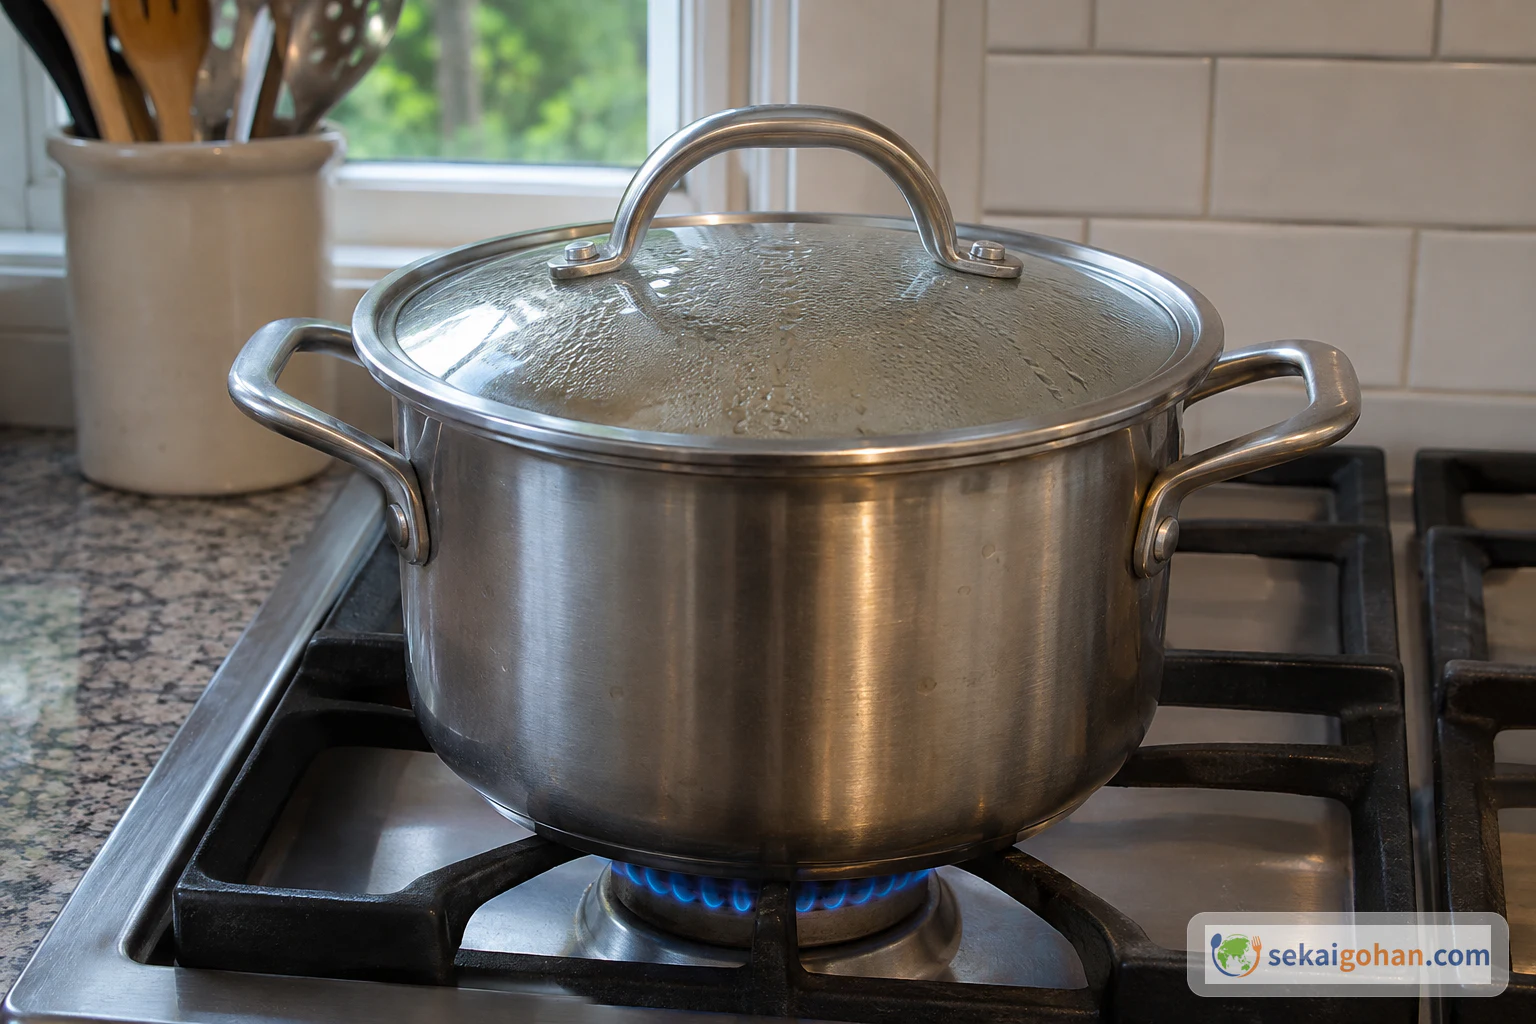
Bring to a boil over medium-high heat

Short-grain rice boiling in the pot over a gas burner
Bring to a boil over medium-high heat and cook for about 10 minutes

Keep the lid on and set the pot over medium-high heat. Bring it to a boil and let it cook for about 10 minutes.

STEP66 / 14

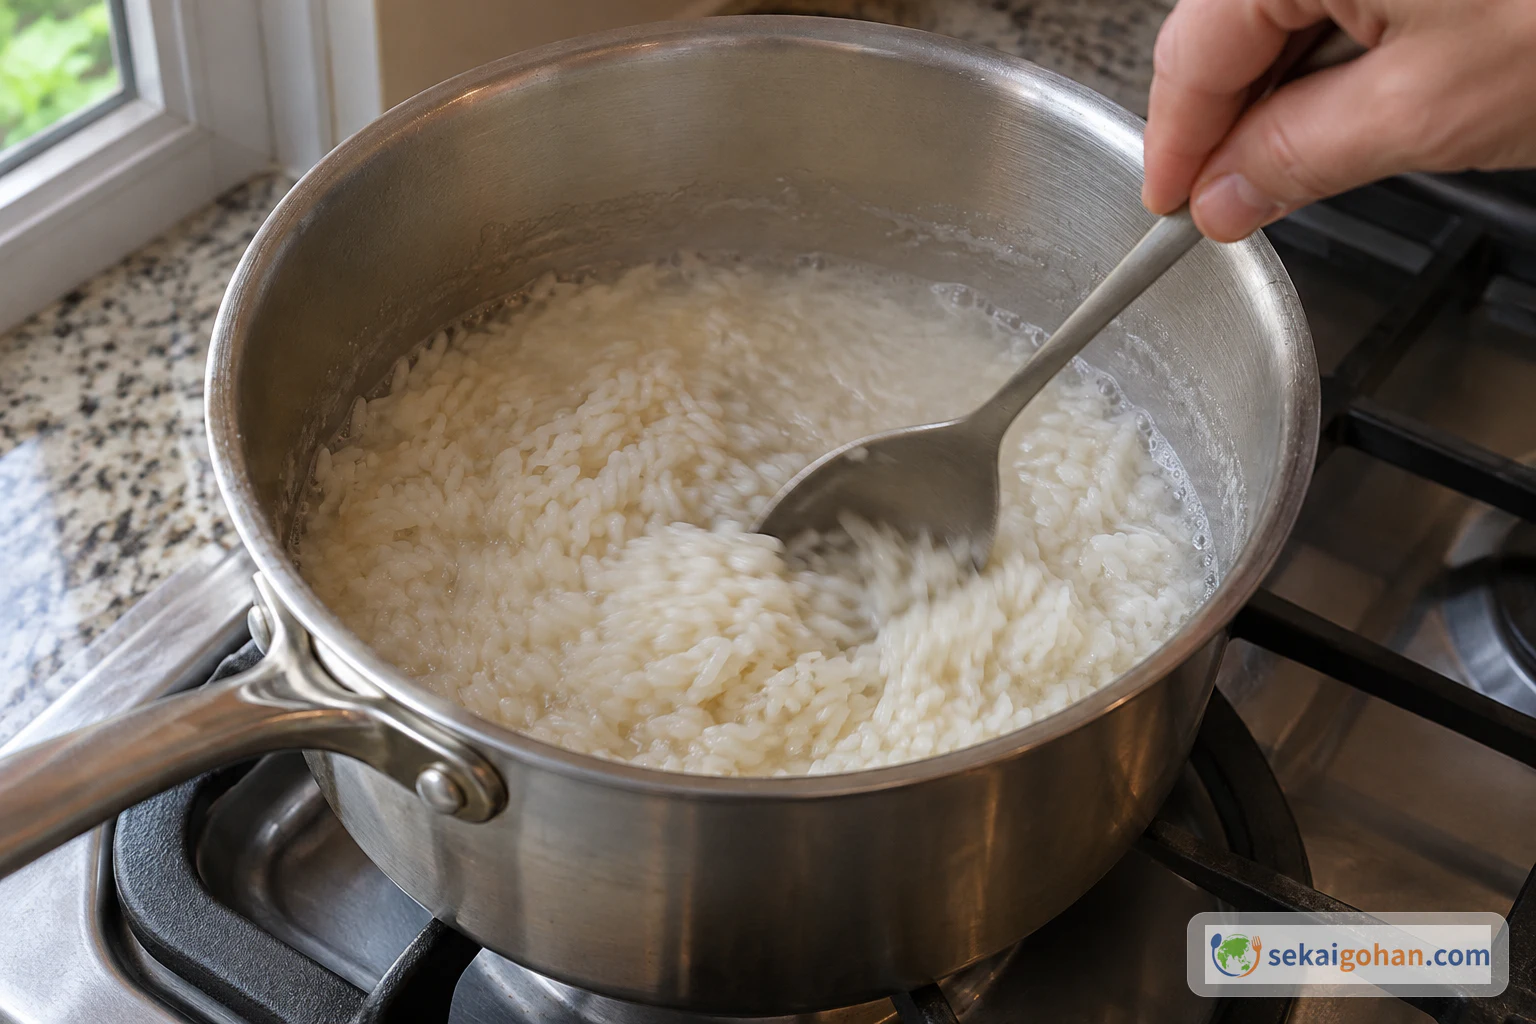
Turn the rice

A spoon turning partially cooked rice in the pot
Open the lid and turn the rice with a spoon

Open the lid and turn the rice over with a spoon.

STEP77 / 14

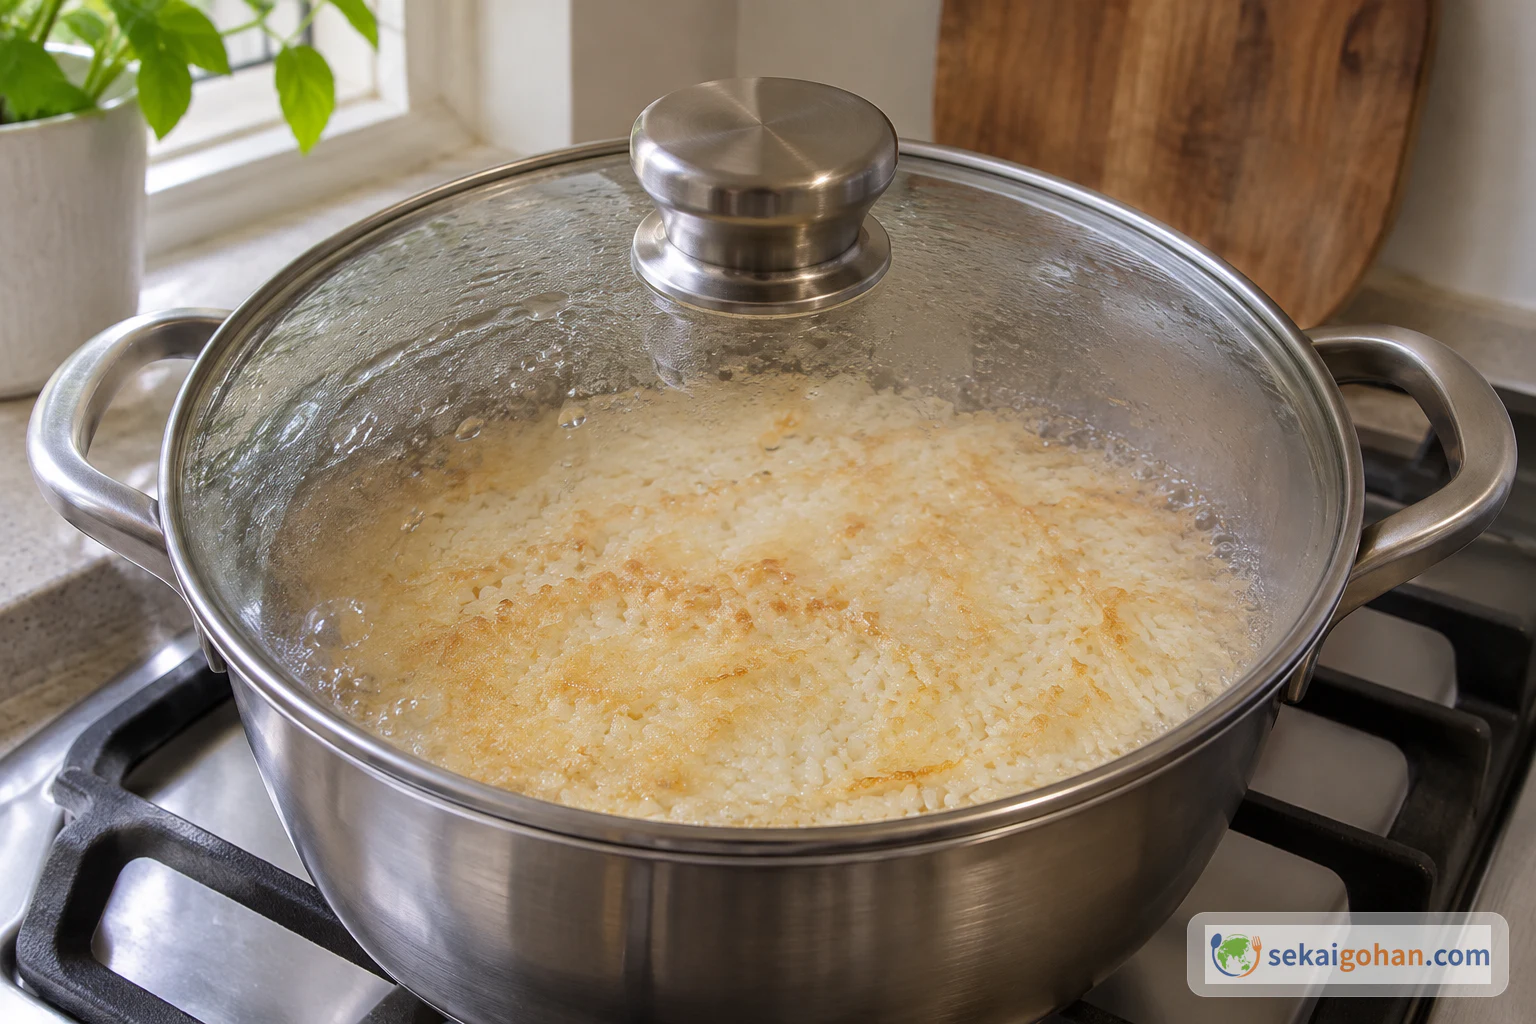
Simmer about 10 minutes more to build the crust

The pot of rice simmering, with a light golden layer forming on the bottom
Simmer for about 10 more minutes so a crust forms on the bottom

Let the rice simmer for about 10 minutes more so that a layer of rice cooks onto the bottom of the pot. Aim for a thin, golden layer, not a black one.

STEP88 / 14

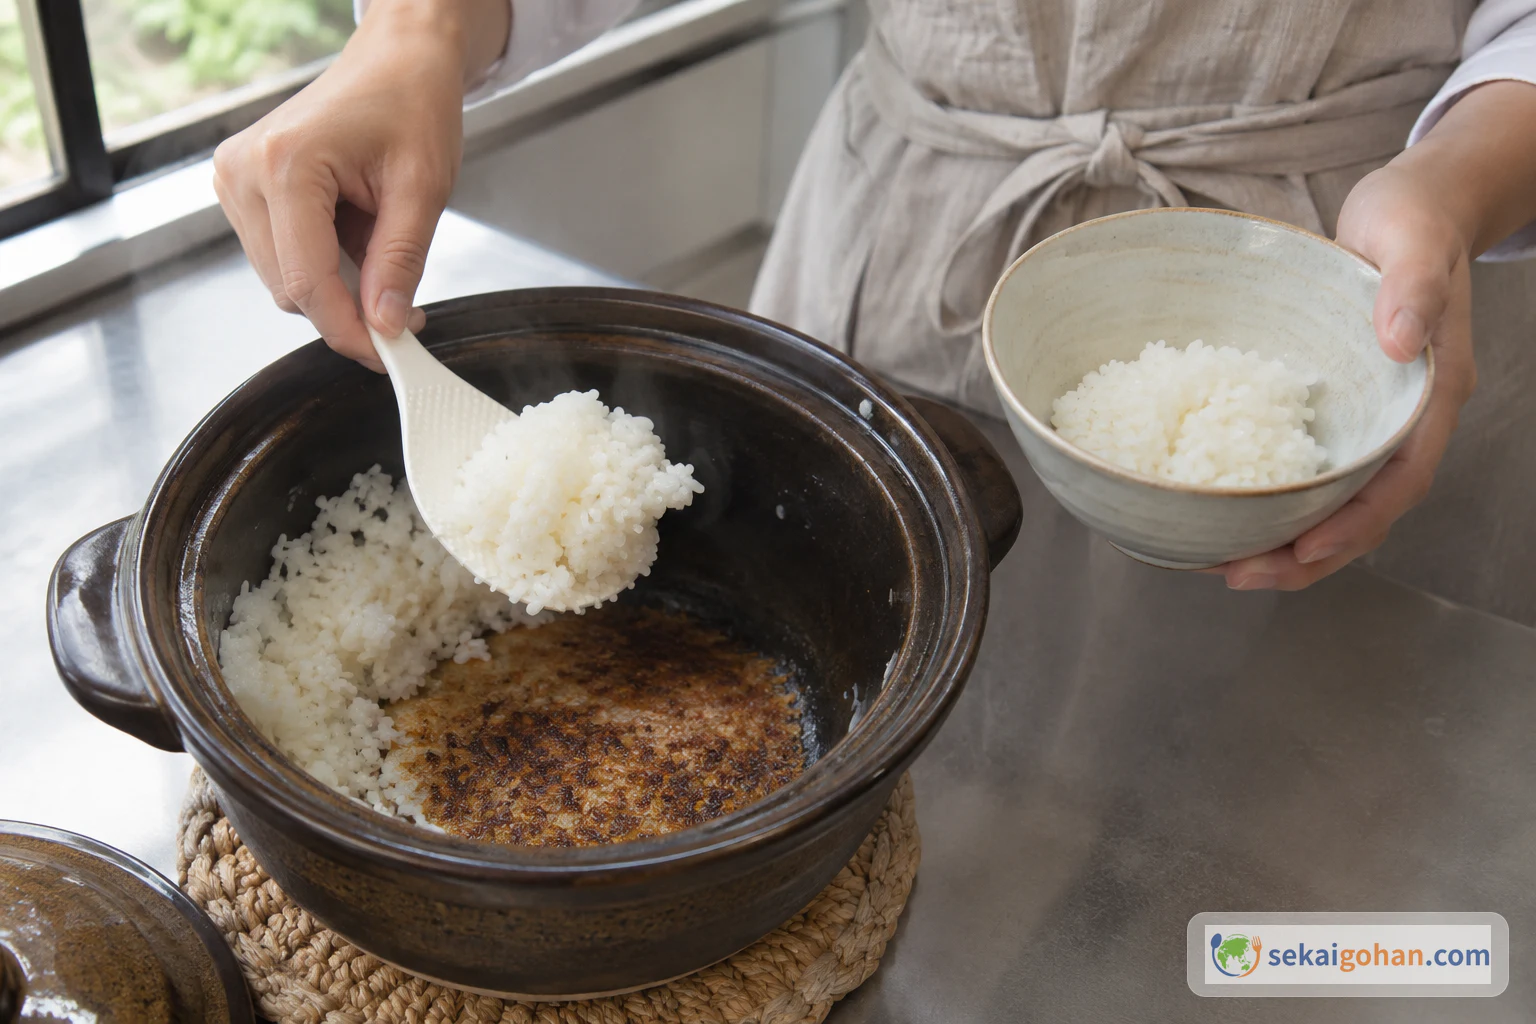
Lift out the cooked rice

Cooked rice being lifted into a bowl while the browned crust stays on the pot bottom
Move the rice to a bowl and leave the crust in the pot

Scoop all the cooked rice into a bowl, leaving the crust stuck to the bottom of the pot. Do not try to scrape the crust yet.

STEP99 / 14

Cover and heat over low heat for 2 minutes

The lidded pot with the rice crust inside, over a low burner
Cover the pot and heat over low heat for 2 minutes

Put the lid back on the pot and heat it over low heat for 2 minutes.

STEP1010 / 14

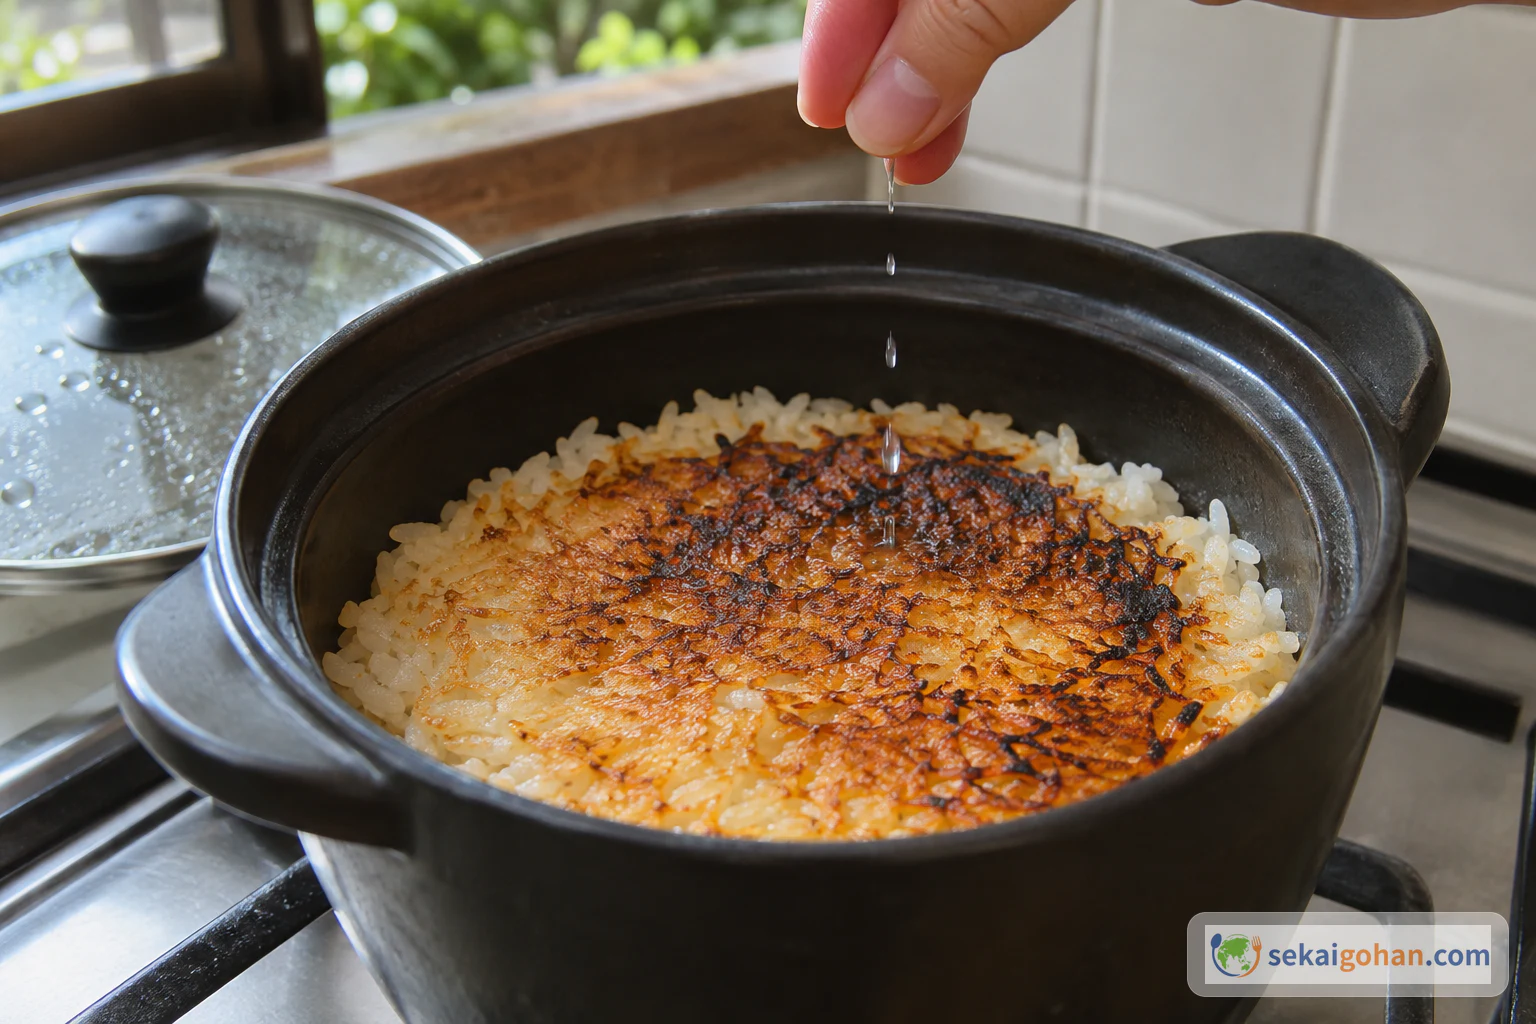
Sprinkle a few drops of water

Fingertips sprinkling a few drops of water onto the golden crust in the pot
Sprinkle just a few drops of water onto the crust

Open the lid, keeping clear of the steam, and sprinkle a few drops of water onto the crust with your fingertips.

STEP1111 / 14

Cover again for 1 minute

The pot covered again, with condensation on the lid
Cover the pot again and cook for 1 minute

Put the lid back on and cook for 1 minute.

STEP1212 / 14

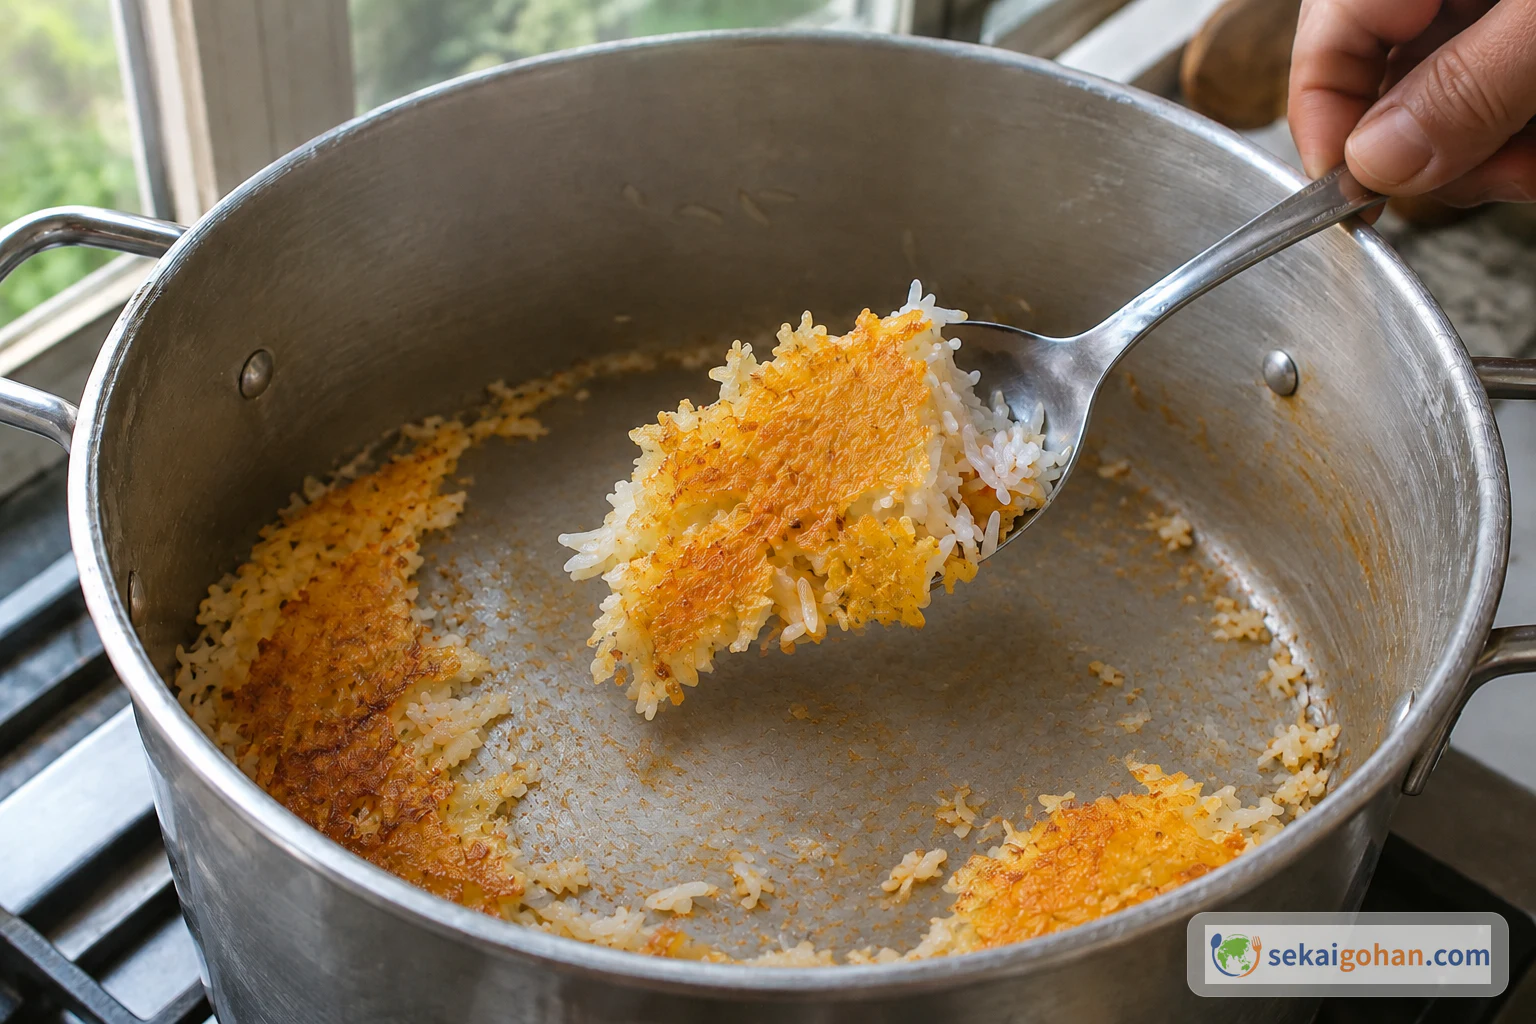
Scrape the nurungji from the outside in

A spoon lifting golden rice crust from the edge toward the center of the pot
Work from the outside of the pot toward the center

Using the spoon, scrape the nurungji from the outer edge of the pot toward the center, lifting it out in pieces.

STEP1313 / 14

Add 2 cups of water to the pot

Water being poured into the pot after most of the crust has been removed
Pour 2 cups of water into the pot after lifting out the crust

Once you have taken out as much nurungji as you can, pour 2 cups of water into the pot. A few bits of crust left behind are fine.

STEP1414 / 14

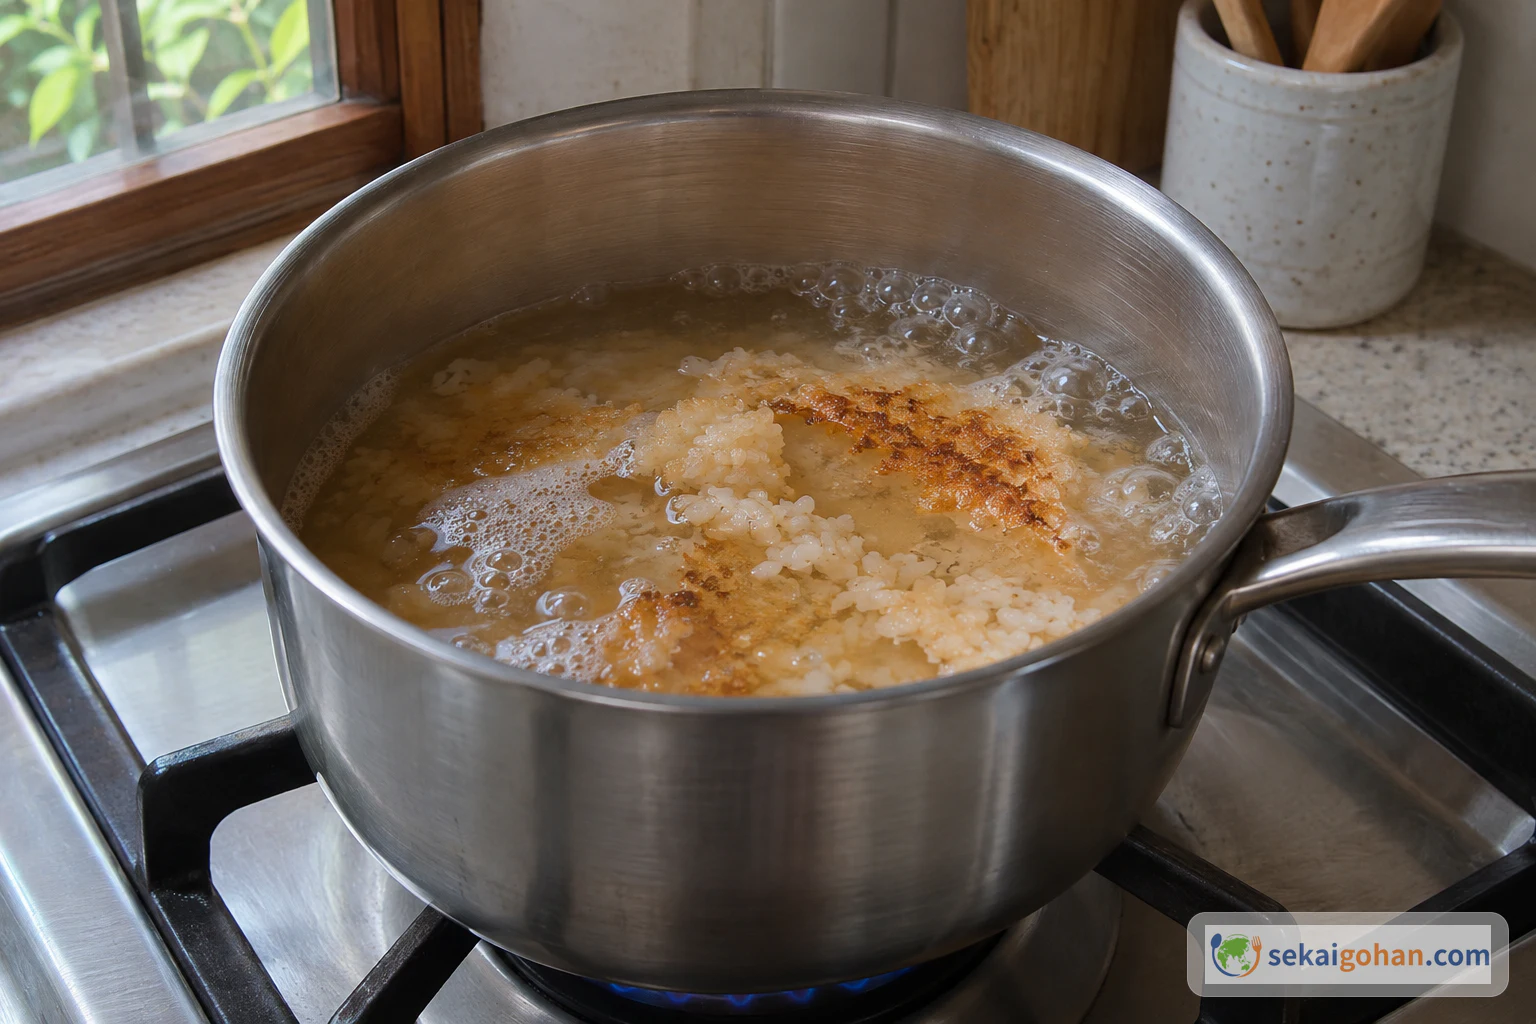
Boil over low heat for sungnyung

Water with a few remaining bits of crust gently boiling in the pot over a low flame
Bring the water to a boil over low heat to make sungnyung

Bring the water to a boil over low heat. Pour it into cups and serve it as sungnyung.

0 / 0
Ingredients

Ingredients

1 / 1

Ingredients

Ingredient Amount Role
Short-grain rice 1 cup Cooked into rice, with a thin crust forming on the bottom of the pot
Cold water for rinsing as needed For rubbing and rinsing the rice; drained away before soaking
Water for soaking and cooking (물) 1 cup Soaks the rice for 30 minutes and then cooks it in the same pot
Water for loosening the crust a few drops Sprinkled onto the crust with your fingertips
Water for sungnyung 2 cups Boiled in the pot after the crust has been lifted out

No oil, salt or sugar is used.

0 / 0

When the fluffy rice has been scooped out of the pot, a thin layer stays stuck to the bottom: golden, crisp, and smelling faintly toasted. In Korea that layer is nurungji (누룽지), and nobody throws it away. You can pick it up in crisp pieces and eat it as a snack. Or you can pour water into the same pot and boil it into sungnyung, a light, warm drink that tastes gently of toasted rice.

About Nurungji and Sungnyung

Nurungji is the crisp, golden layer that forms at the bottom of a pot or electric rice cooker when rice is made. It goes by other names too, including 가마치 (gamachi), 가매치 (gamaechi), 누룽갱이 (nurunggaengi) and 눌은밥 (nureunbap). Sungnyung (숭늉) is something different: it's the drink made by adding water to the pot after the crust has been taken out and boiling it. Here both come from the same pot, one after the other. First you eat the crust, then you drink the water.

Back when rice was cooked in large pots, people sometimes scorched extra rice on purpose and fried it as a snack. Today rice is often cooked in electric or pressure cookers or in small pots, so nurungji doesn't always form on its own. The ready-made nurungji sold in stores is a different product from the layer in your own pot.

Ingredients: Short-Grain Rice and Water Used Four Ways
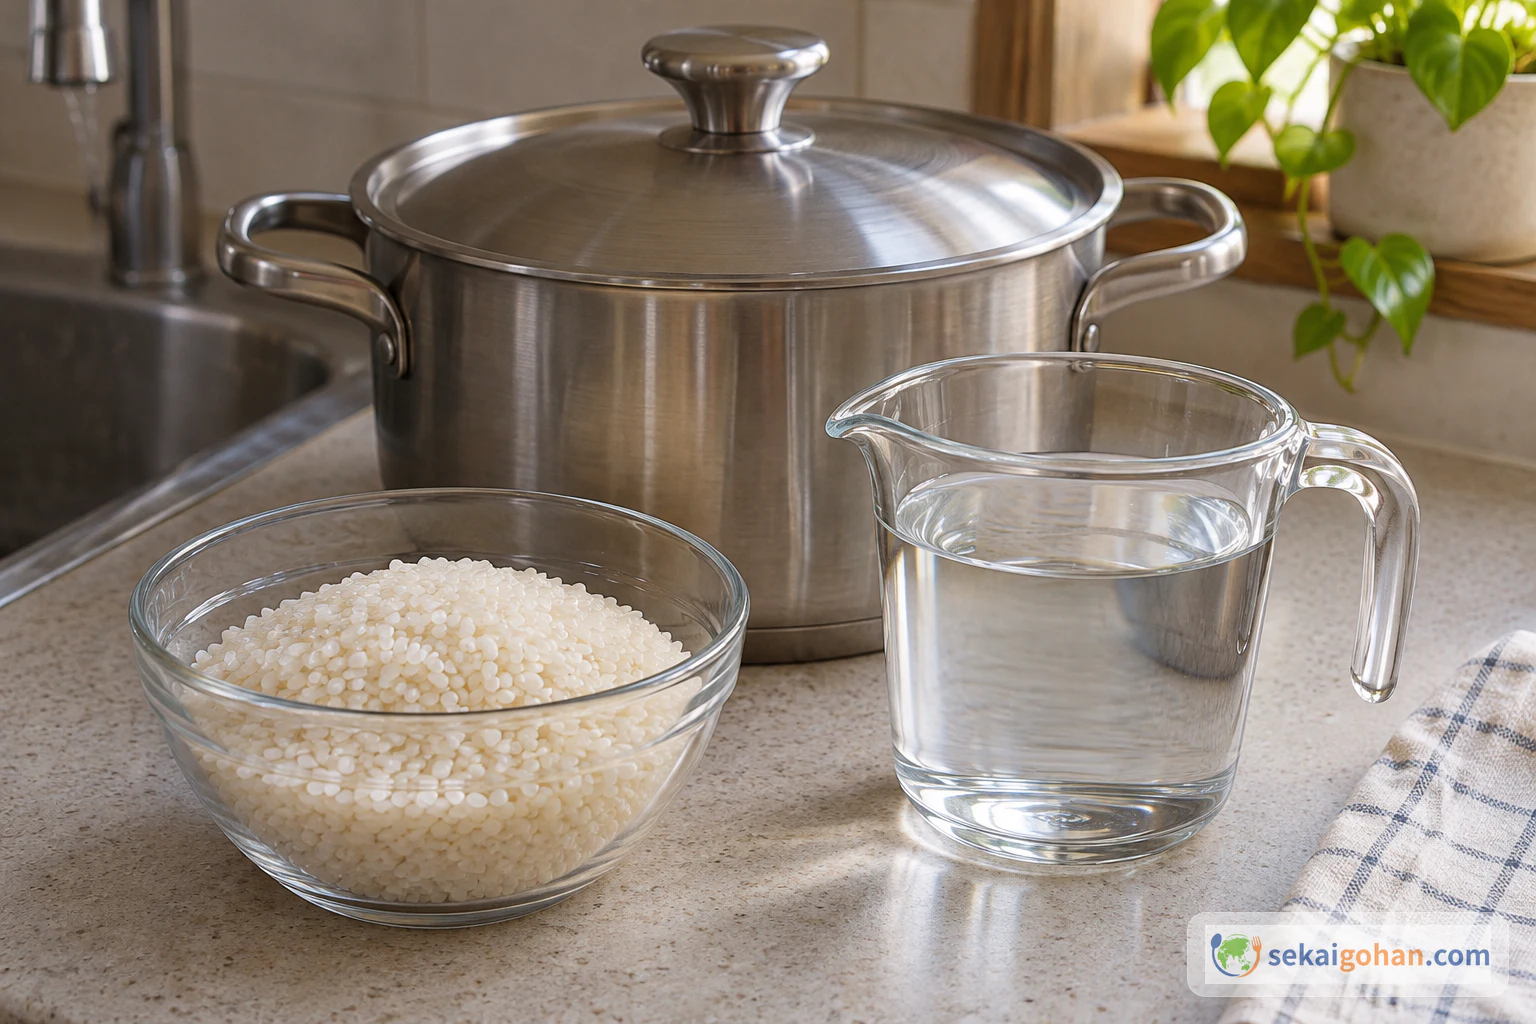
Uncooked short-grain rice and water in a measuring vessel beside a heavy-bottomed lidded pot
Only rice and water go into nurungji; the water is used at different stages

The only ingredients are rice and water. The water is listed by the stage where it is used.

Equipment

  • A heavy-bottomed pot with a lid
  • A cup measure
  • A spoon suited to your pot (metal or wooden). On coated pots, use utensils that the pot's maker recommends so you do not scratch the coating.
  • A bowl for the cooked rice
  • Cups for serving sungnyung

Choosing Rice for Nurungji

Use plain short-grain rice. Only rice and water go into the pot, with no oil, salt or sugar, so the toasty flavor comes entirely from the rice itself. The 2-serving yield is for the cooked rice you scoop out, not for the nurungji.

Method: From Raw Rice to Crust to Sungnyung

Hot pot, lid and steam

The pot, the lid and the steam get very hot, especially while you are working at the crust. Use a cloth or mitt on the lid and keep your hands and face away from rising steam.

The method runs in one line: cook the rice, build the crust, lift out the rice, loosen the crust, then make the drink. The steps below split it into small stages so each one matches what you see in the pot.

Nurungji Troubleshooting

How much crust forms, and how easily it comes away, depends on your pot and burner. If yours doesn't turn out as hoped, start with this table.

What you see What to check What to do
The crust will not come away Whether all three loosening stages were done: 2 minutes covered over low heat, a few drops of water, 1 more covered minute Start at the outer edge and work inward with the spoon instead of prying from the center. Lift the crust in pieces
The crust is black rather than golden Whether the pot was left unwatched during the extra simmer Aim for a thin, golden, crisp layer. Next time, keep an eye on the pot during step 7
A thick layer of soft rice sits on top of the crust Whether all the cooked rice was lifted out in step 8 Scoop out the soft rice first, so only the thin layer remains on the bottom
Very little crust forms The pot and the heat Use a heavy-bottomed pot on the stovetop
Scratches on a coated pot The spoon Switch to a utensil the pot's maker recommends

Serving and Storing Nurungji

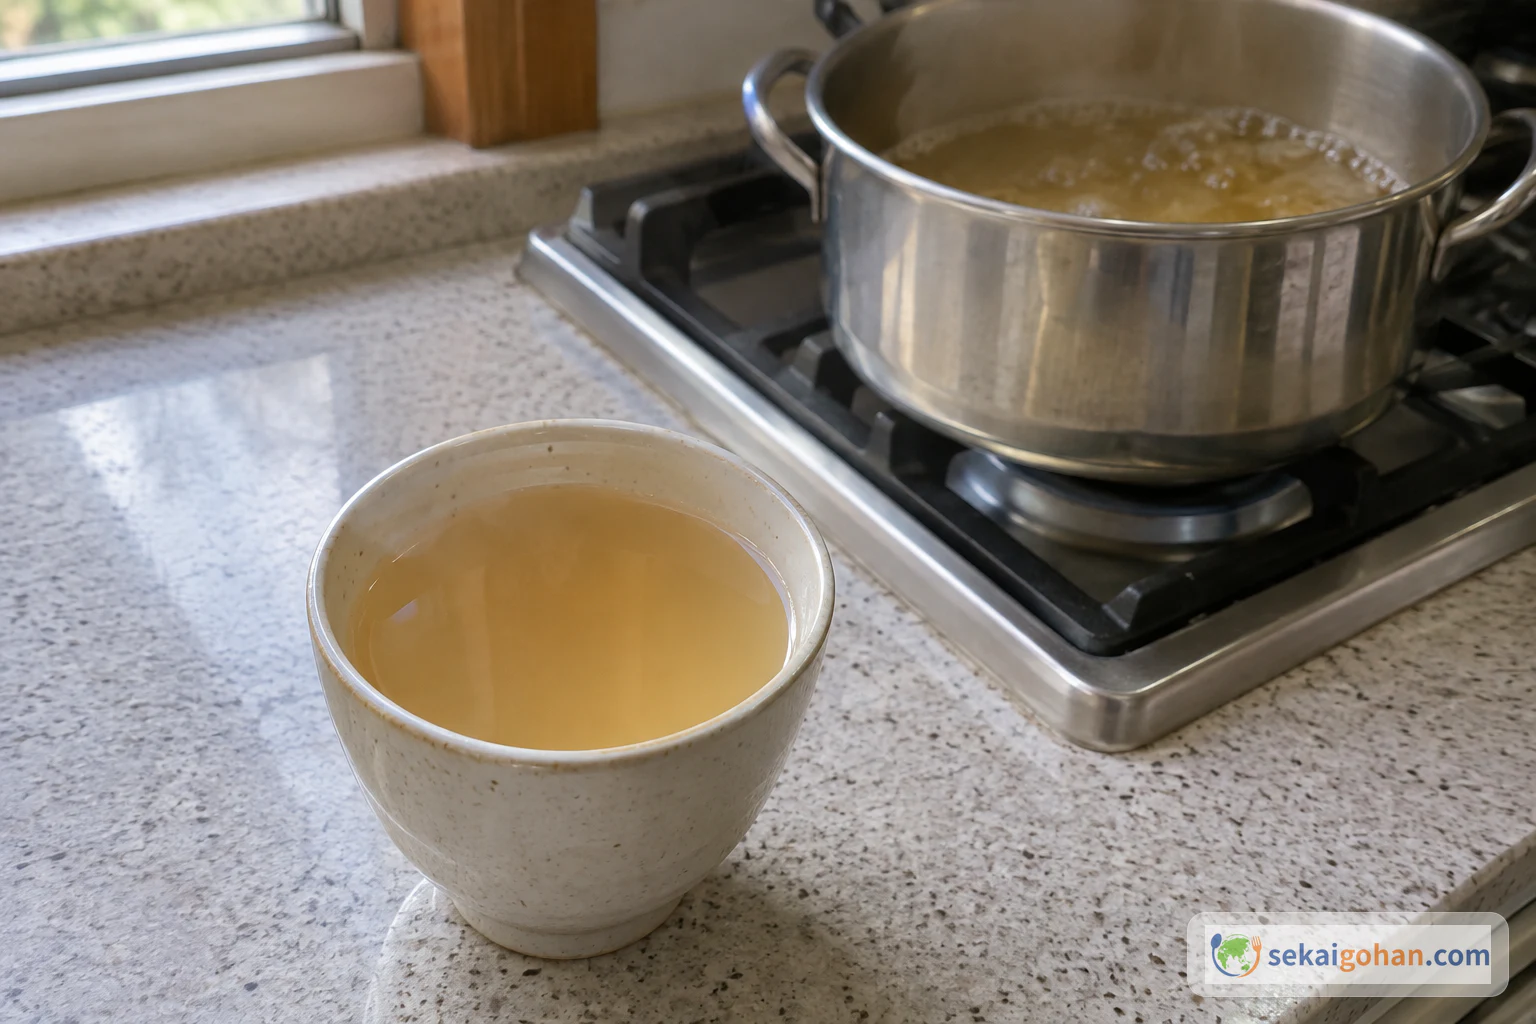
A plain cup of light golden sungnyung with the pot behind it
Sungnyung is made by boiling water in the pot after the crust comes out

Serve the crisp pieces on a plate while they're fresh, alongside the bowl of rice you lifted out in step 8. The sungnyung that follows is plain. It's just water and whatever bits of crust are left in the pot, with no tea leaves or sugar. For more dishes from the same table, see the Korea country page.

Cooked rice

This recipe is meant to be cooked and eaten fresh. It does not promise any keeping time for the cooked rice or the crust, and it does not use leftover rice.

Nurungji and its rice are best eaten fresh. If you do keep cooked rice, cool it as quickly as possible, ideally within one hour, and don't leave it in the rice cooker, steamer or pan to cool. Refrigerate it and eat it within 24 hours. Reheat it only once, until it is steaming hot throughout. This advice applies in England, Wales and Northern Ireland. Reheating will not make badly stored rice safe again.

Put leftovers in shallow containers and refrigerate them promptly. Don't leave perishable food out for more than two hours, or more than one hour above 90°F/32°C. Two hours is the outer limit, not a safe window for letting rice cool slowly at room temperature.

Frequently Asked Questions

Can I make nurungji in a rice cooker?

The layer can form at the bottom of an electric rice cooker, but with electric and pressure cookers it doesn't always form on its own. That's why this method uses a pot on the stovetop.

How much does this make?

This recipe makes 2 servings of cooked rice. The amount of crust varies with the pot and the heat.

What heat do I use for the extra 10-minute simmer?

The recipe doesn't name a burner setting for that simmer. It uses medium-high to bring the rice to a boil, and low for the covered 2 minutes after the rice is lifted out and for boiling the sungnyung.
Sources

  • Maangchi, "Rice, scorched rice, and scorched rice tea (Bap, nurungji, & sungnyung)." The recipe followed in this article: short-grain rice and water, rinsing and draining, a 30-minute covered soak in 1 cup of water, boiling over medium-high heat for about 10 minutes, turning the rice, simmering about 10 minutes more for the crust, covered low heat for 2 minutes, a few drops of water and 1 more covered minute, scraping from the outside in, and boiling 2 cups of water over low heat for sungnyung. Yield given as 2 servings of cooked rice. https://www.maangchi.com/recipe/rice
  • Korea Tourism Organization (VisitKorea), "Scorched Rice (누룽지 / Nurungji)." Nurungji as the crisp, golden layer at the bottom of a pot or electric rice cooker, eaten as it is or made into sungnyung with hot water, and also made separately as a snack today. https://english.visitkorea.or.kr/svc/contents/contentsView.do?vcontsId=231676
  • Academy of Korean Studies, Encyclopedia of Korean Culture, "누룽지" (entry by Han Bok-jin). Definition, alternative names, eating as a snack and as sungnyung, the earlier practice of frying deliberately scorched rice, and the note that modern cookers and small pots do not always produce it. https://encykorea.aks.ac.kr/Article/E0067930
  • Food Standards Agency / GOV.UK, "Home food fact checker." Advice on cooling rice quickly, ideally within one hour, not leaving it in the cooker, steamer or pan to cool, refrigerating and eating within 24 hours, and reheating no more than once until steaming hot throughout; applies to England, Wales and Northern Ireland. https://www.gov.uk/government/publications/home-food-fact-checker/home-food-fact-checker
  • FoodSafety.gov, "4 Steps to Food Safety." General advice on refrigerating perishable foods within two hours (one hour above 90°F/32°C) and putting leftovers in shallow containers to refrigerate promptly. https://www.foodsafety.gov/keep-food-safe/4-steps-to-food-safety