

Break a freshly baked hallulla in half and the smell of butter reaches you before the steam does. The round, flat bread is dotted with small holes and never rises as high as a thick hamburger bun. In Chile it shows up at breakfast and again at once, the light meal or tea-time eaten around dinner. People split it, fill it with butter, avocado (palta in Chile), ham, or cheese, and eat it with strong tea or coffee.
Hallulla in Chilean Food Culture
Hallulla (plural hallullas) is defined by its shape and crumb. It is a thin round with fat worked into the dough and holes pricked across the top. The crumb is dense enough to split and fill after baking, and the finished bread is pale and springs back when you press it lightly. It is a flat bread, not a fluffy round roll.
In Chile, bread is less a side dish than the base a meal is built on. Marraqueta is simply torn and eaten, but hallulla has fat in it, so it still holds up when you reheat it the next day. Over a day it can take butter alone in the morning, ham or palta in the afternoon, and sit beside a soup if any is left. If you make it at home, bake a few extra and plan on them for the next morning. That's when you really see how useful this bread is.
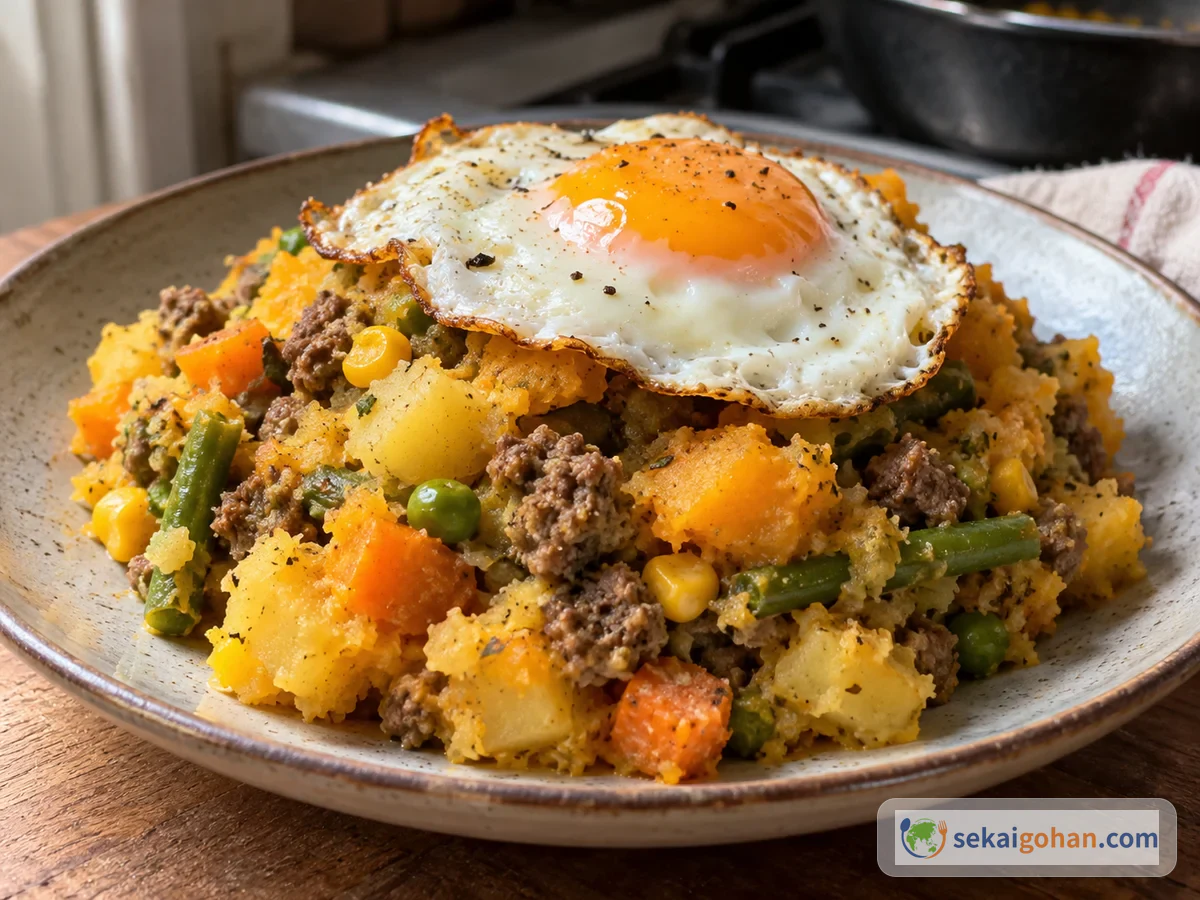
On the same table, pastel de choclo is a main dish of layered corn and meat filling. Hallulla is more casual: it feeds the morning kitchen and the late-afternoon snack. With an Argentine empanada the filling is baked inside the dough. Hallulla is baked first, then split and filled with whatever is in the house. To see where it sits among South American breads and sandwiches, compare the layered fillings of Uruguay's chivito and the bread in Mexico's cemita poblana. The South American cuisine overview explains how each country uses corn, wheat, and potatoes.
| What to look at | Chilean character | How to think about it at home |
|---|---|---|
| Shape | Round and flat, with holes on top | Cut 4 inches (9–10 cm) rounds, 0.625 inch (12–15 mm) thick |
| Fat | Lard, shortening, or butter worked into the dough | If you avoid lard, use unsalted butter or vegetable shortening |
| Color | A pale gold rather than a hard brown | Set the bottom first at 400°F (200°C) and do not overbake |
| How it is eaten | Split and filled with butter, palta, ham, or cheese at once or breakfast | Combine small amounts of avocado, egg, ham, and a mild white cheese |
Ingredients (makes 8)
This amount makes eight hallullas, 4 inches (9–10 cm) across. They are small as breads go, but with butter or avocado inside, even one makes a light breakfast. If the dough is too thin it dries out like pita; if it is too thick it turns into an ordinary round roll. Measure the thickness once with a ruler and your hands will learn it for next time.

This bread contains wheat. If you use milk and butter it also contains dairy. Lard comes from pork, so use unsalted butter or vegetable shortening if you want to avoid it. To avoid dairy, use vegetable shortening for the fat and brush the top with a little water.
Where to draw the line on substitutions
| To replace | What you can use | Effect on the result |
|---|---|---|
| Lard | 2.5 oz (70 g) unsalted butter | A more dairy aroma, but easy to handle at home |
| Lard | 2.5 oz (70 g) vegetable shortening | A milder aroma and a lighter texture |
| Bread flour and all-purpose flour | 1 lb (500 g) medium-strong flour | Comes together more easily. Start with 1 cups (270 ml) water and adjust |
| Milk brushed on top | Water, or beaten egg brushed thinly | Water gives a paler color; egg gives a deeper color |
| Weak oven heat | A preheated griddle, cast-iron plate, or two stacked baking sheets | Prevents an underbaked bottom and a raw center |
Equipment worth having
Flour, sugar, salt, and butter from any grocery store are enough. What is worth adding for hallulla is not a special ingredient but tools that keep thickness and color steady. A rolling pin that is too short or a thin baking sheet makes the edges come out thick and the bottoms stay pale and dry.
A wooden rolling pin about 12 inches (30 cm) long makes it easier to roll the dough evenly to 0.625 inch (12–15 mm), and it is useful for empanada dough and other thin doughs too.
A home oven loses heat quickly, so on a baking sheet alone the bottoms can stay white. If you preheat a griddle or cast-iron plate in the oven, the bottoms set the moment the dough touches it and the flat shape holds.
If you cannot judge 100°F (35–38°C) water or a center temperature of 199°F (93°C) or more by feel, a slim digital thermometer helps you get it right on the first try. It also works for meat, so it is useful beyond bread.
Hallulla Ingredients and Substitutes
Hallulla has so few ingredients that one substitution can turn it into a different bread. You don't need to copy a Chilean bakery exactly. Keep the flat shape, the aroma of the fat, the holes, and the pale color, and it will work at a home breakfast.
| Protect this | You may change this | Changing too much causes |
|---|---|---|
| 0.625 inch (12–15 mm) thickness | Diameter of 4–4.5 inches (8–11 cm) is fine | Too thin dries out; too thick becomes a round roll |
| 2.5 oz (70 g) fat | Choose lard, butter, or shortening | Cutting the fat makes it hard the next day |
| Fork holes | The number of holes can follow your tools | Shallow holes let the top puff like a balloon |
| Pale color | Brush with milk, water, or egg wash, thinly | Aiming for dark brown toughens the crust |
| A crumb dense enough to split and fill | Fillings can be whatever you can find | More sugar moves it toward a sweet bread |
Method
The dough is not difficult, but if you add the fat first the flour absorbs water poorly. Mix the flour and water first, then fold the fat in as you knead. That gives you both a moist crumb and a thin crust.
Common Hallulla Problems
| Symptom | Likely cause | Fix |
|---|---|---|
| Dough is stiff and will not roll | Rolled right after kneading | Rest 5 minutes before using the rolling pin |
| Sticky and will not cut into rounds | Too much water, or the fat has melted | Rest in the refrigerator for 10 minutes before adding more dusting flour |
| Puffs up high when baked | Second proof too long, holes too shallow | Shorten the second proof and prick deeper with the fork |
| Bottom is white | Baking sheet not preheated | Use two stacked sheets or a preheated griddle on the lower rack |
| Hard the next day | Overbaked, too little fat, or dried out | Stop at a pale color and bag it as soon as it cools |
Serving and Storing Hallulla
Fillings and Pairings
A fresh hallulla tastes most Chilean split open with a little filling. At once, a Chilean home table holds bread, tea, ham, cheese, palta, and jam. If hallulla is new to you, try it in place of sliced bread at breakfast. Layer the filling thin, because too much of it hides the aroma of the bread.

| Pairing | Filling | Good for |
|---|---|---|
| Butter only | Salted butter, spread thin | A first try, to taste the aroma of fresh bread |
| Palta | Avocado, salt, a little lemon | Breakfast or a light lunch |
| Ham and cheese | Sliced ham, a white cheese | Once or a child's snack |
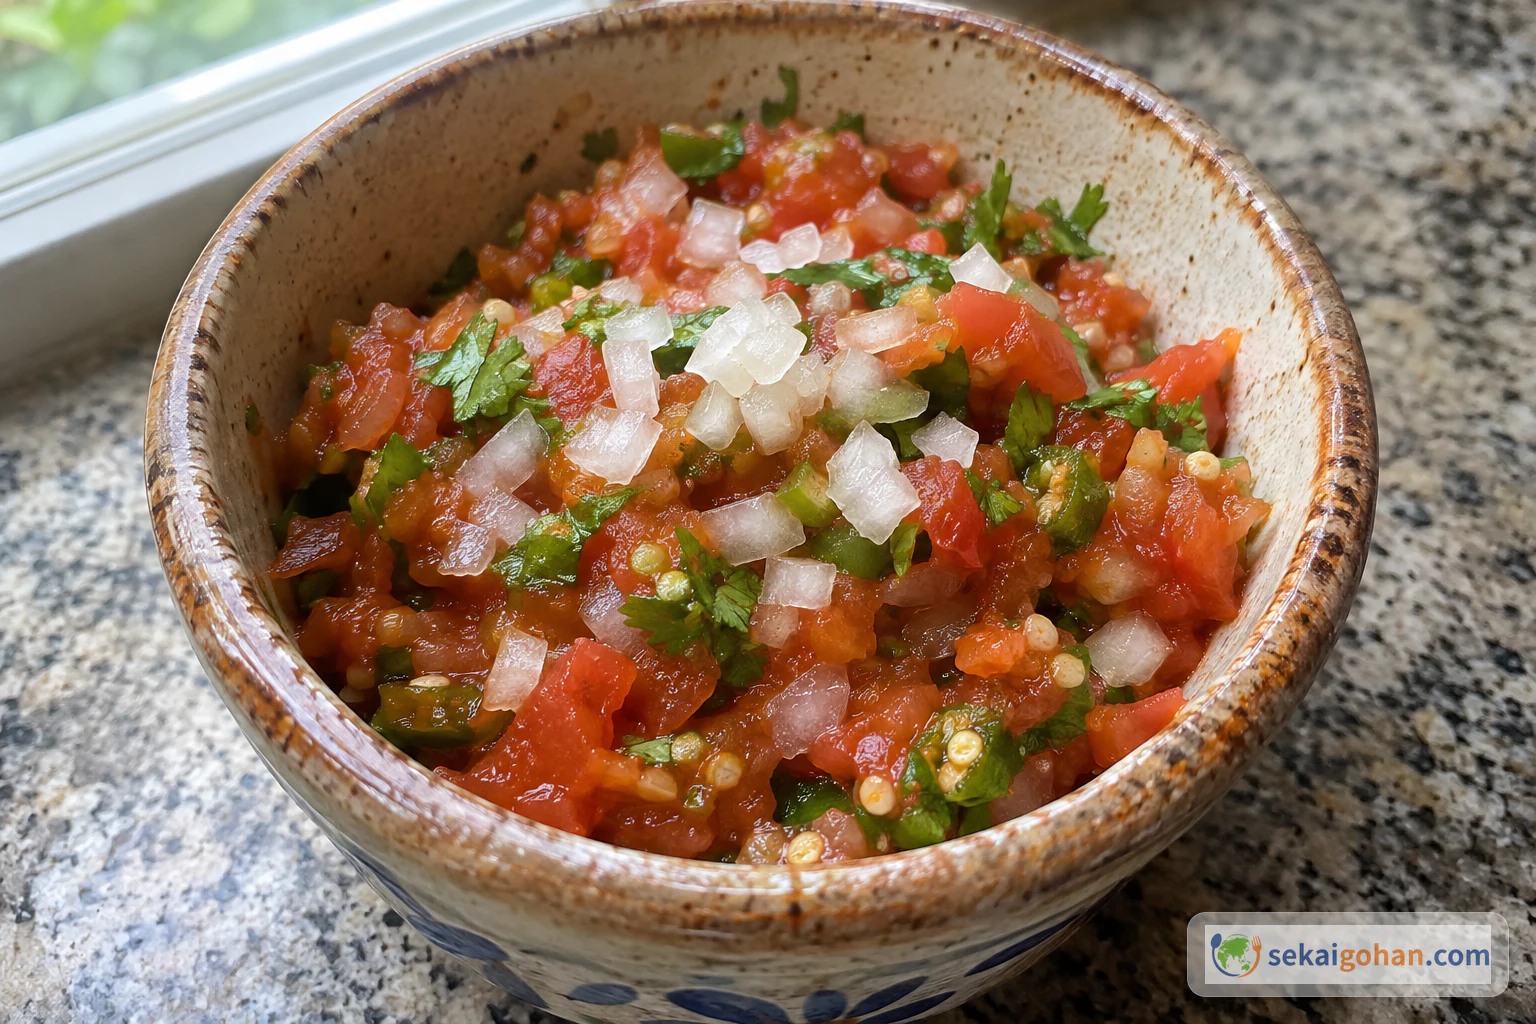
| Pebre style | Tomato, onion, cilantro, vinegar | Served beside meat dishes |
| Beside a stew | Soup, beans, a meat stew | Dinner, when you want bread to catch the juices |
Storage and Reheating
Let the bread cool completely before you bag it. If you seal it while it's hot, the steam wilts the crust, and if you leave it out, it dries quickly. Keep only what you'll eat the next day at room temperature and freeze the rest.
| Storage | Time | Reheating |
|---|---|---|
| Room temperature | 1 day | Mist lightly with water, then toast at 350°F (160–170°C) for 4 minutes |
| Freezer | 3 weeks | Partly thaw, then toast at 350°F (170°C) for 5–6 minutes |
| For sandwiches | Split, then freeze | Reheat from frozen before filling |
Keep hallulla out of the refrigerator. The starch firms up in the cold, and even after reheating the inside turns crumbly. For the freezer, wrap each piece in plastic wrap and press the air out of the bag so the fat keeps its aroma.
Frequently asked questions
How is hallulla different from marraqueta?
Both are common breads in Chile. Marraqueta is a light bread with a split down the middle. Hallulla is round, flat, and dense, with fat worked in, and at home it is simpler to shape and easier to fill.
Can I make it without lard?
Yes. With 2.5 oz (70 g) unsalted butter it takes on a dairy aroma, and vegetable shortening gives a milder aroma and a lighter texture. Keep the fat at that amount, because cutting it back makes the bread hard the next day.
Can I bake it in a frying pan alone?
Yes, if you make the rounds smaller. Preheat a heavy frying pan over medium-low heat for 3 minutes. Cover and cook 6–7 minutes on the first side, then 4–5 minutes after turning. If the heat is too high, the outside browns while the center stays raw, so check that the center reaches 199°F (93°C) or higher. The crust will be softer than oven-baked.
Can I prepare the dough the day before?
Yes, by doing the first rise in the refrigerator. After kneading, leave the dough at room temperature for only 30 minutes, then rest it overnight in the refrigerator in a lightly oiled container. The next day, let it sit at room temperature for 30–40 minutes before rolling. Cold dough springs back and is hard to cut into rounds.