

Lift the steamer lid, towel and all, and you'll find small white cakes that have puffed up, their surfaces dotted with tiny holes. In the steam the cheese softens just a little and the salted egg yolk crumbles. Puto doesn't announce that it's done with a golden crust; you know it's ready by the gentle aroma of rice flour and coconut milk. These Filipino steamed rice cakes are soft, moist and sweet, with just a touch of salt from the toppings.

Puto and Filipino kakanin
Puto belongs to kakanin, the Filipino family of rice sweets. Traditionally, rice is soaked in water, lightly fermented and ground into a batter called galapong, which is then steamed. Most home cooks today use rice flour, coconut milk and baking powder instead. The plain white version is called putong puti or putong bigas.
Puto is also an umbrella term for Filipino steamed rice cakes. There's white rice-flour putong puti, puto cheese topped with cheese, purple puto bumbong, and related cakes such as the brown-sugar-colored kutsinta. This version is an easy white puto topped with a little cheese and salted egg.
The name stretches across regions, too. The small fermented rice cakes of Calasiao, puto bumbong steamed in bamboo tubes around Christmas, and puto pao filled with meat are very different cakes that all go by the same word.
Ingredients (makes 12 small cakes)

These amounts fill 12 silicone cups 6 to 7 cm (about 2 1/2 in) across. Metal pudding molds work too, but for a first attempt, smaller molds filled shallowly make it easier to judge doneness. Fill each mold only 70% full.
This recipe uses egg and dairy. Rice flour, baking powder and cheese can be made on lines that also handle wheat or soy. If anyone has an allergy, check the labels. Salted egg is very salty; for children or a lower-sodium table, cheese alone is easier to eat.
What you can swap, and what's hard to replace
Puto looks white and soft, but swapping flours changes the texture a lot. Think it through in this order.
| Role | Ingredient to keep | Possible substitute | What changes |
|---|---|---|---|
| Rice aroma | Fine rice flour | Regular rice flour (joshinko) | Regular rice flour gives a slightly firmer bite |
| Moistness | Coconut milk | Half milk, half water | The Filipino-style aroma is weaker |
| Rise | Baking powder | No substitute | Old powder makes cakes spread sideways and turn heavy |
| A light chewiness | Glutinous rice flour | Use rice flour only | Fluffy, but the chewy finish is shorter |
| Topping | Cheese and salted egg | Cheese only | Still sweet-salty, but the salted-egg aroma is gone |
Salted egg isn't essential. Plenty of Filipino puto cheese uses cheese alone, and for a home snack that works perfectly well. Still, a little salted egg adds saltiness and the crumbly richness of the yolk to the sweet rice batter, so the cakes don't feel out of place next to a savory dish such as pancit canton.
Choosing ingredients for puto

Sugar, eggs and cheese from any grocery store are fine. What's worth seeking out at an Asian grocery or online is finely milled rice flour, coconut milk, and a steamer that gives steady steam. Puto has so few ingredients that the quality of the flour and the steam shows directly in the texture.
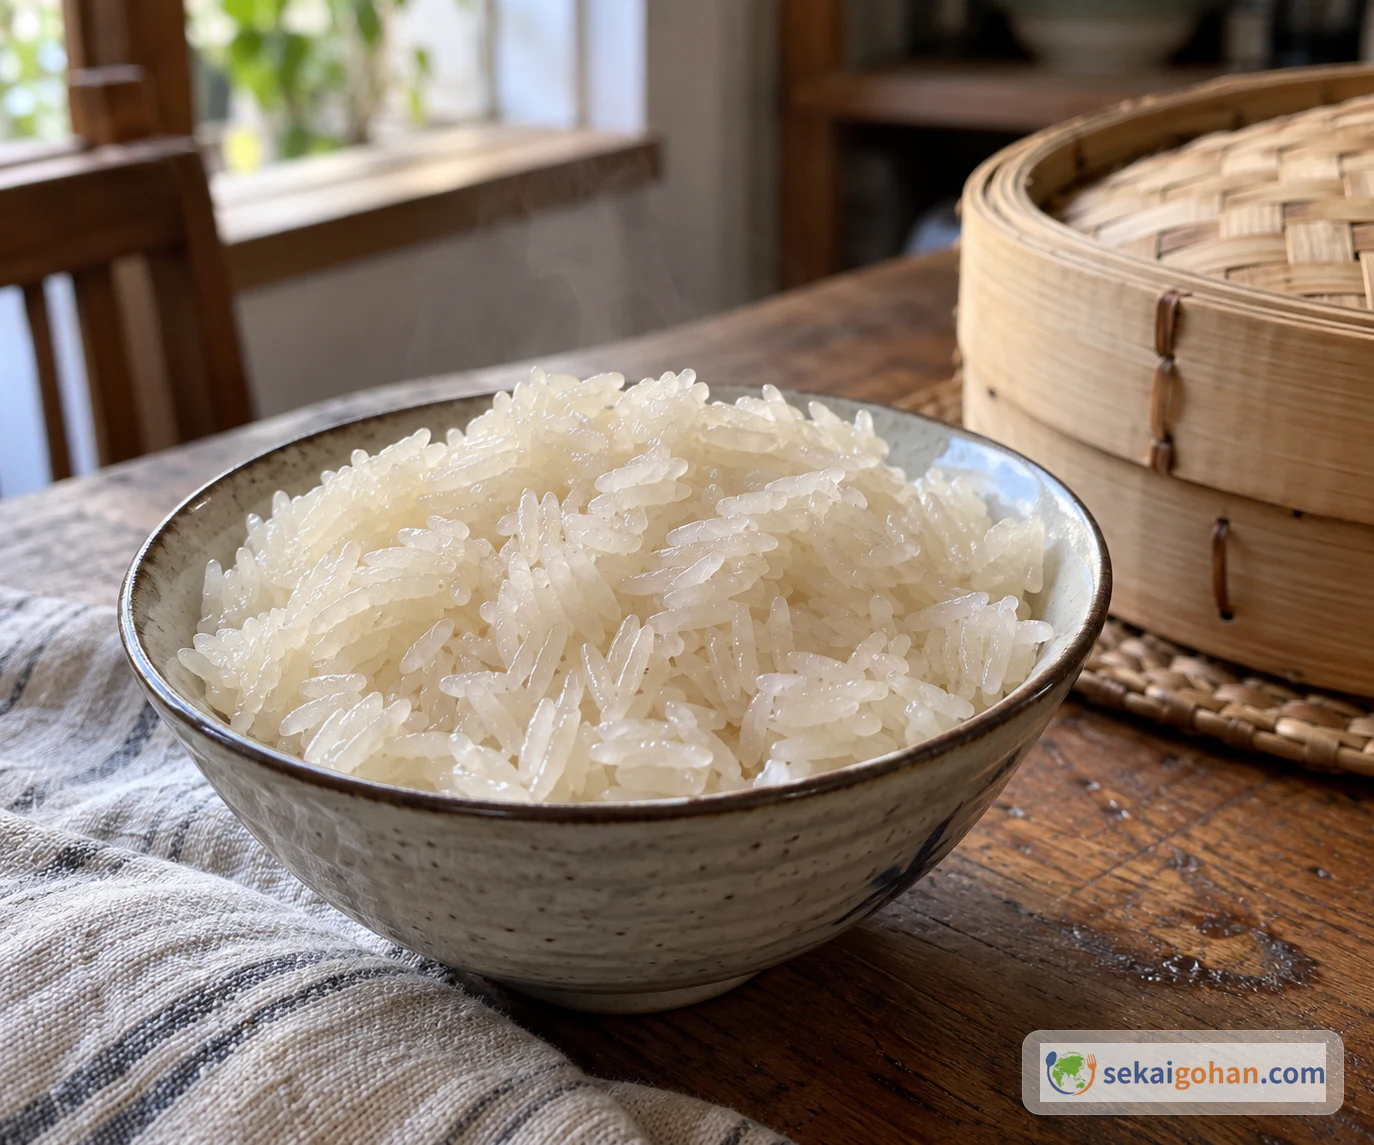
Look for rice flour that is finely milled and doesn't clump; the batter will come out whiter and smoother. Regular rice flour works too, but sift coarse flour through a strainer first.
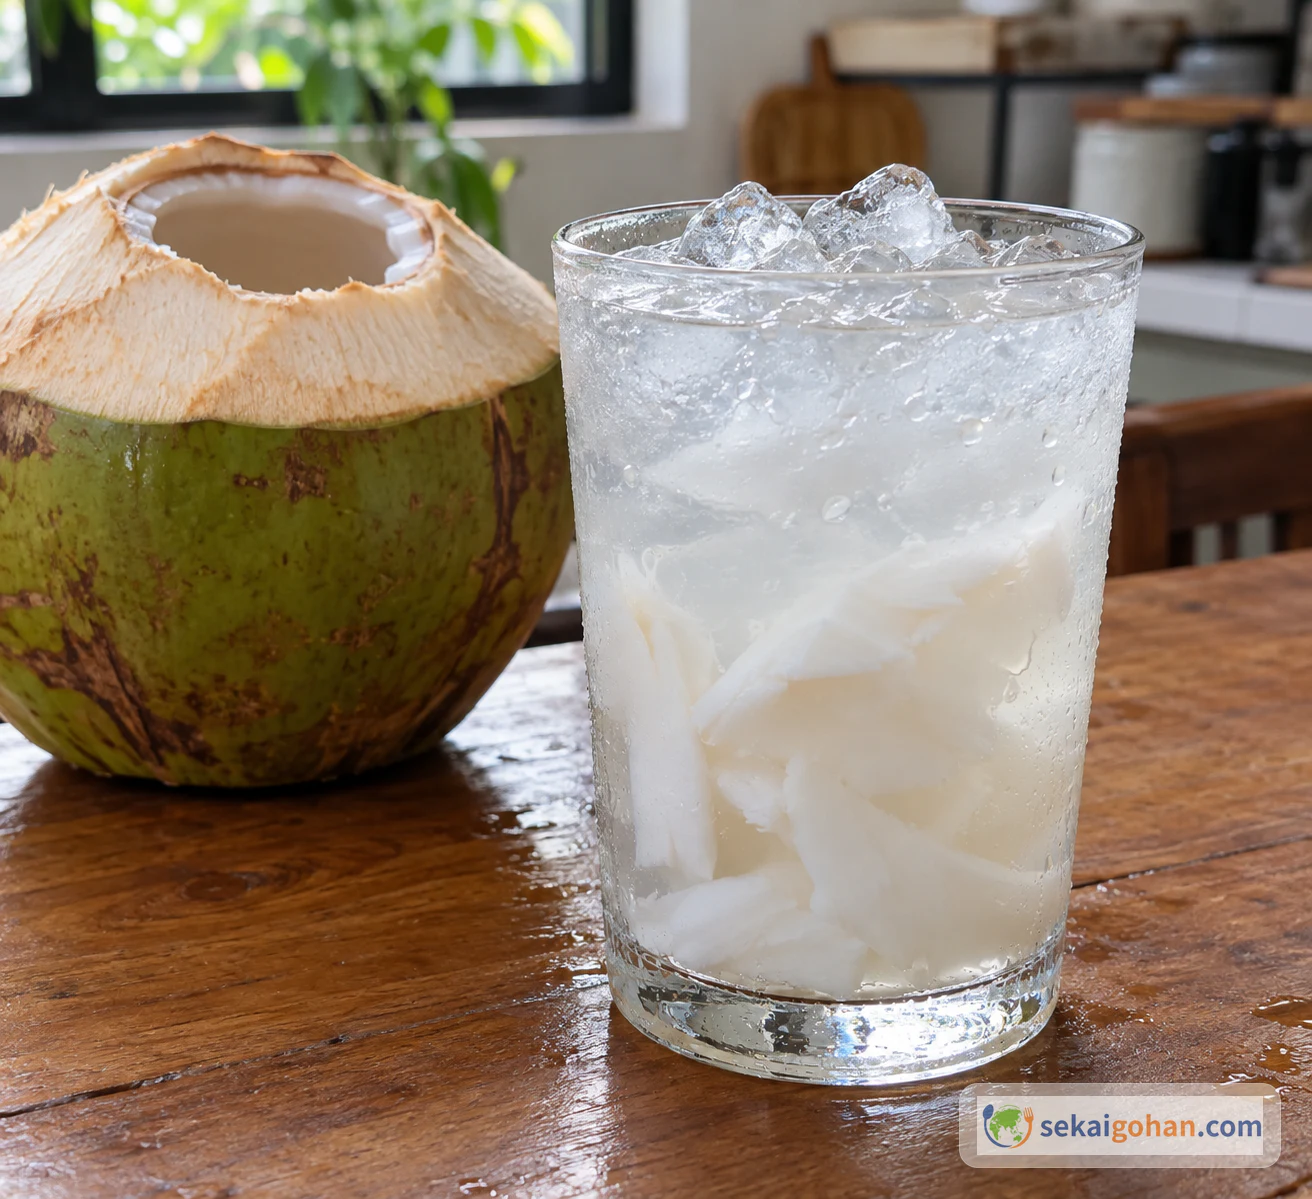
Coconut milk carries both the aroma and the moistness. Made with water alone, the cakes are lighter, but once they cool the dryness of the rice flour comes forward. Shake the can well before opening, and if it has separated, warm it in a small pan to body temperature until smooth.
A bamboo steamer keeps drips off the batter and makes clean tops easier, though it's optional. With a metal steamer, wrap the lid in a clean kitchen towel and tie the corners on top so not too much steam escapes.
A few traditional touches are easy to swap. Parchment paper stands in for banana leaves, cheese alone can replace salted egg, and small silicone cups do the job of special metal molds. What matters most is the light aroma of a mostly rice-flour batter and a touch of salt against the sweetness.
Steaming method: keep drips off and steam briefly
Rice flour settles quickly, so stir from the bottom once more right before pouring into the molds. Get the steamer going with plenty of steam before the batter goes in. If you warm it slowly over weak steam, the flour sinks before the cakes rise.
Common puto problems and fixes

The make-or-break part is the steaming. If the heat is too low, the cakes barely rise; if drips from the lid land on the batter, the tops turn blotchy. Steam too hard or too long and you end up with a dry steamed bun. Good puto comes from steam brought up quickly for a short cook, leaving the cakes white and moist with few cracks.
With no browning to go by, judge puto by the top, the bottom and the bubbles inside when you break one open. If a batch disappoints, work through the causes one at a time.
| Problem | Cause | Fix |
|---|---|---|
| The center sinks | Weak steam, or the lid was opened partway | Start over medium-high heat and keep the lid closed for the first 8 minutes |
| Blotchy tops | Drips fell from the lid | Wrap the lid in a towel. A bamboo steamer drips less |
| Floury bottoms | The batter wasn't restirred before pouring | Stir from the bottom right before pouring into the molds |
| Dry | Oversteamed, or not enough liquid | Stop as soon as the skewer test passes. Add 2 tsp water |
| Heavy and too chewy | Too much glutinous rice flour | Cut glutinous rice flour to 20 g and raise rice flour to 5.5 oz (160 g) |
| Bitter or chemical-tasting | Old baking powder, or too much | Stick to 8 g and use fresh baking powder |
Strong steam can puff the cakes and leave small cracks on top. As long as they aren't split wide open and dry, that's fine. Both smooth and slightly cracked, fluffy puto are normal.
Serving and storing puto
How puto is eaten

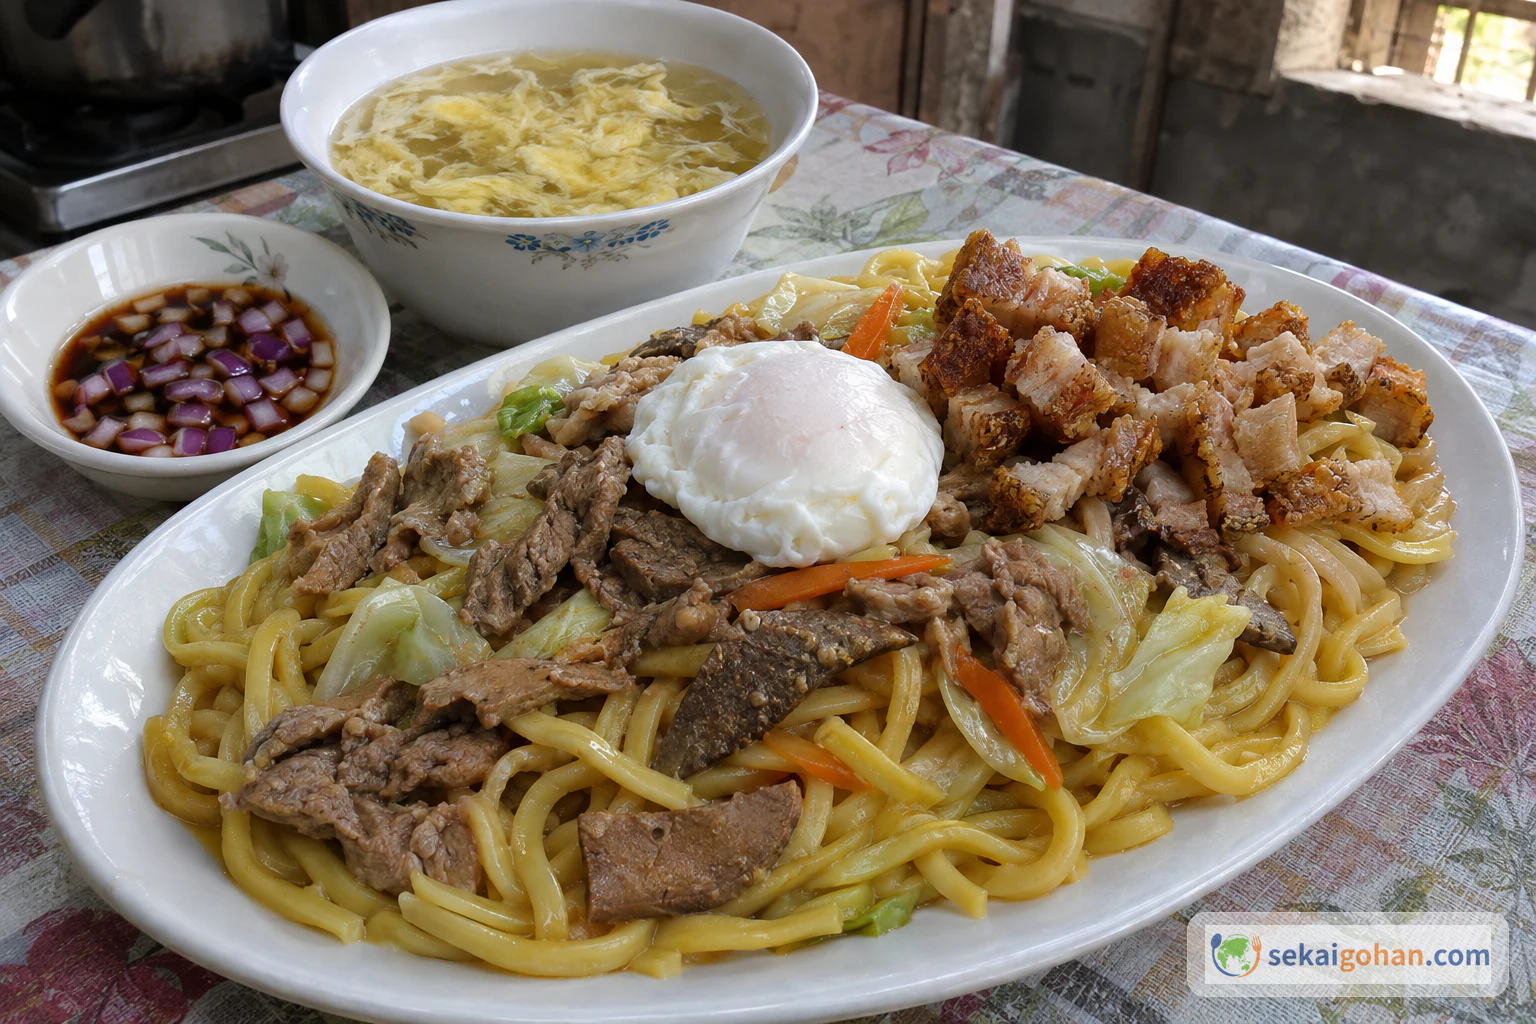
Puto makes a fine snack on its own, but in the Philippines it also shows up next to savory dishes. White puto with a rich stew like dinuguan is the best-known pairing. If pork blood stew is a step too far, a few small puto beside soy-sauce-seasoned pancit canton or tangy sinigang give your palate a sweet rice-flour break.
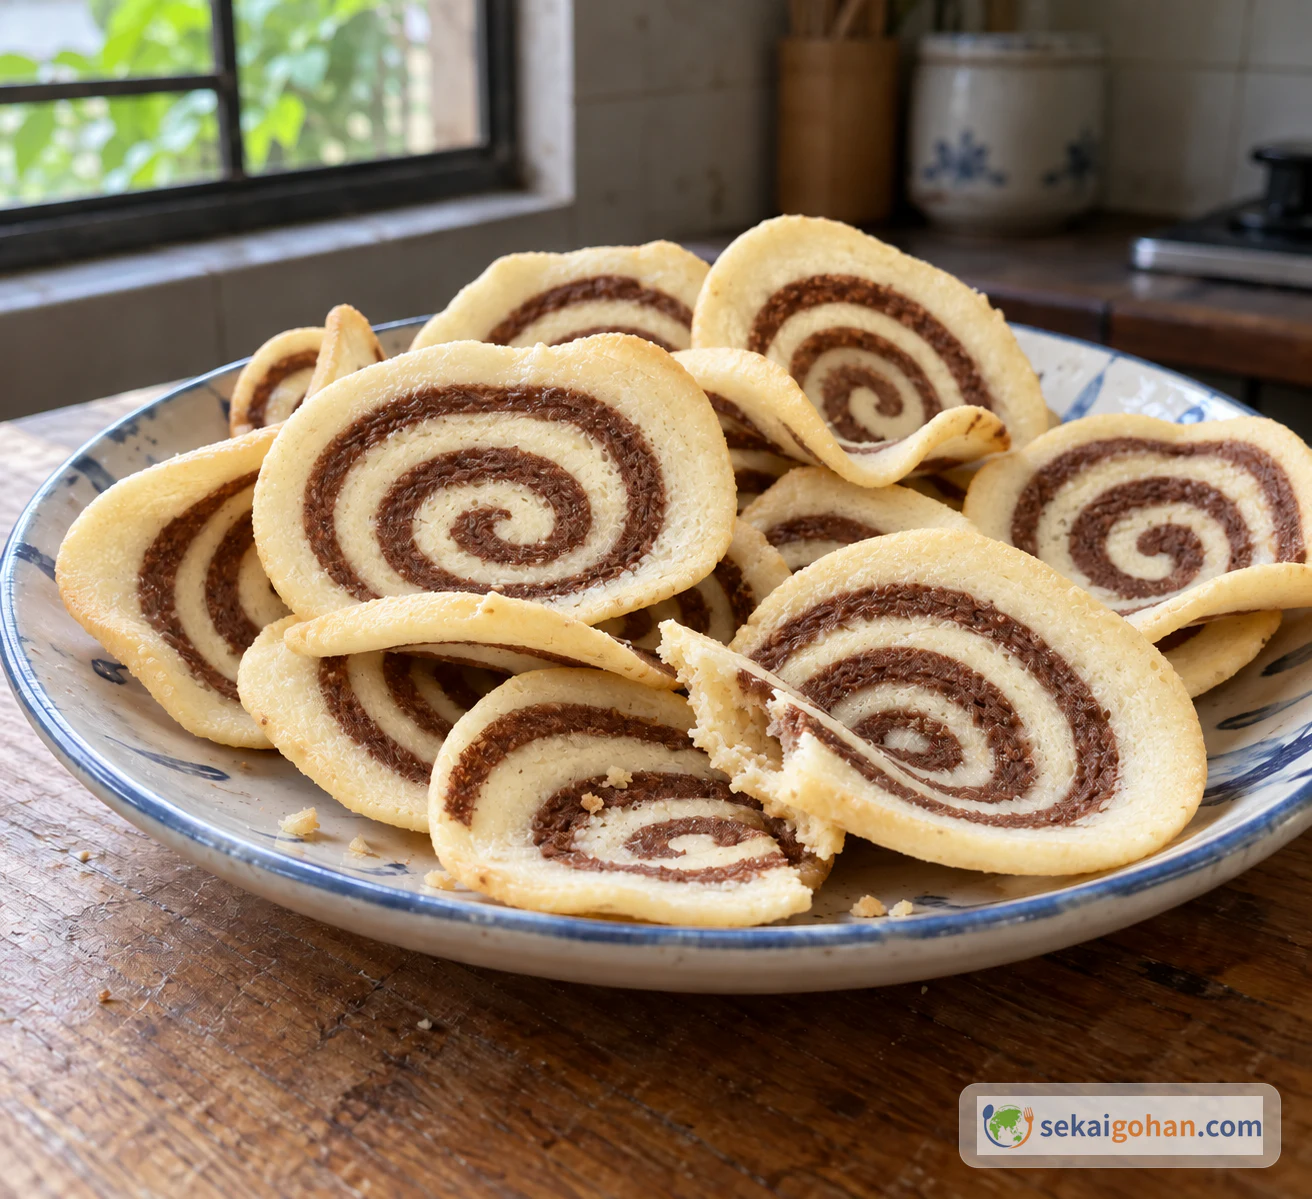
For merienda, set it out with other kakanin such as kutsinta or sapin-sapin: puto is fluffy, kutsinta bouncy and chewy, and sapin-sapin has chewy layers. Ensaymada, layered with butter, sugar and cheese, fits naturally into the spread if you want some bread too. Making them all at once is a lot of work, but puto's short hands-on time makes it an easy one for a weekend afternoon.
Start with plain putong puti to get a feel for the steam and the flour. Once you have it down, branch out to ube, pandan, cheese and salted egg.
Storage and reheating

Puto is softest freshly made. At room temperature, keep it in a lidded container so it doesn't dry out, and finish it the same day. Cakes topped with cheese and salted egg go in the fridge once they've cooled slightly.
Refrigerated, they keep for up to 2 days in a closed container; leave the plastic wrap off the surface. To reheat, steam them over medium heat for 3 to 5 minutes once the water is simmering. In a microwave, arrange them on a plate, sprinkle with 1 tsp water, cover loosely with plastic wrap and heat at 600 W for 20 to 30 seconds; any longer and the edges harden.
Freezing works, though the cake dries out a little. Freeze only plain cakes without cheese or salted egg, wrapped individually, and use them within 2 weeks. Reheat from frozen in a steamer over medium heat for 7 to 8 minutes, stopping once the tops have puffed back up.
Dishes to make alongside
- Kutsinta - Bouncy, chewy kakanin made with brown sugar, lye water and tapioca starch.
- Sapin-sapin - A layered celebration sweet made with coconut milk and glutinous rice flour.
- Pancit canton - Savory noodles that bring sweet puto close to a Filipino table.
- Chicken inasal - Tangy, char-grilled chicken to serve before the sweet steamed cakes.
FAQ
Q. Can I make it with wheat flour instead of rice flour?
Wheat-flour puto is a modern home version, but the rice aroma and clean bite are weaker, so stick with rice flour for true putong puti. If you want to use wheat flour, use 4 oz (120 g) cake flour and 2 oz (60 g) rice flour, and reduce the water by 1.5 tbsp (20 ml).
Q. Should the batter rest overnight?
Resting it in the fridge for 3 hours to overnight lets the flour absorb liquid and makes the cakes a little moister. Batter with baking powder rises less the longer it sits, though. If you rest it, stir in an extra 1 tsp baking powder just before steaming; a brief rest and steaming right away gives more reliable results.
Q. Where can I buy salted eggs?
Look for "salted egg" at Filipino, Chinese or other Asian grocery stores. If you can't find them, use cheese alone. A hard-boiled egg sprinkled with salt won't give you the firm, salty yolk of a true salted egg, but as a home snack it's perfectly pleasant.
Q. Silicone cups or metal molds: which is better?
For your first time, silicone cups are easier to unmold. Metal molds heat faster and give neat, straight sides, but without enough oil the cakes break when you unmold them. If you use metal molds, oil them lightly and plan on steaming 1 to 2 minutes less.
Q. Can I make them less sweet?
You can reduce the sugar to 2 oz (60 g), which works well alongside savory dishes; as a stand-alone snack, 2.75 oz (75 g) is better. Go lower and you lose moistness as well as sweetness, and with cheese and salted egg on top the saltiness starts to stand out.